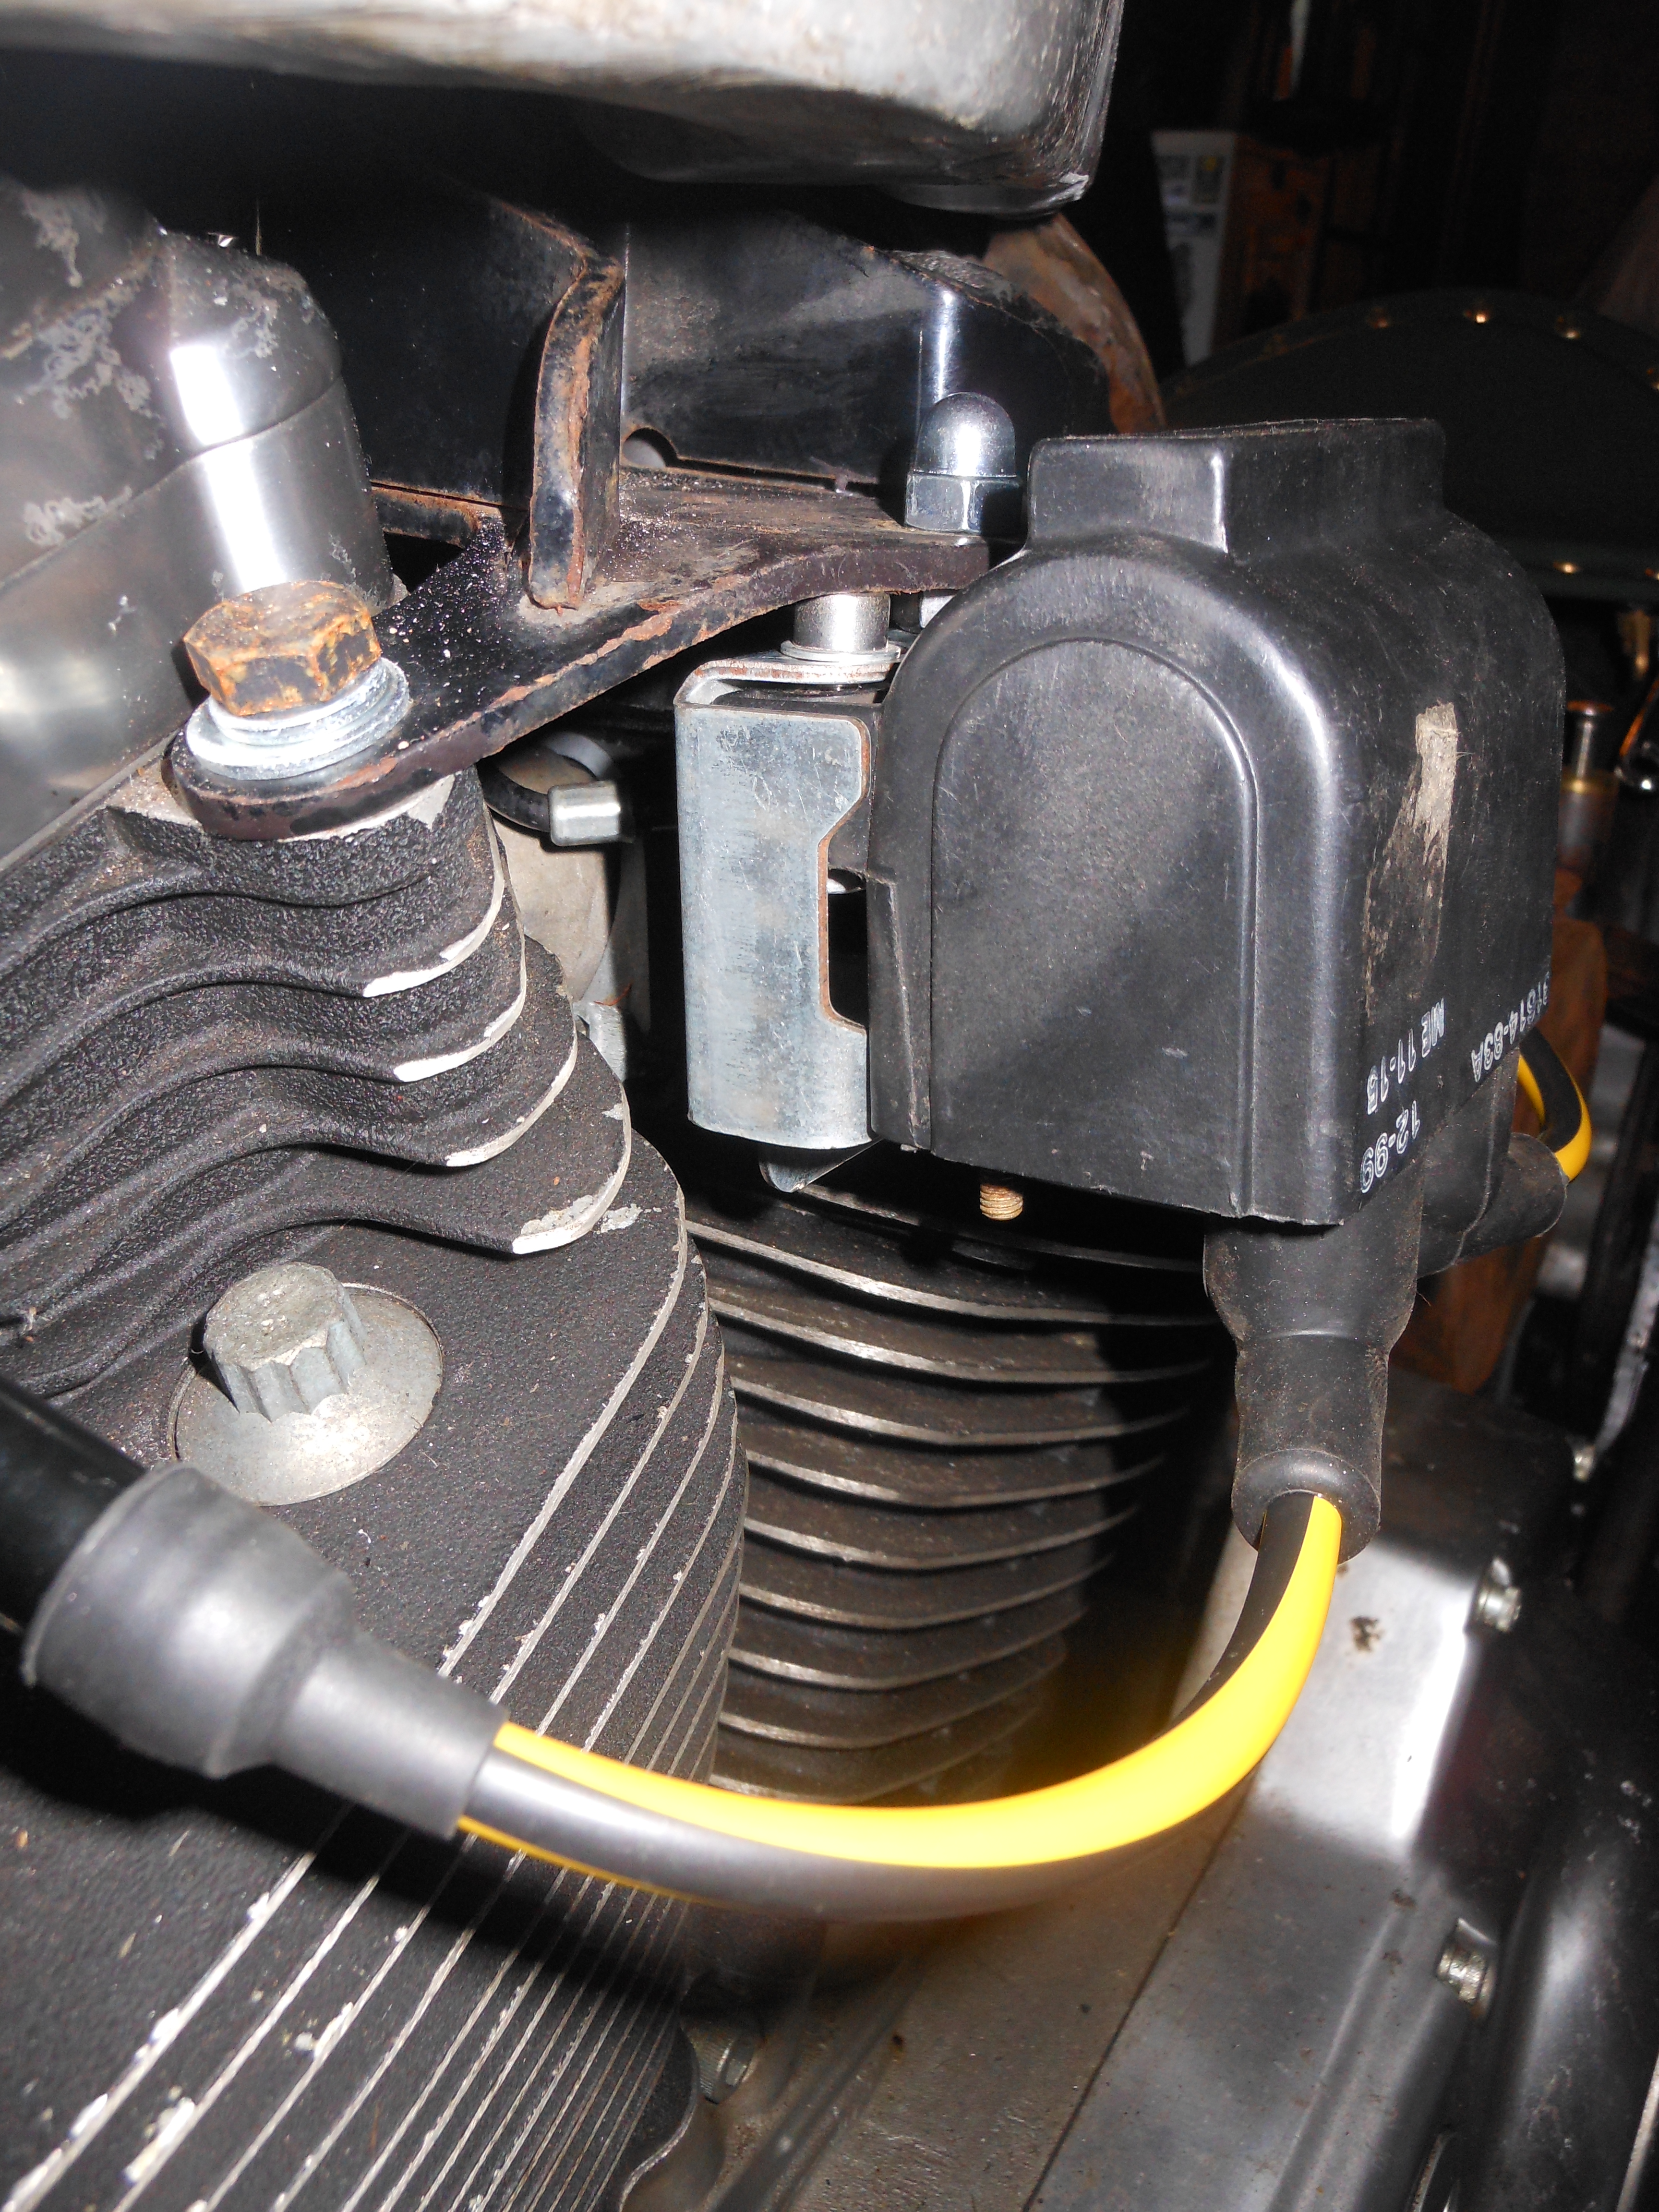
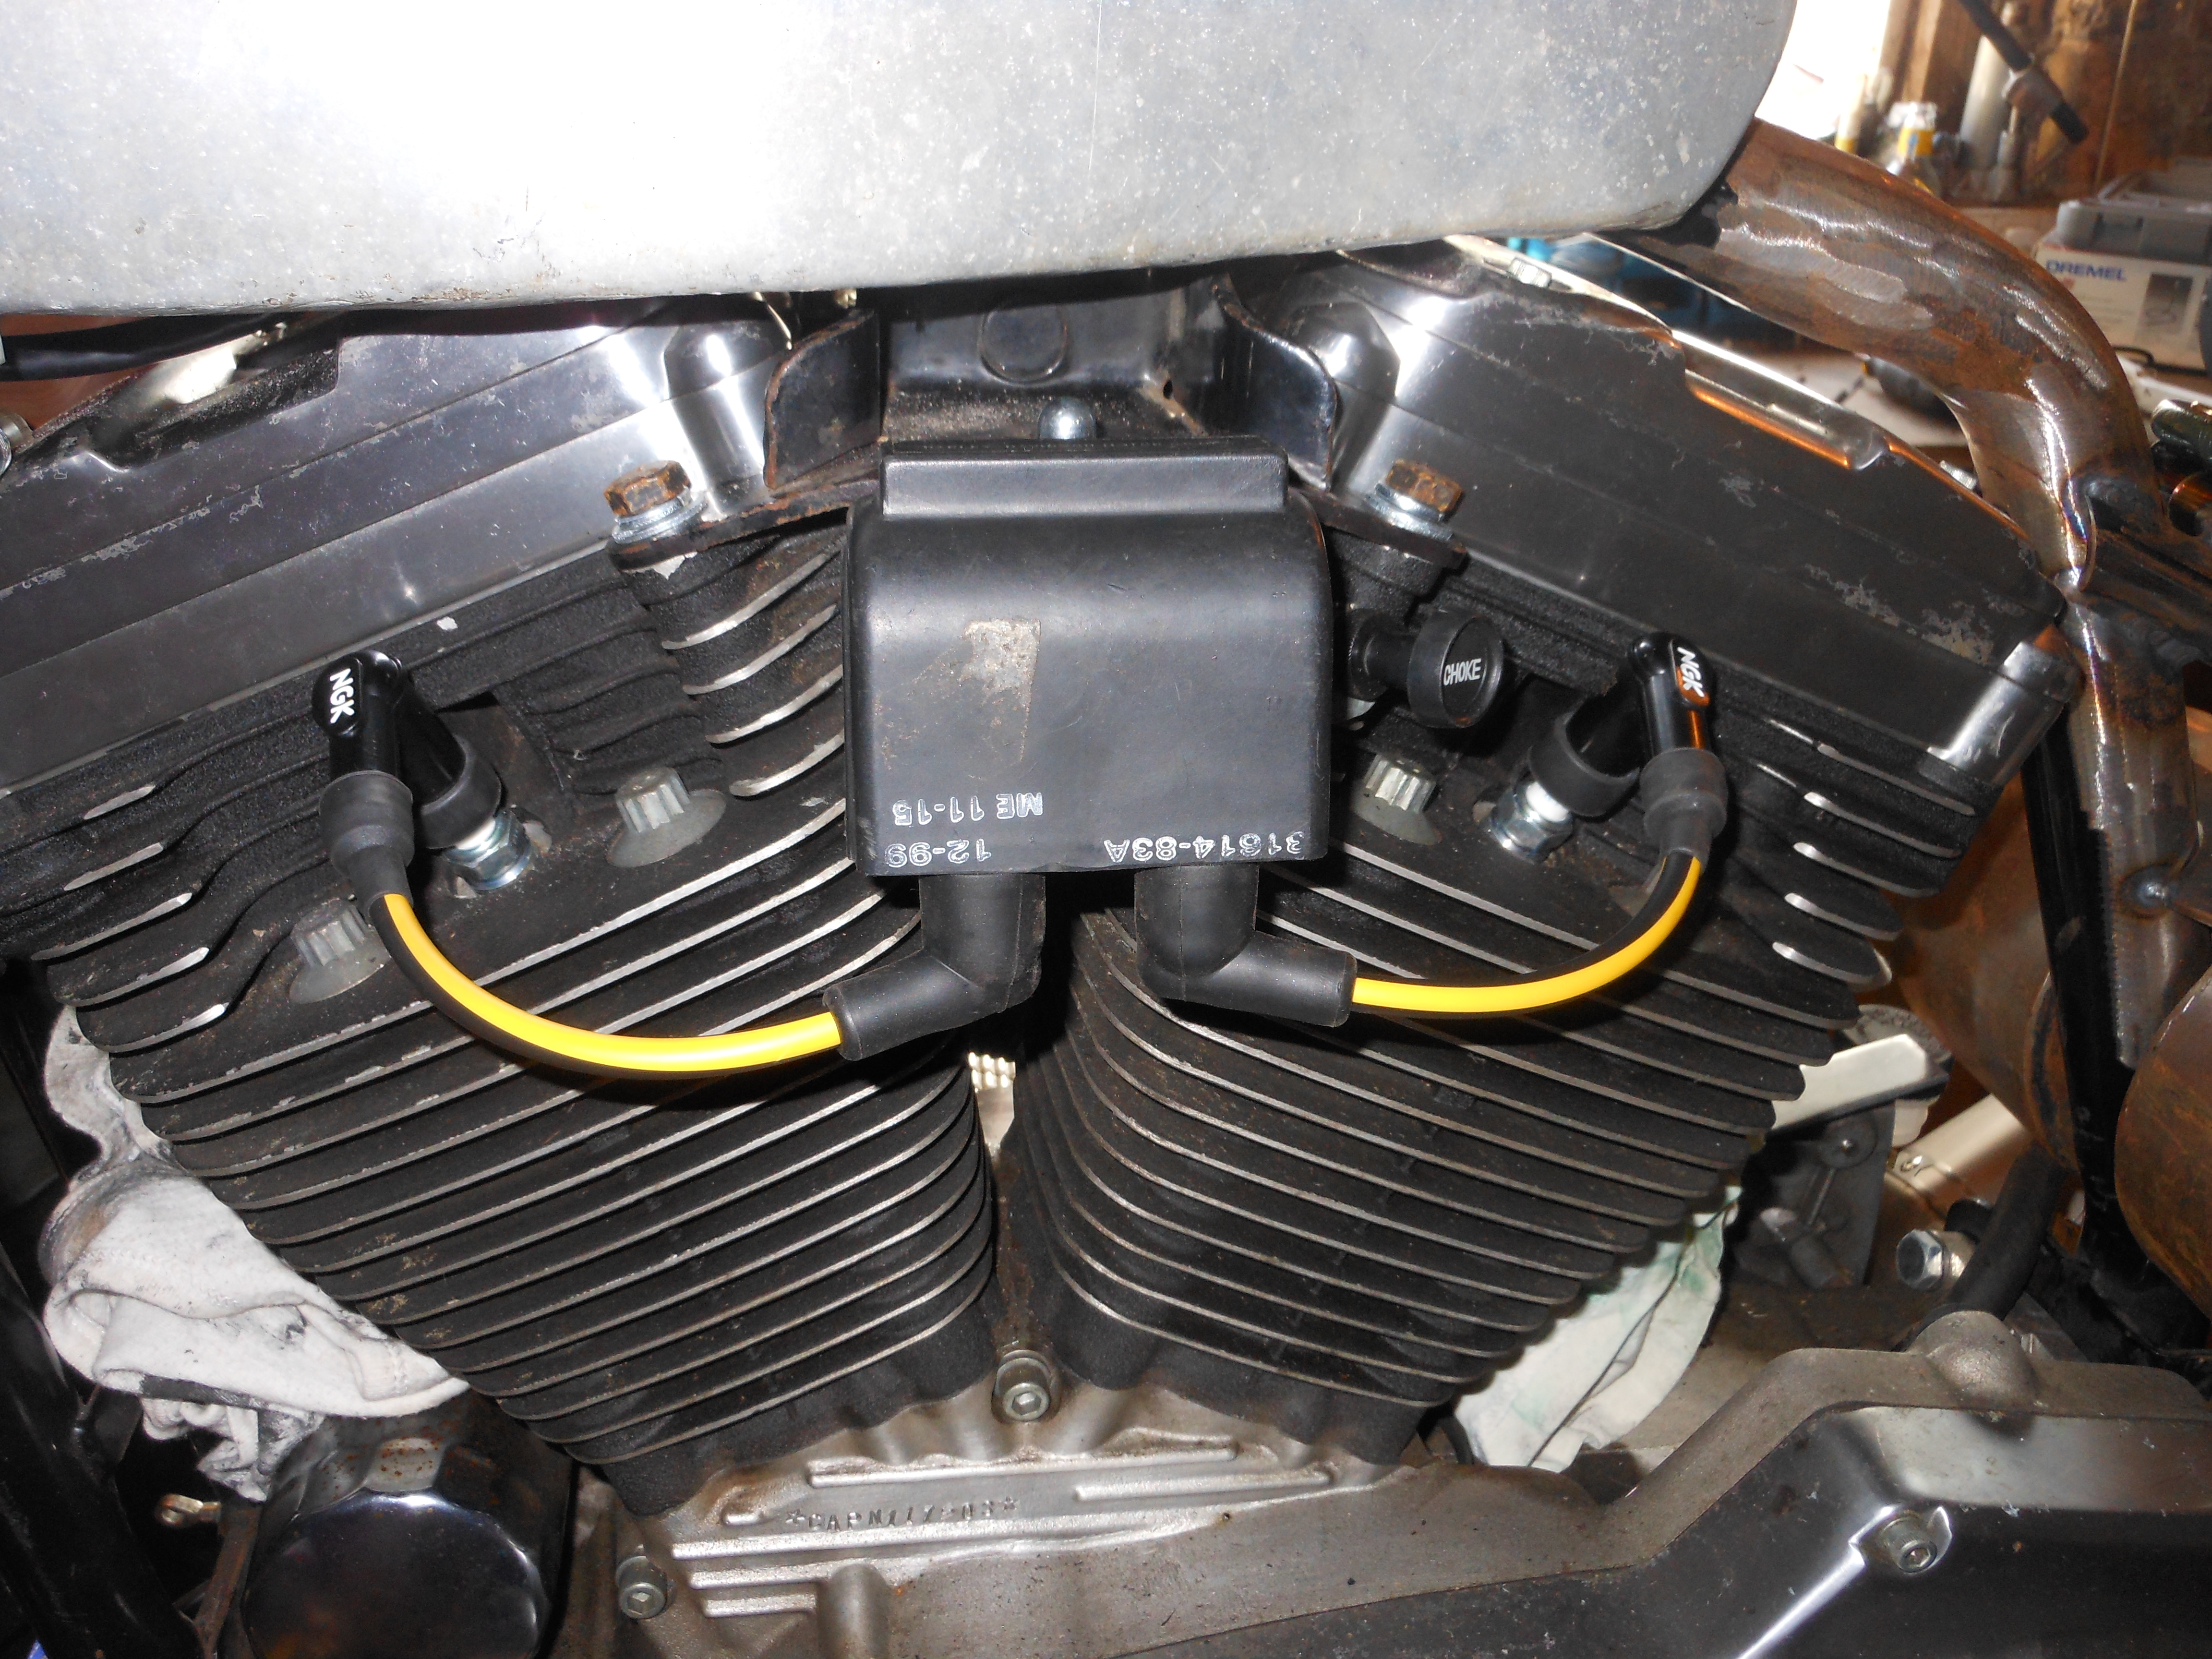
Needed to re-locate the coils as there is now a distinct lack of space under the tank but didn’t want to have to buy one of those £60 (plus postage) “coil relocation kits” – so rummaged through my ‘bits box’ and found a bracket from an unknown source. A bit of drilling and hammering and hey presto – job done and all for nowt!
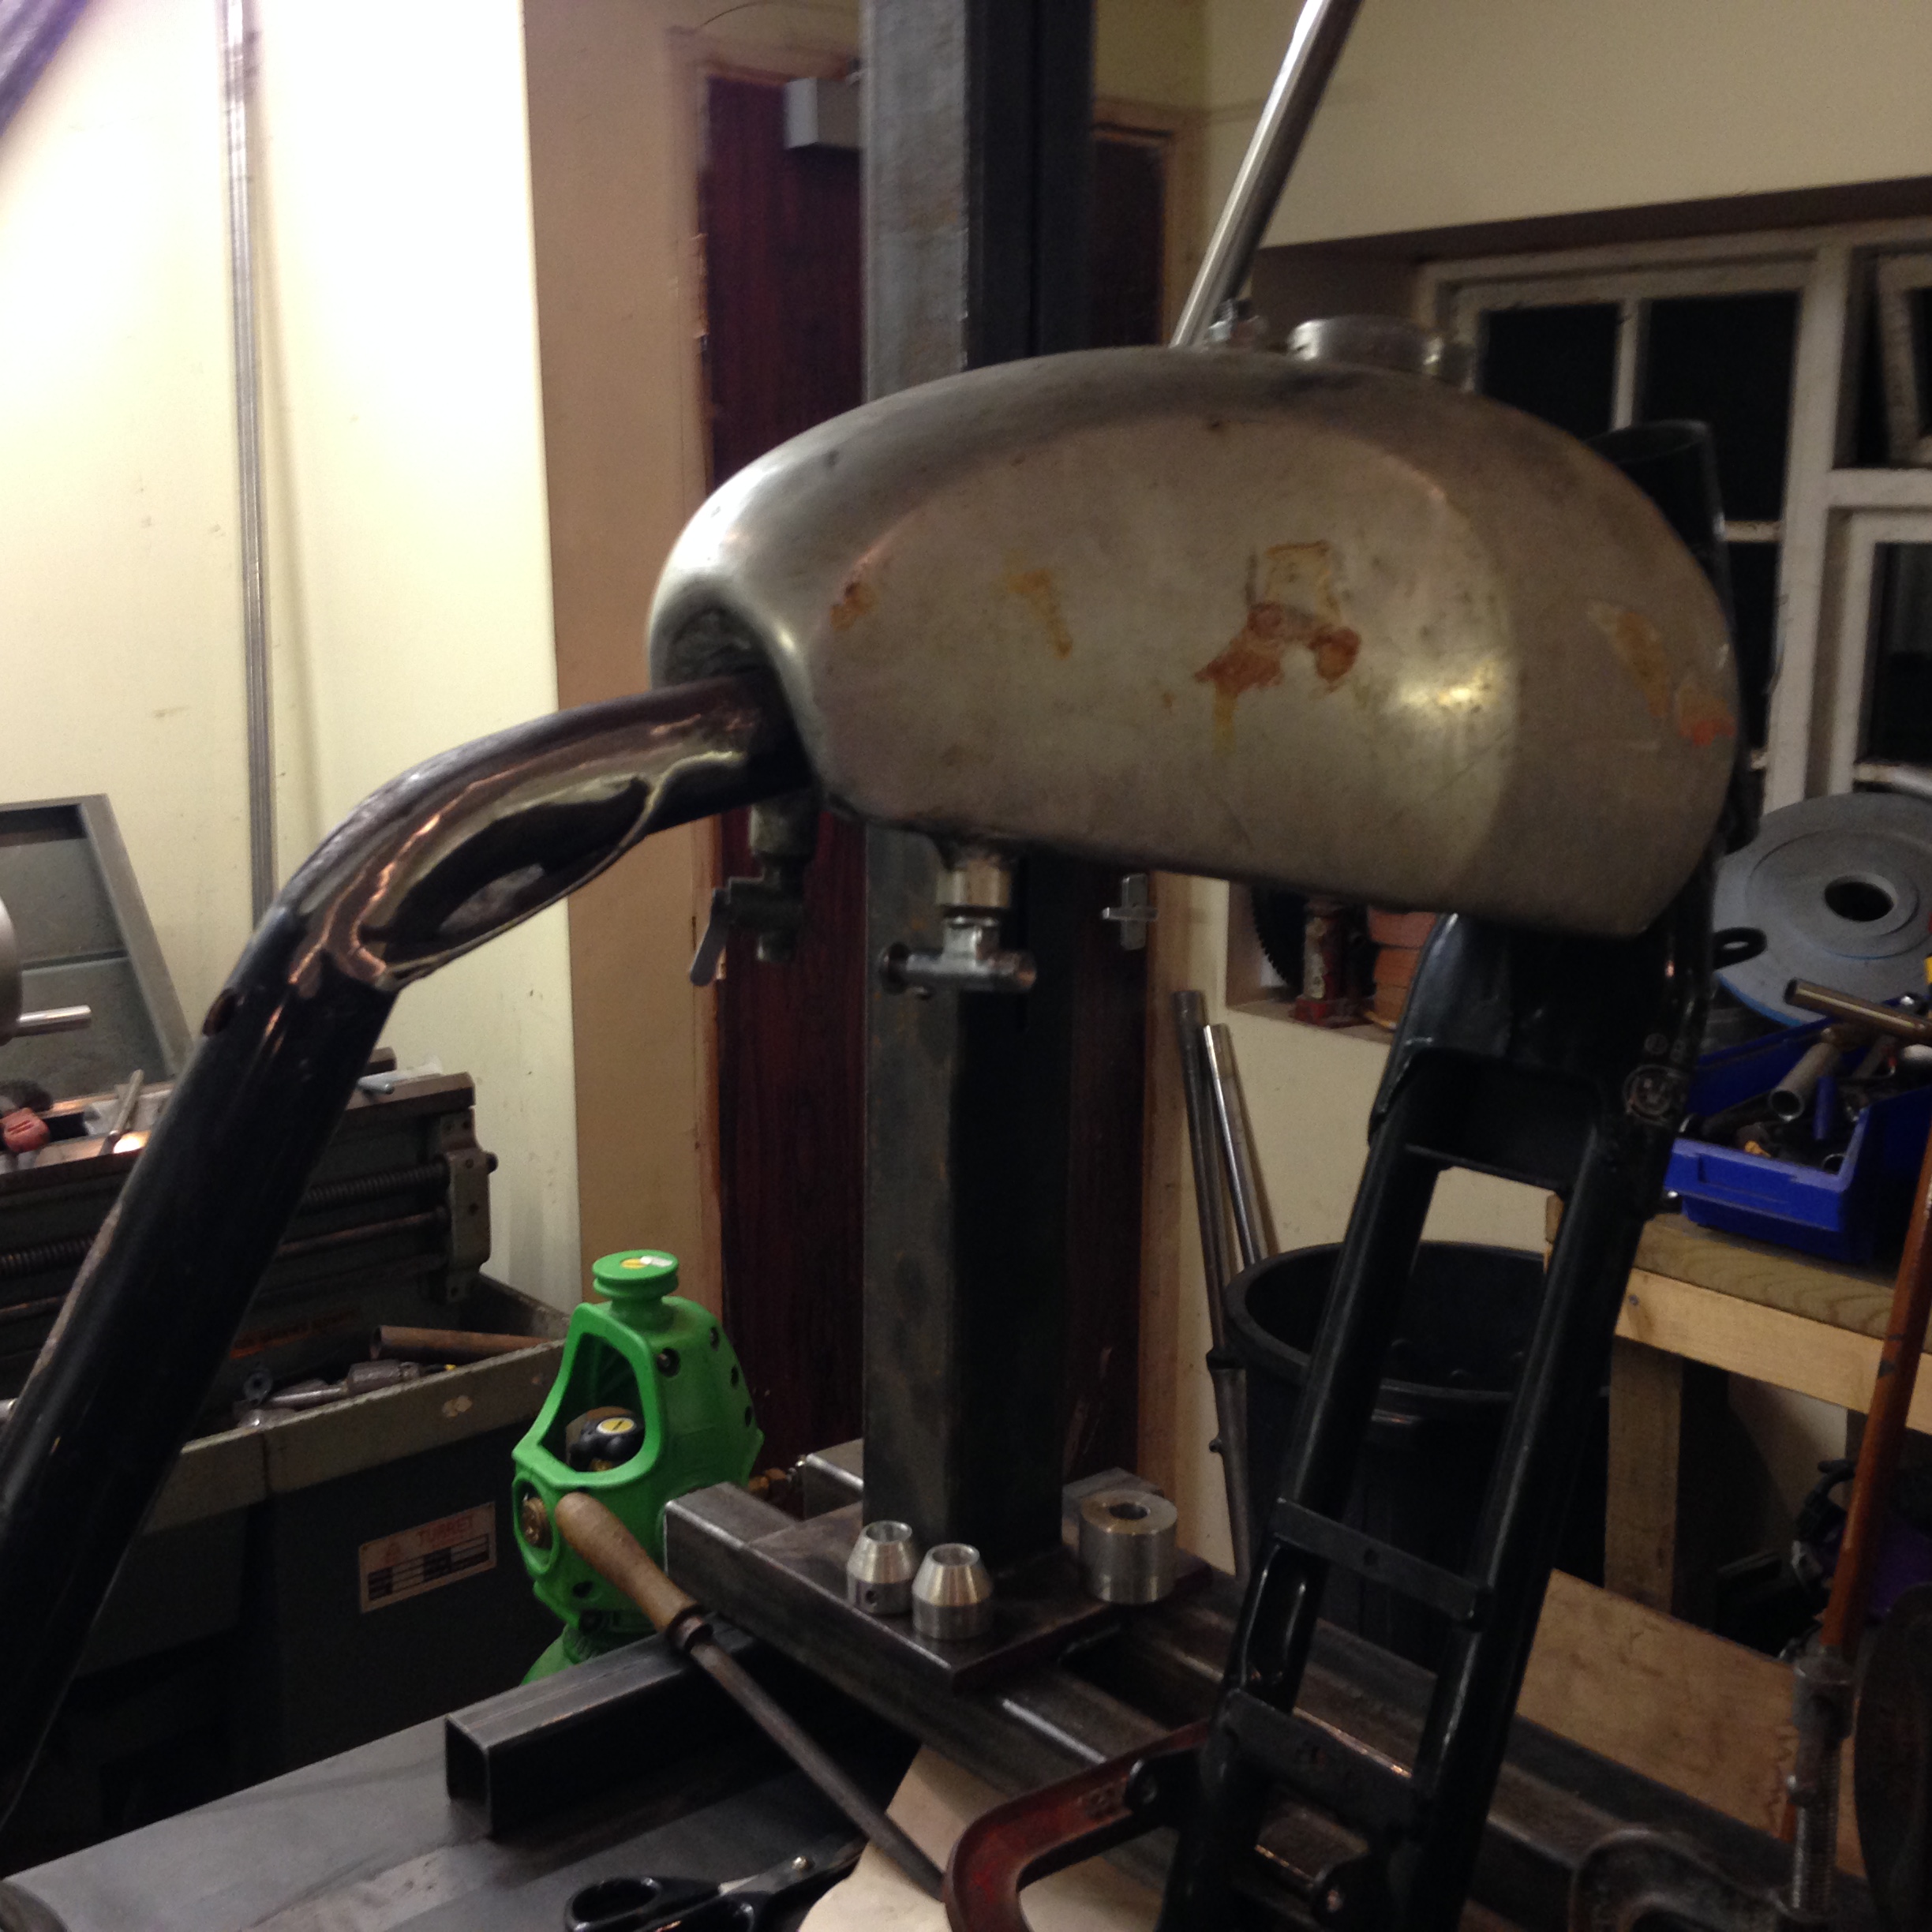
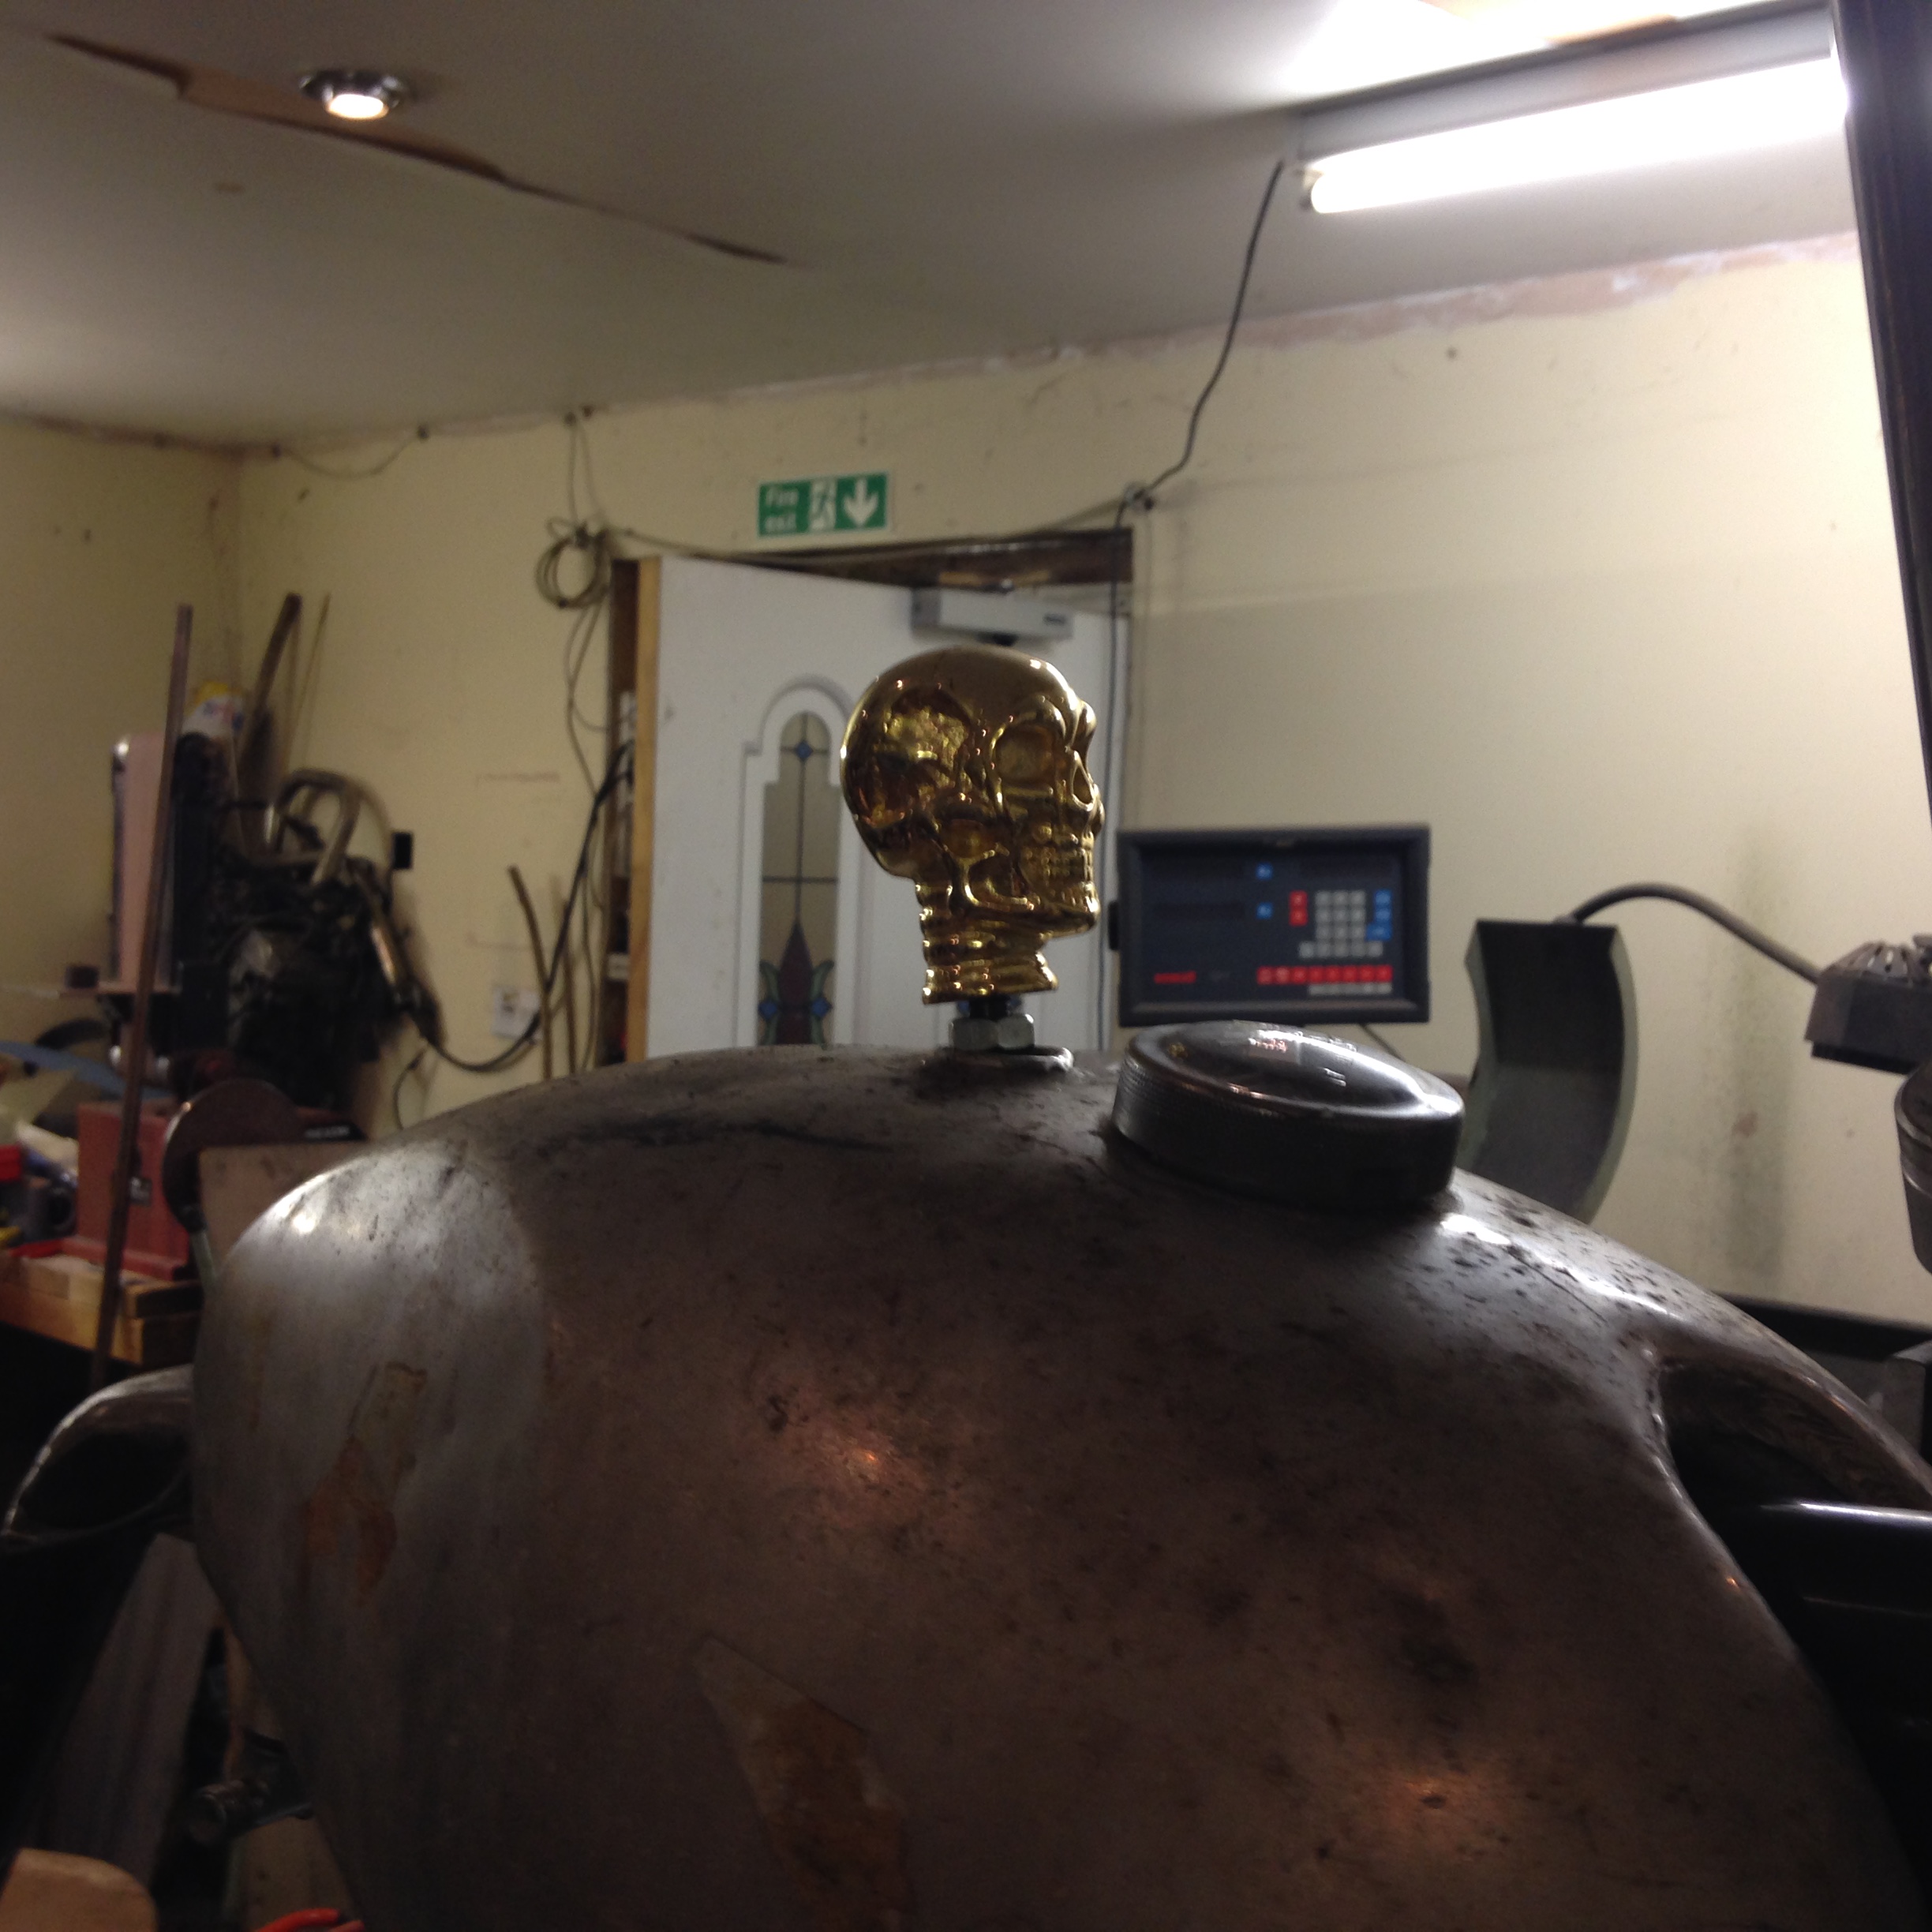
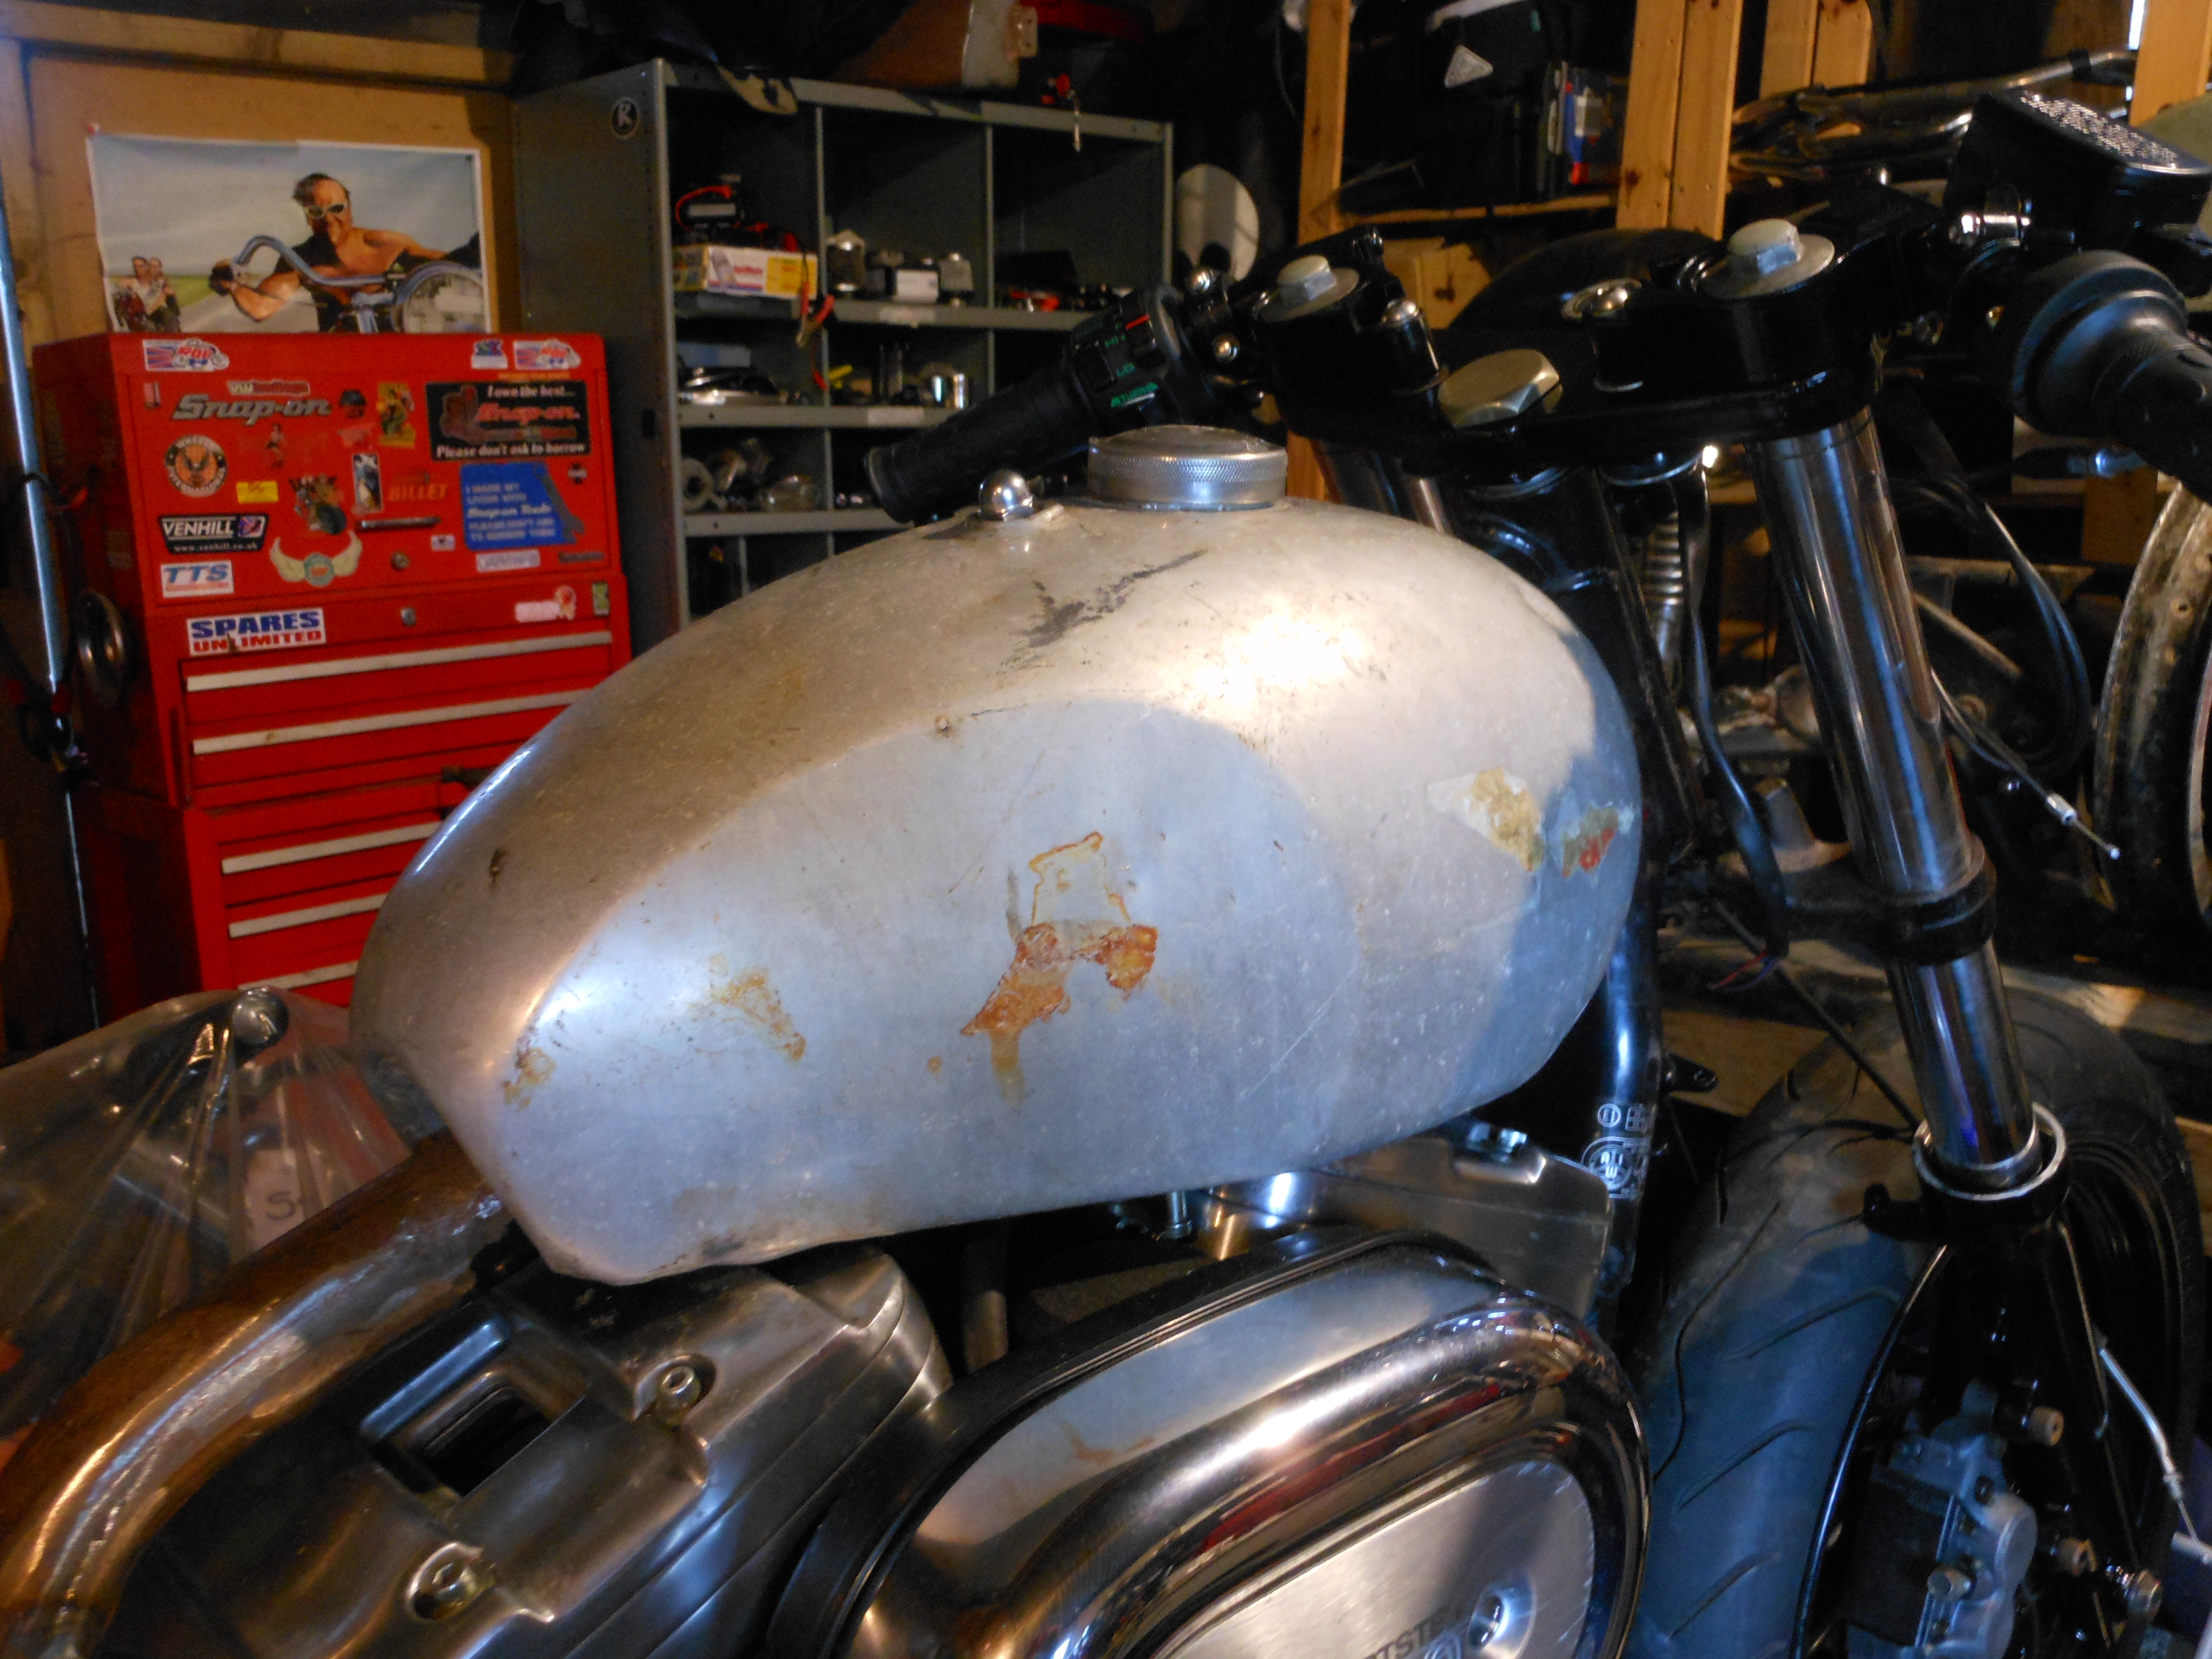
Popped up to Heisenburgs man shed the other night with a view to making a start on his top secret new project. This came to an abrupt end ‘due to a technical problem’ so after a short period of twiddling thumbs (how do you ‘twiddle’?) we dragged the tank out from under the workbench with a view to ‘modifying’ it to fit the Yamaharley.
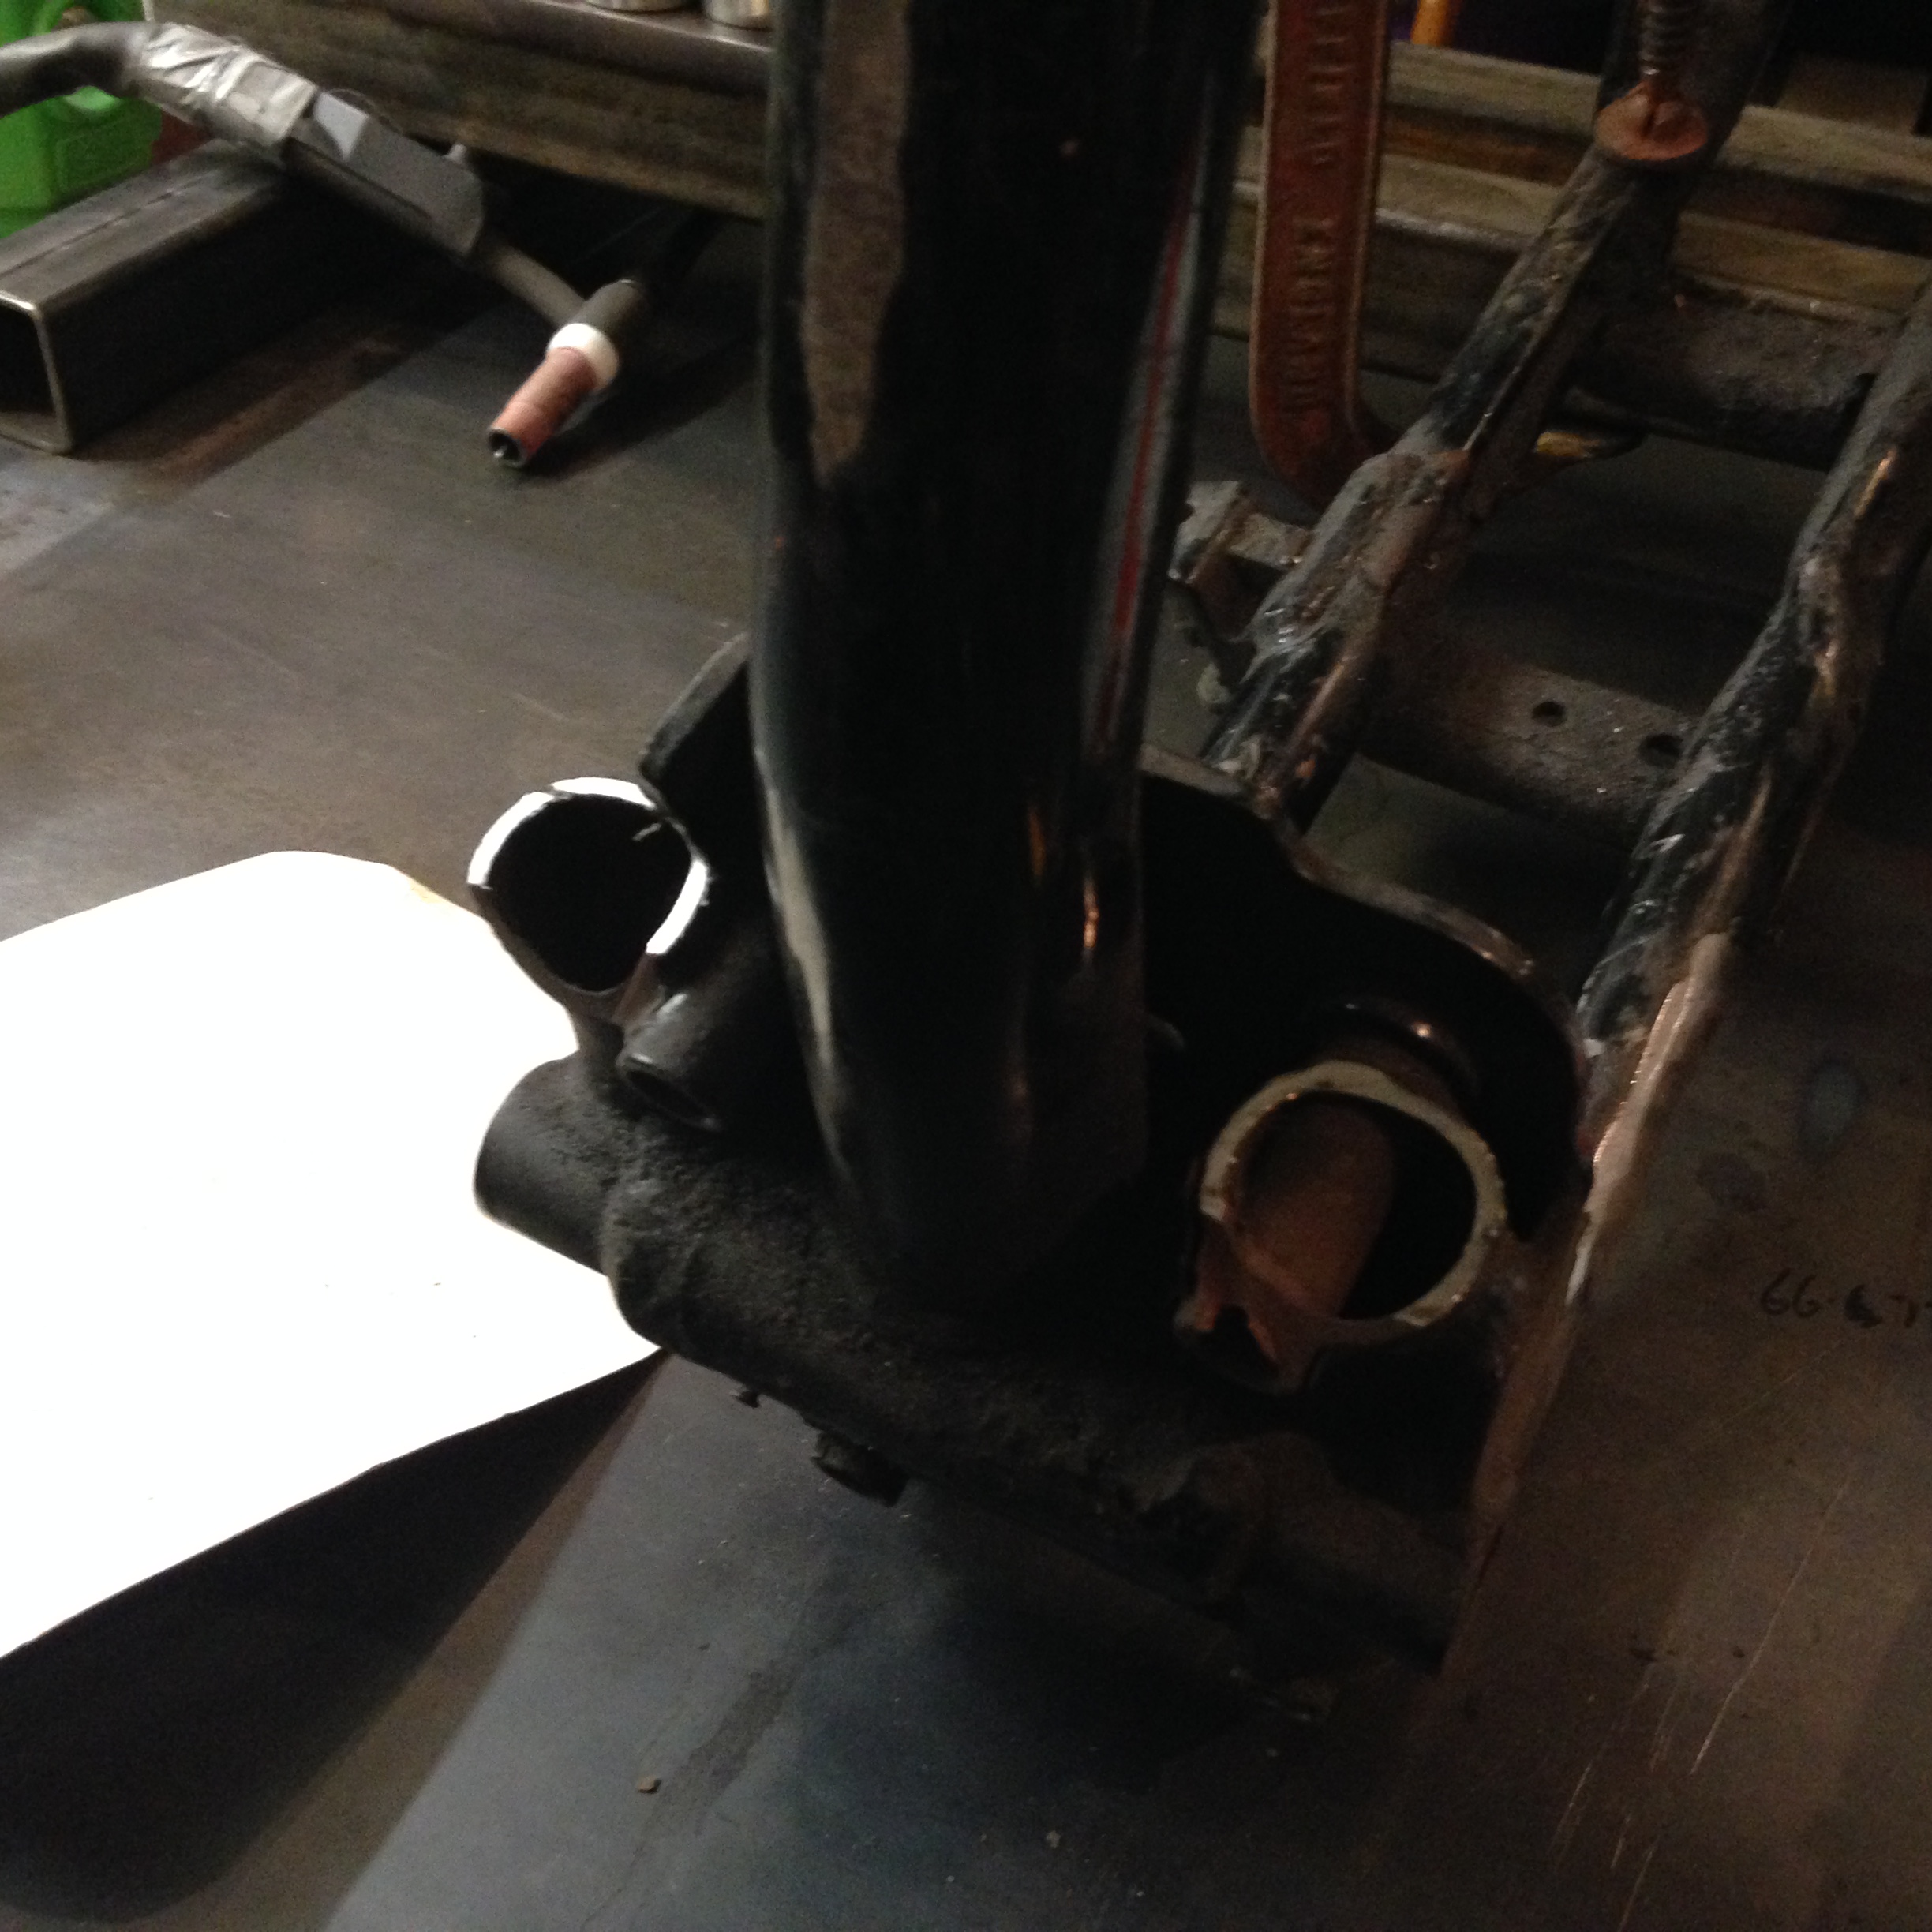
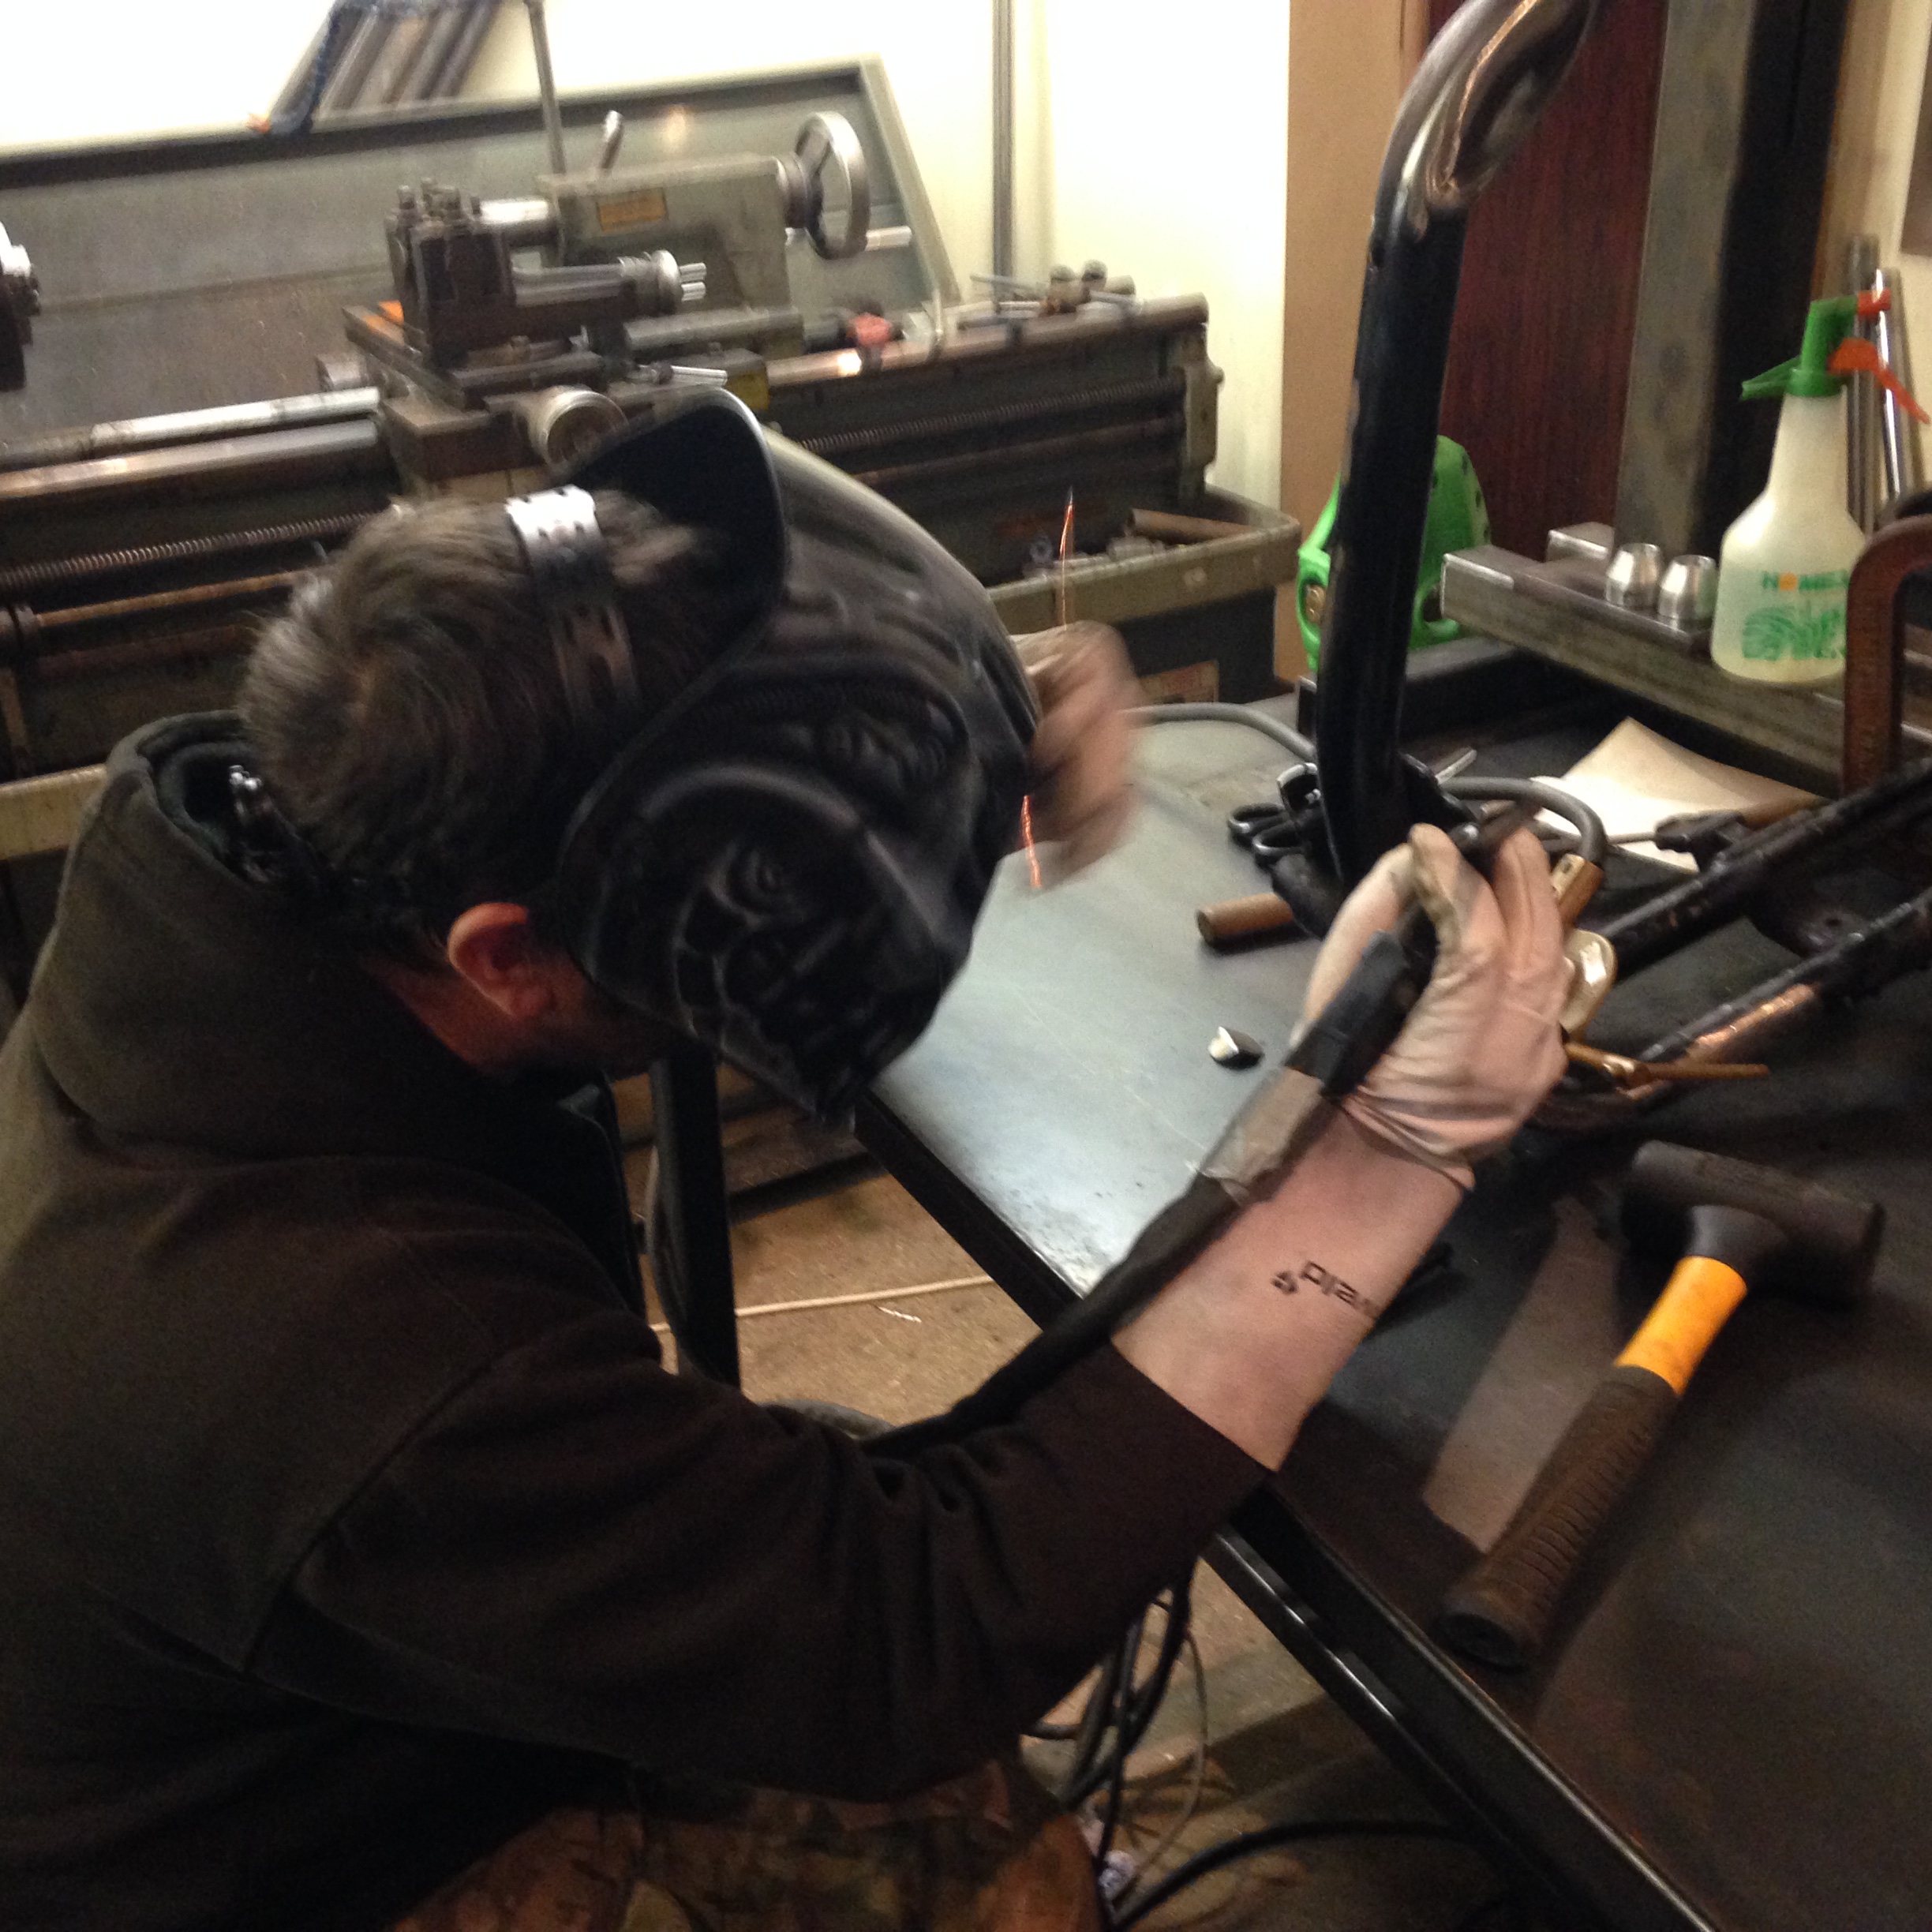
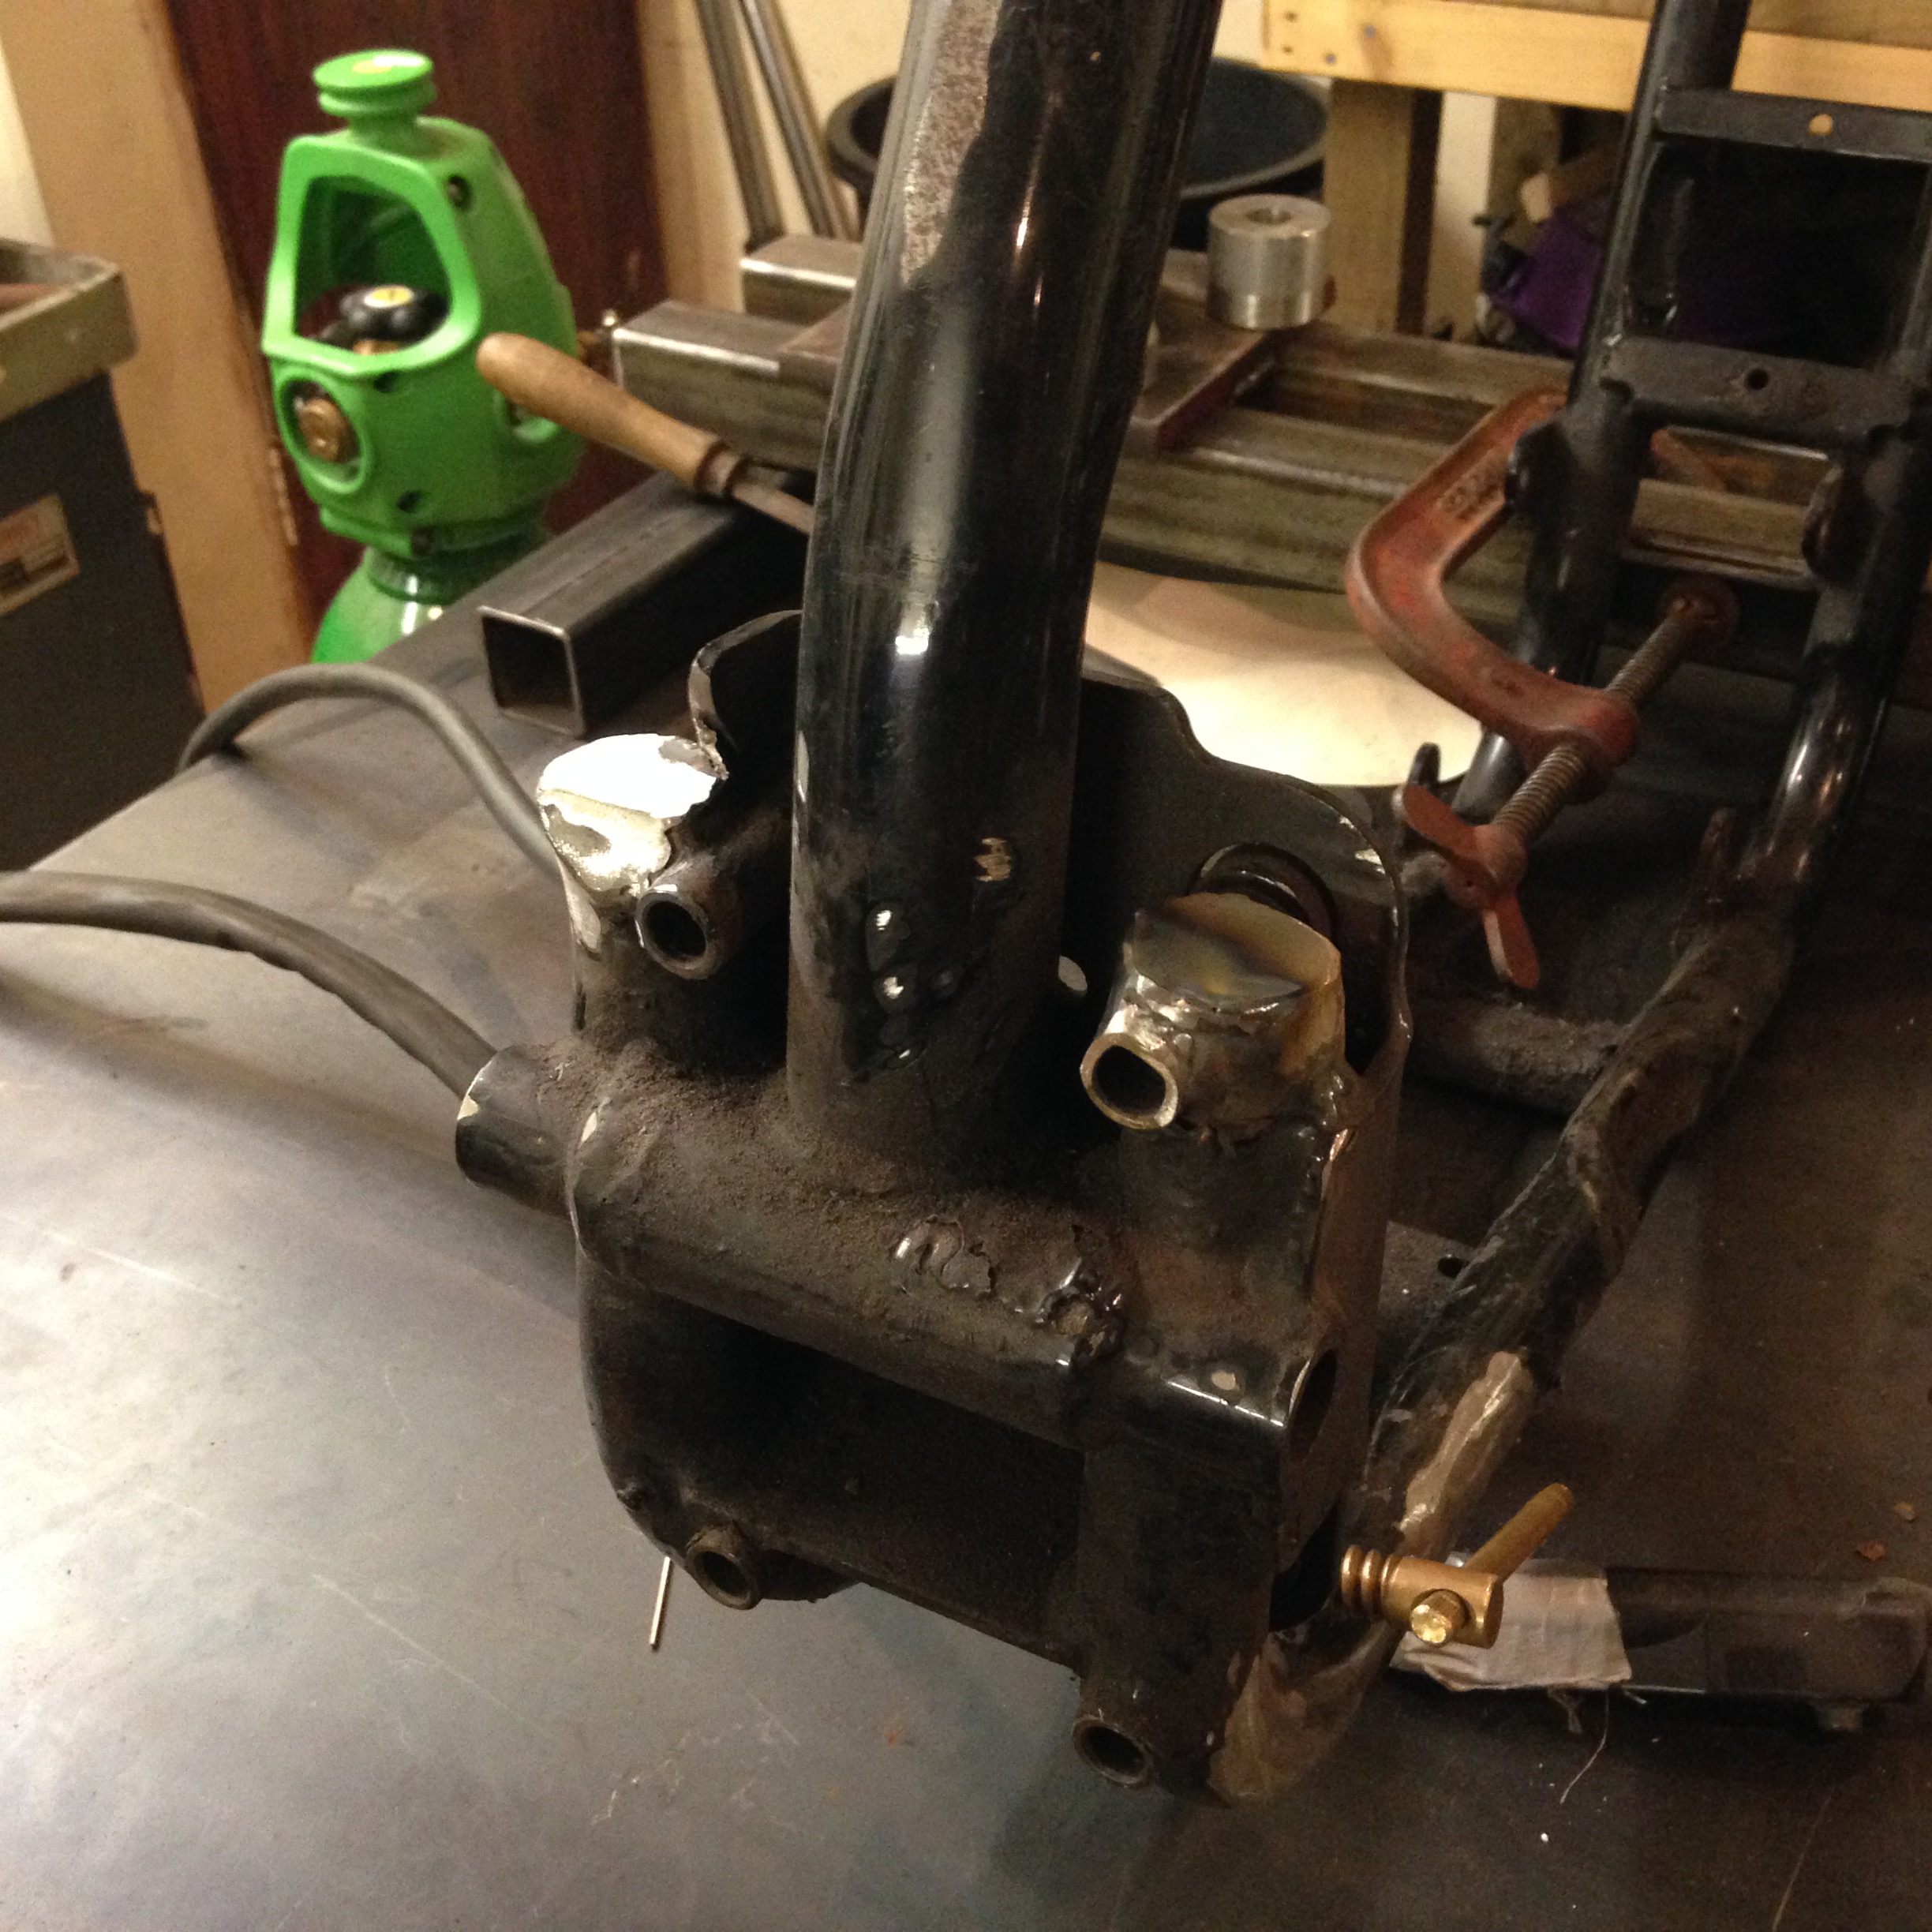
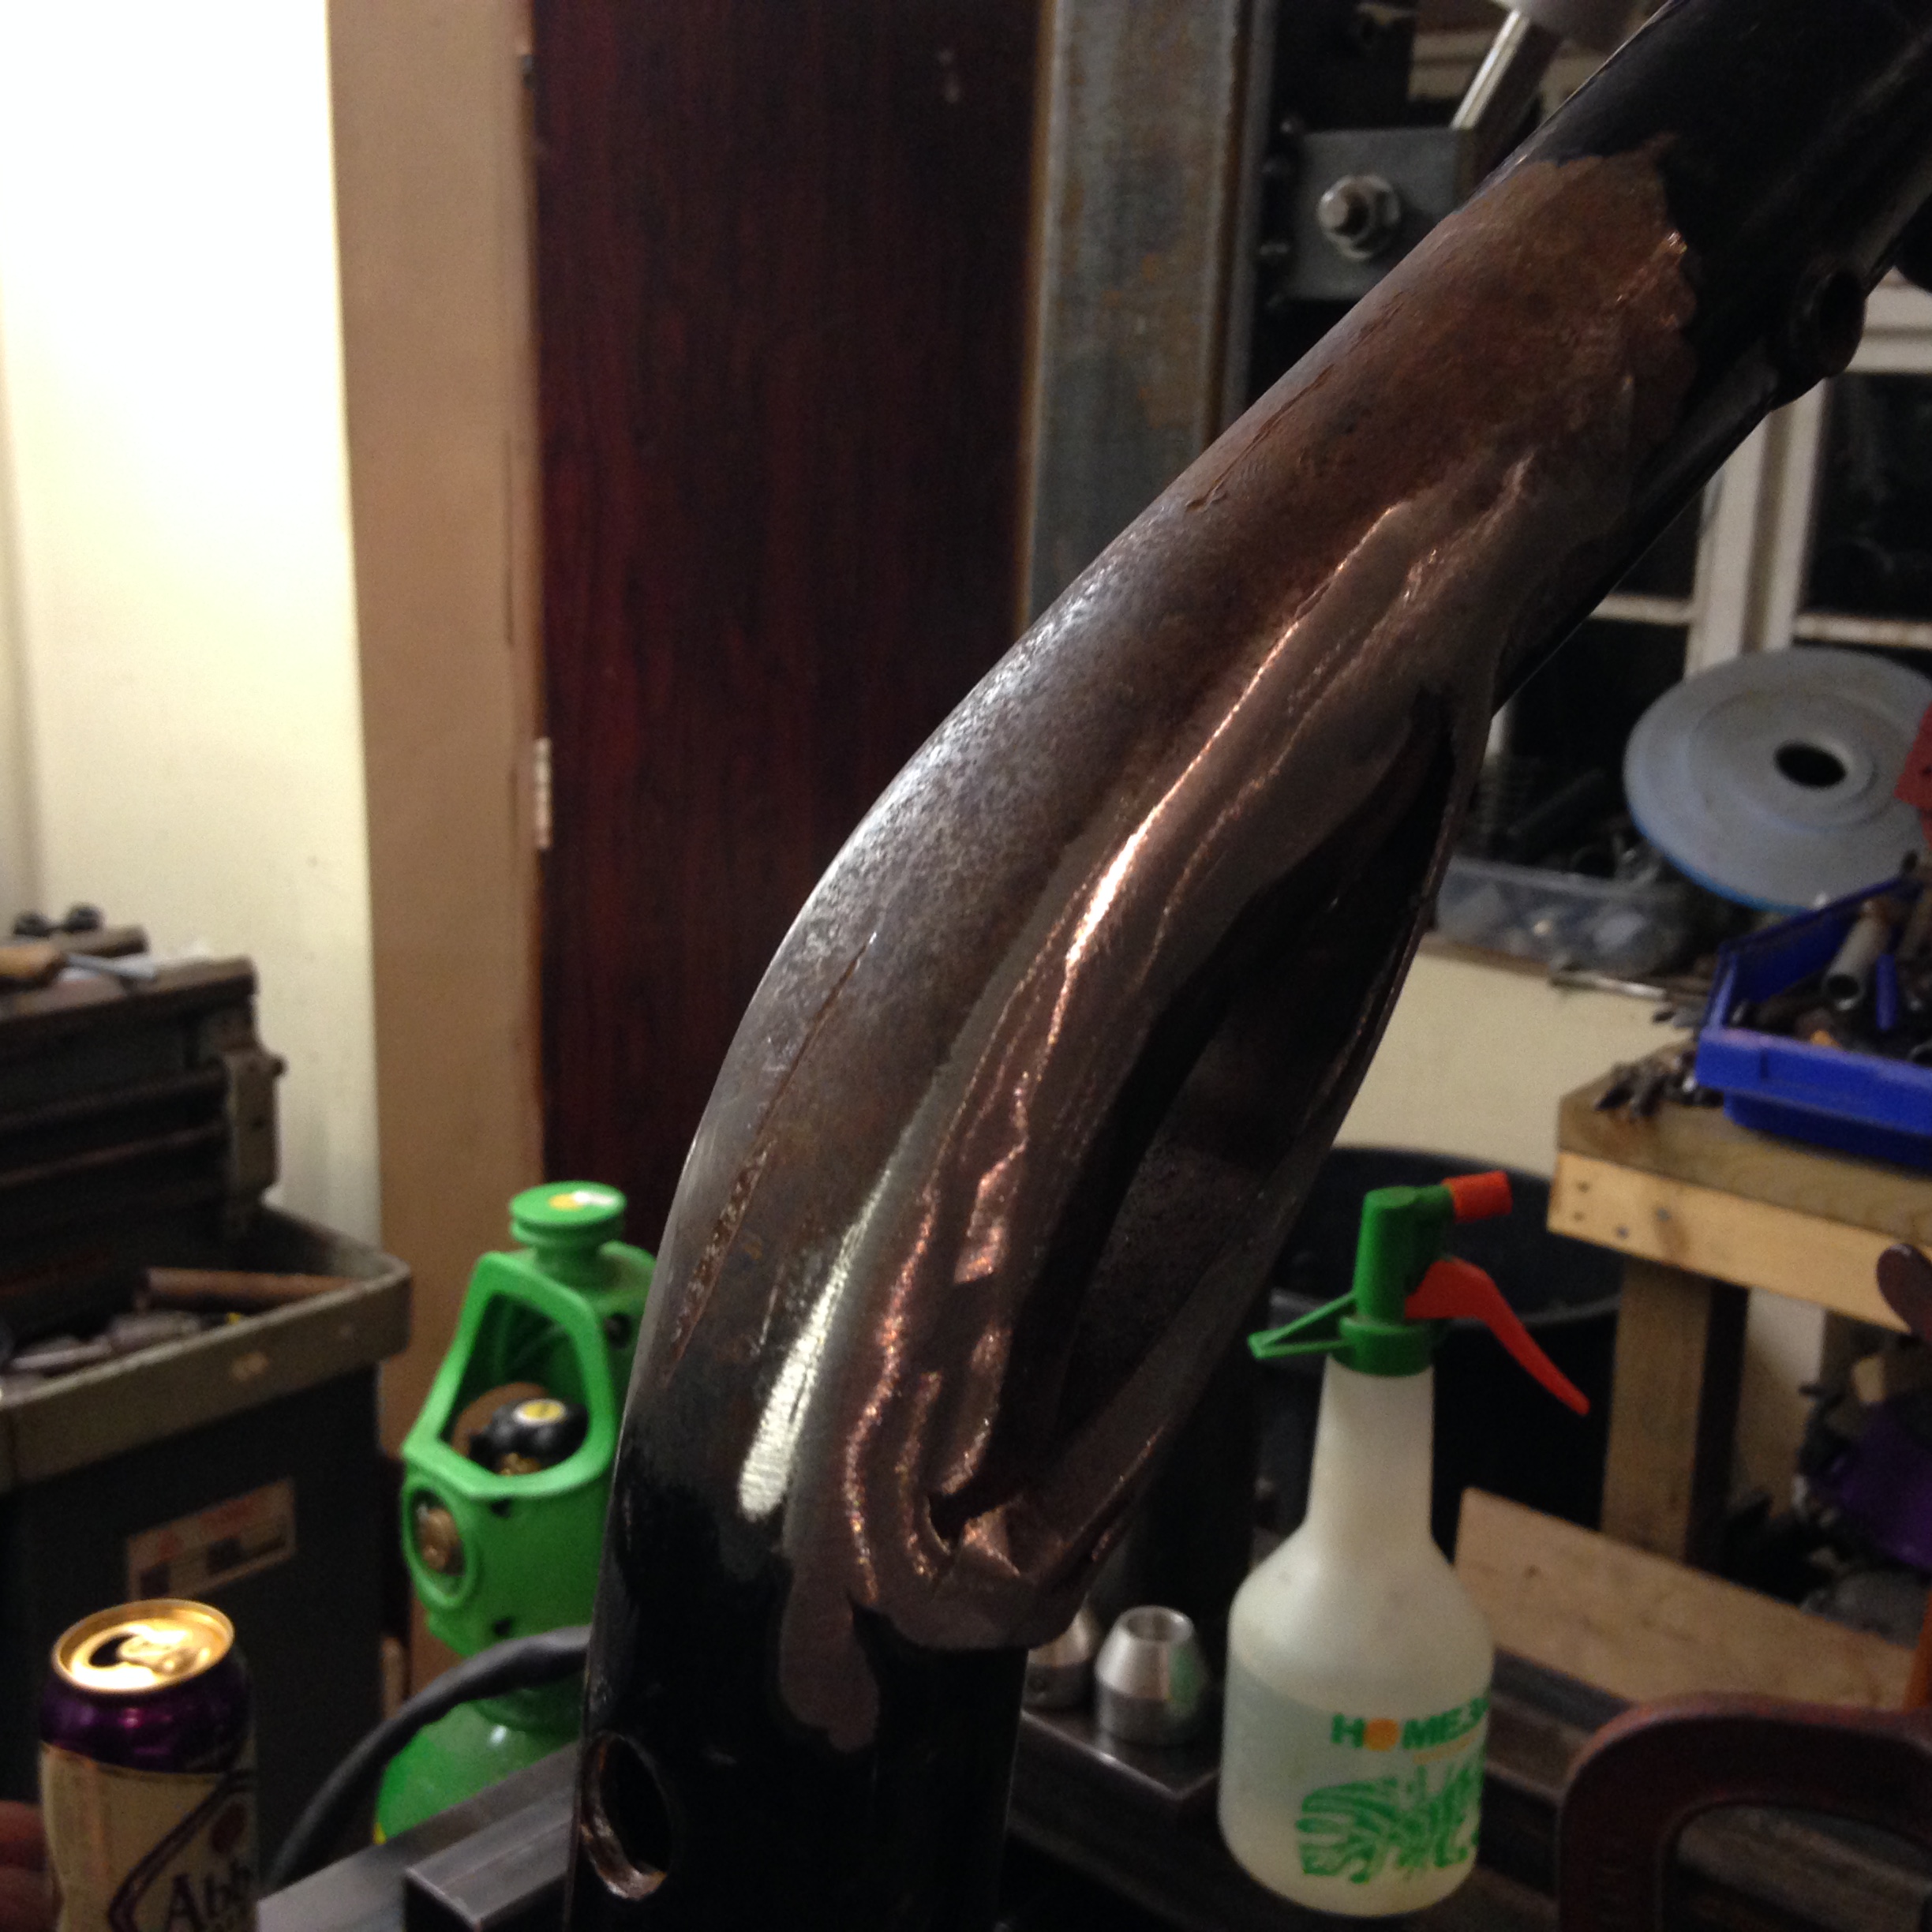
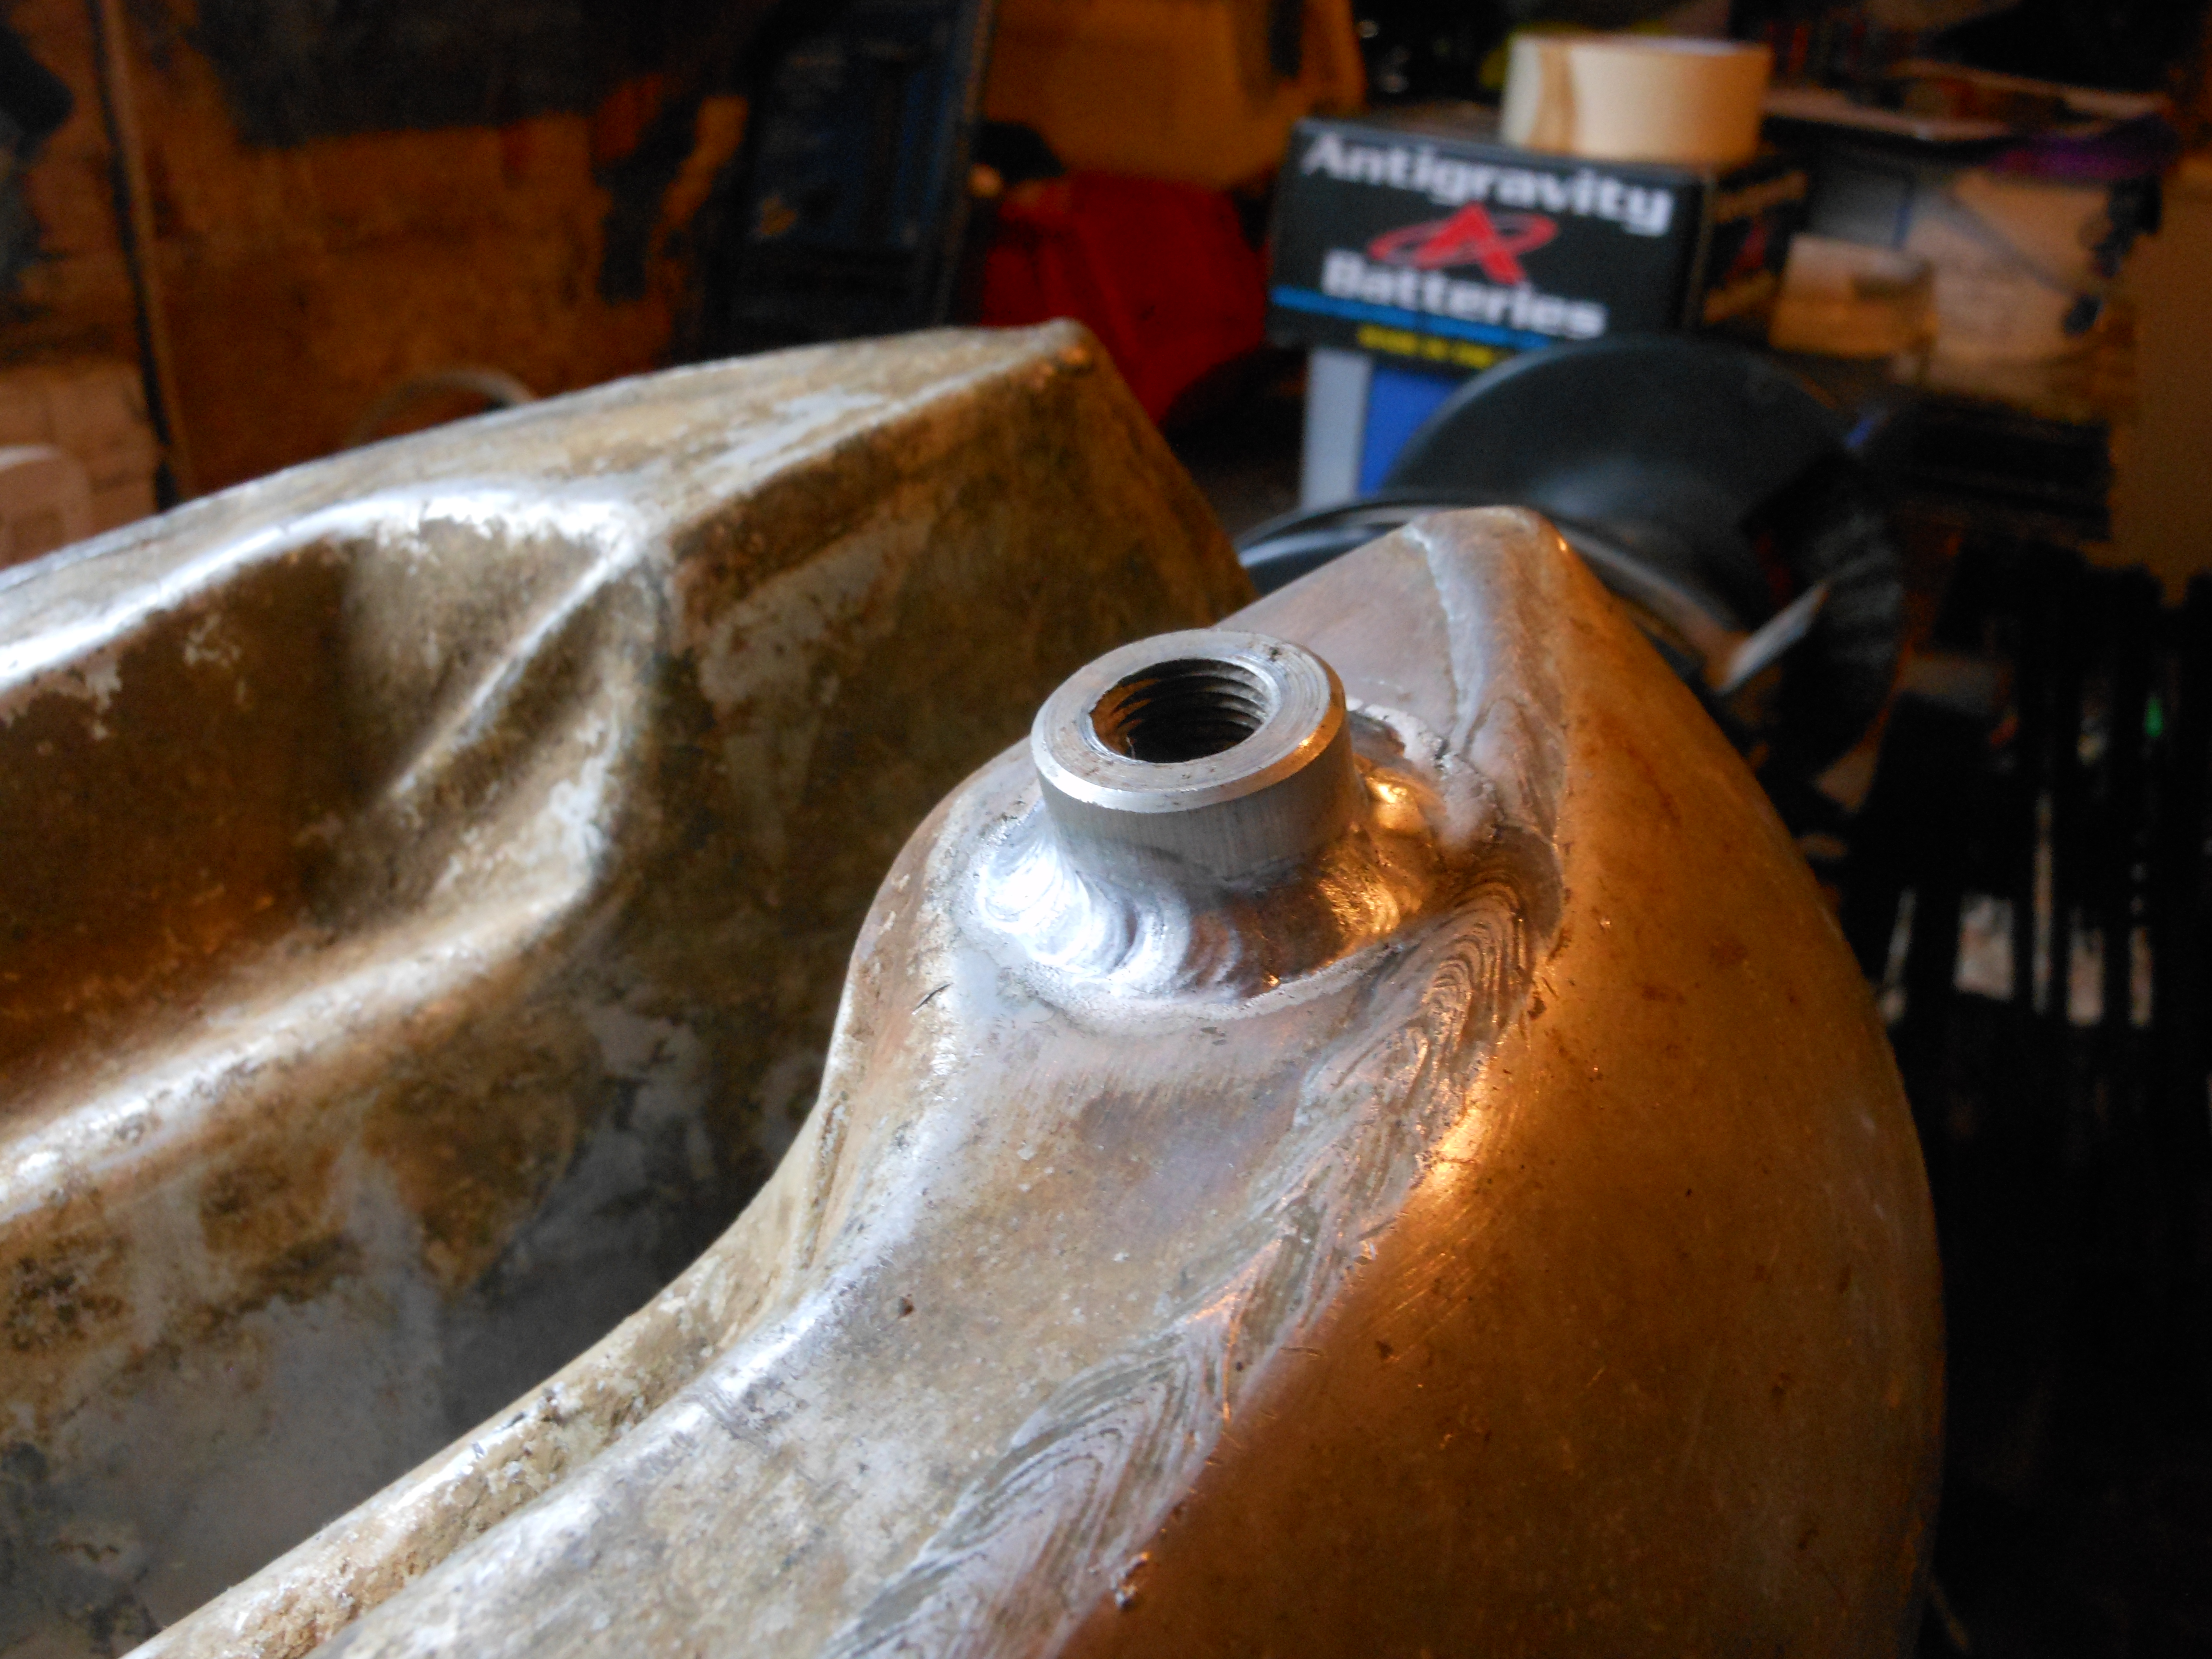
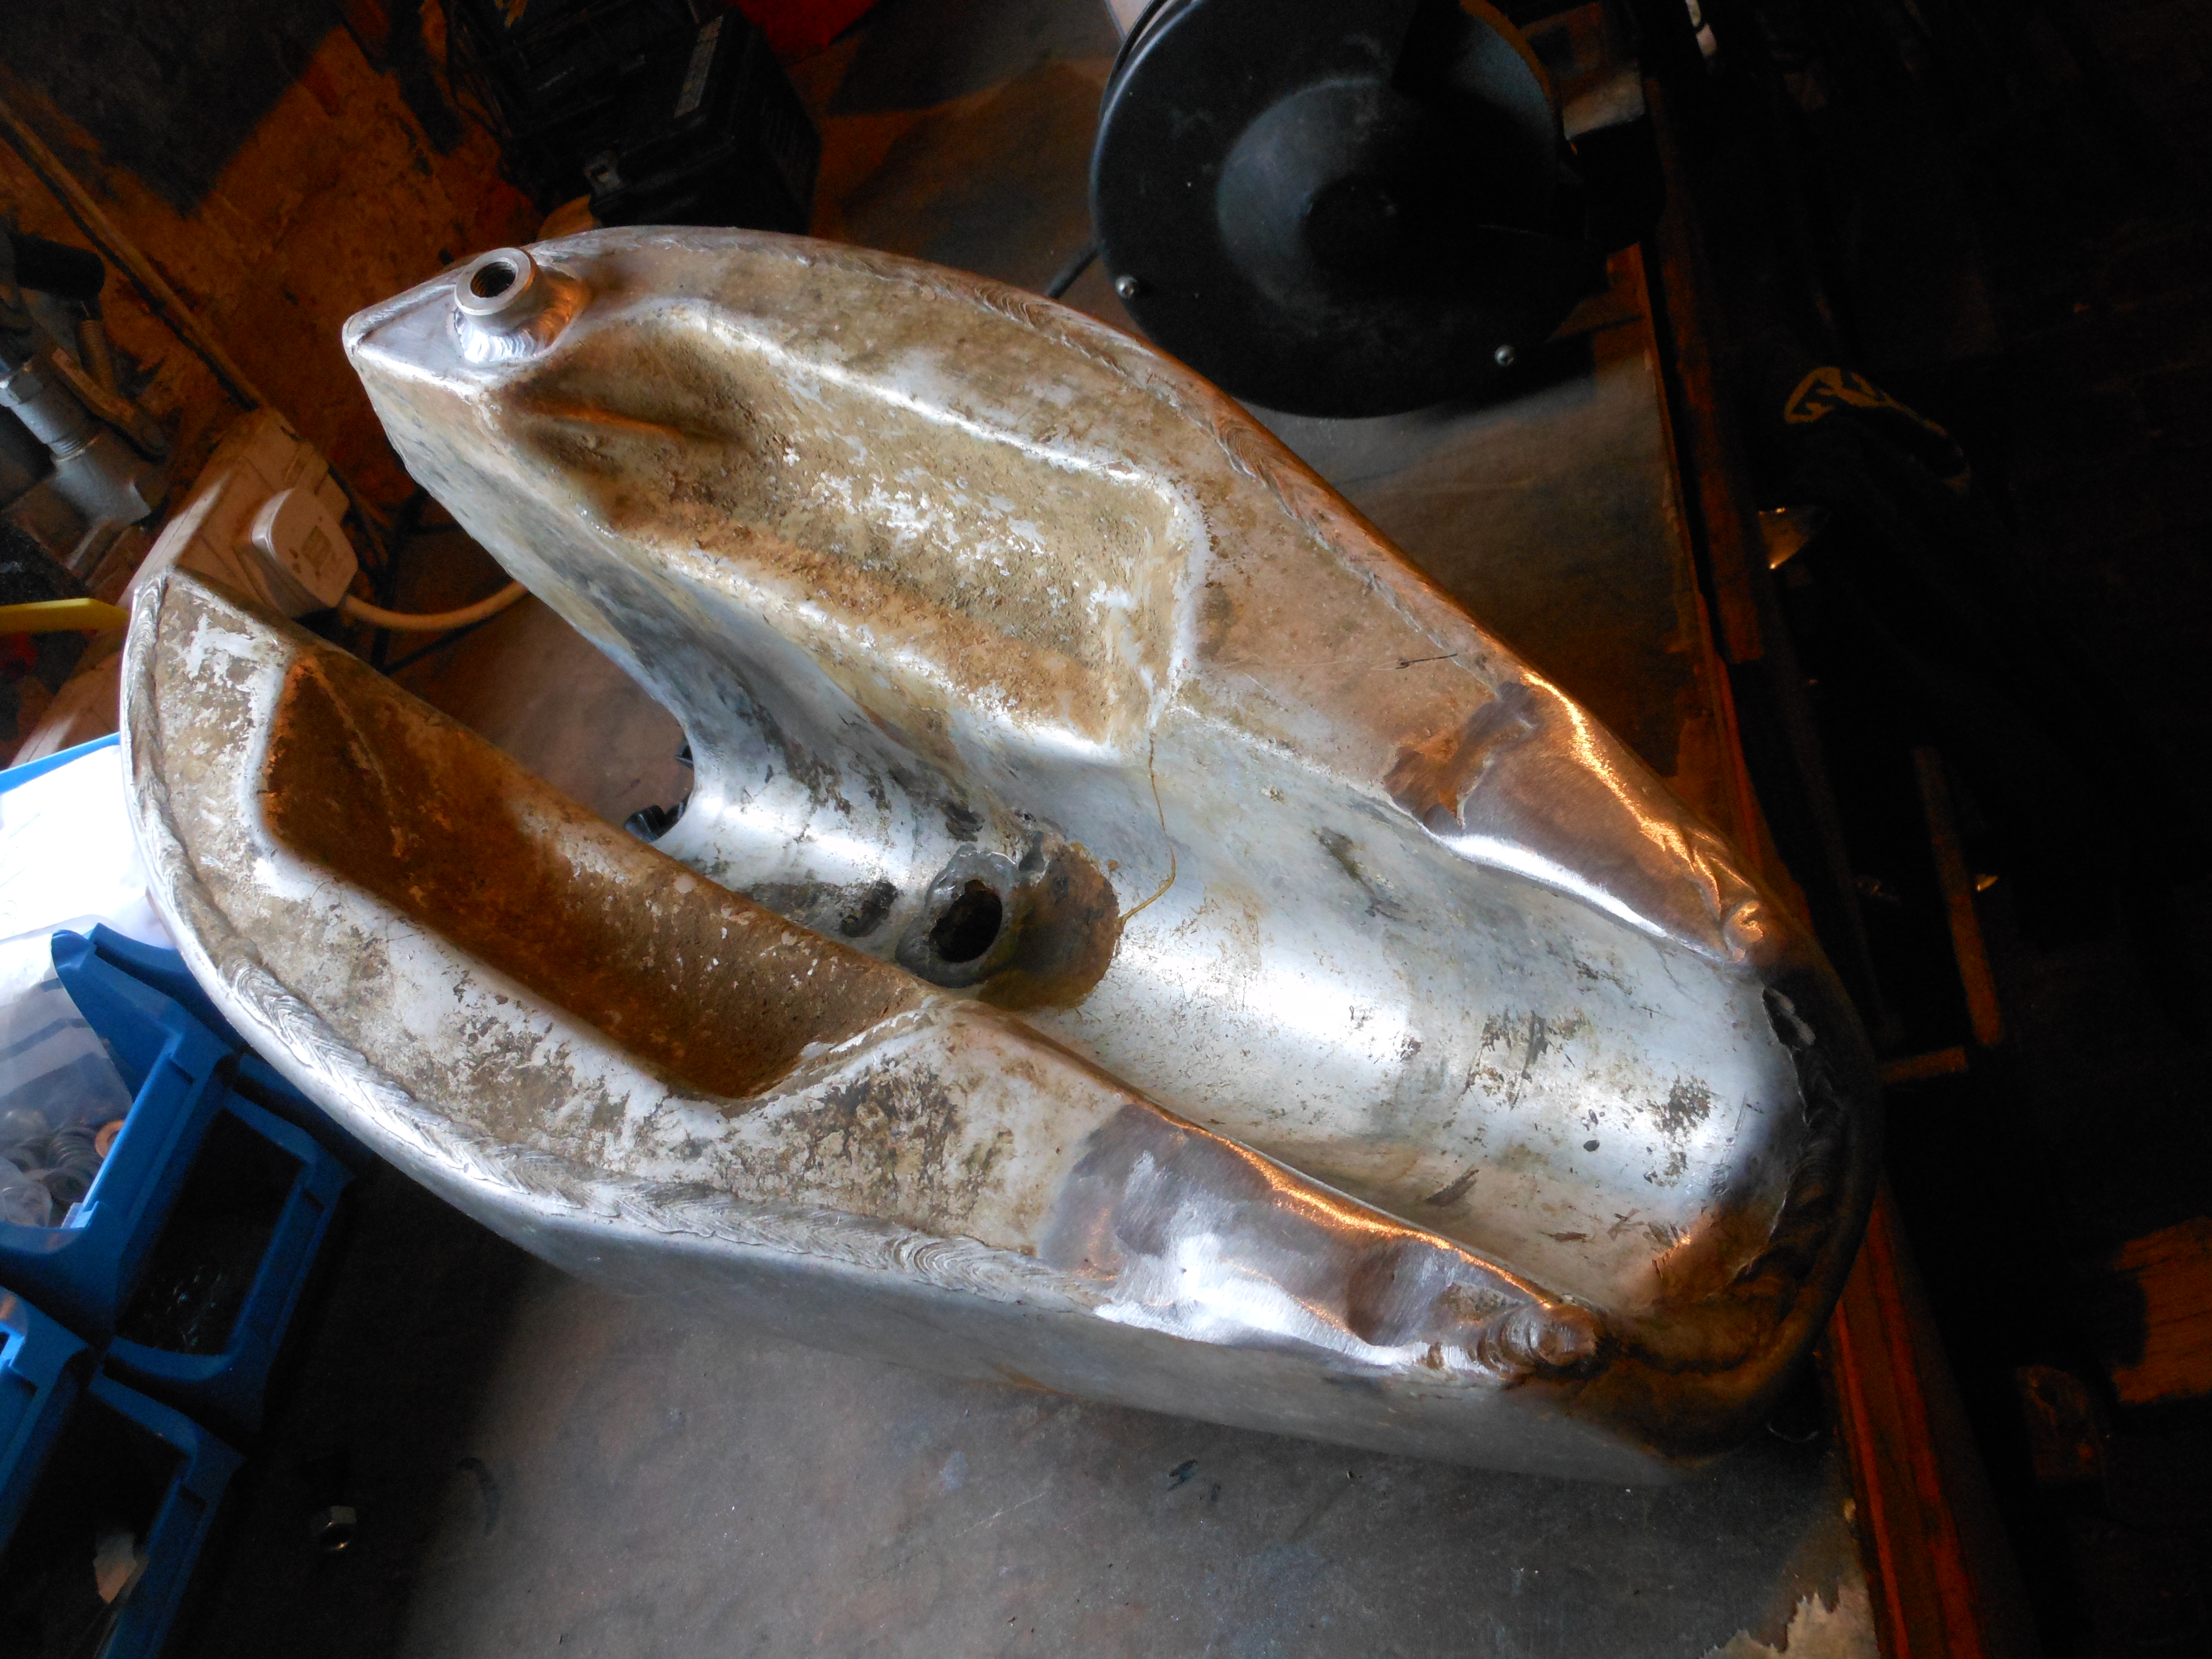
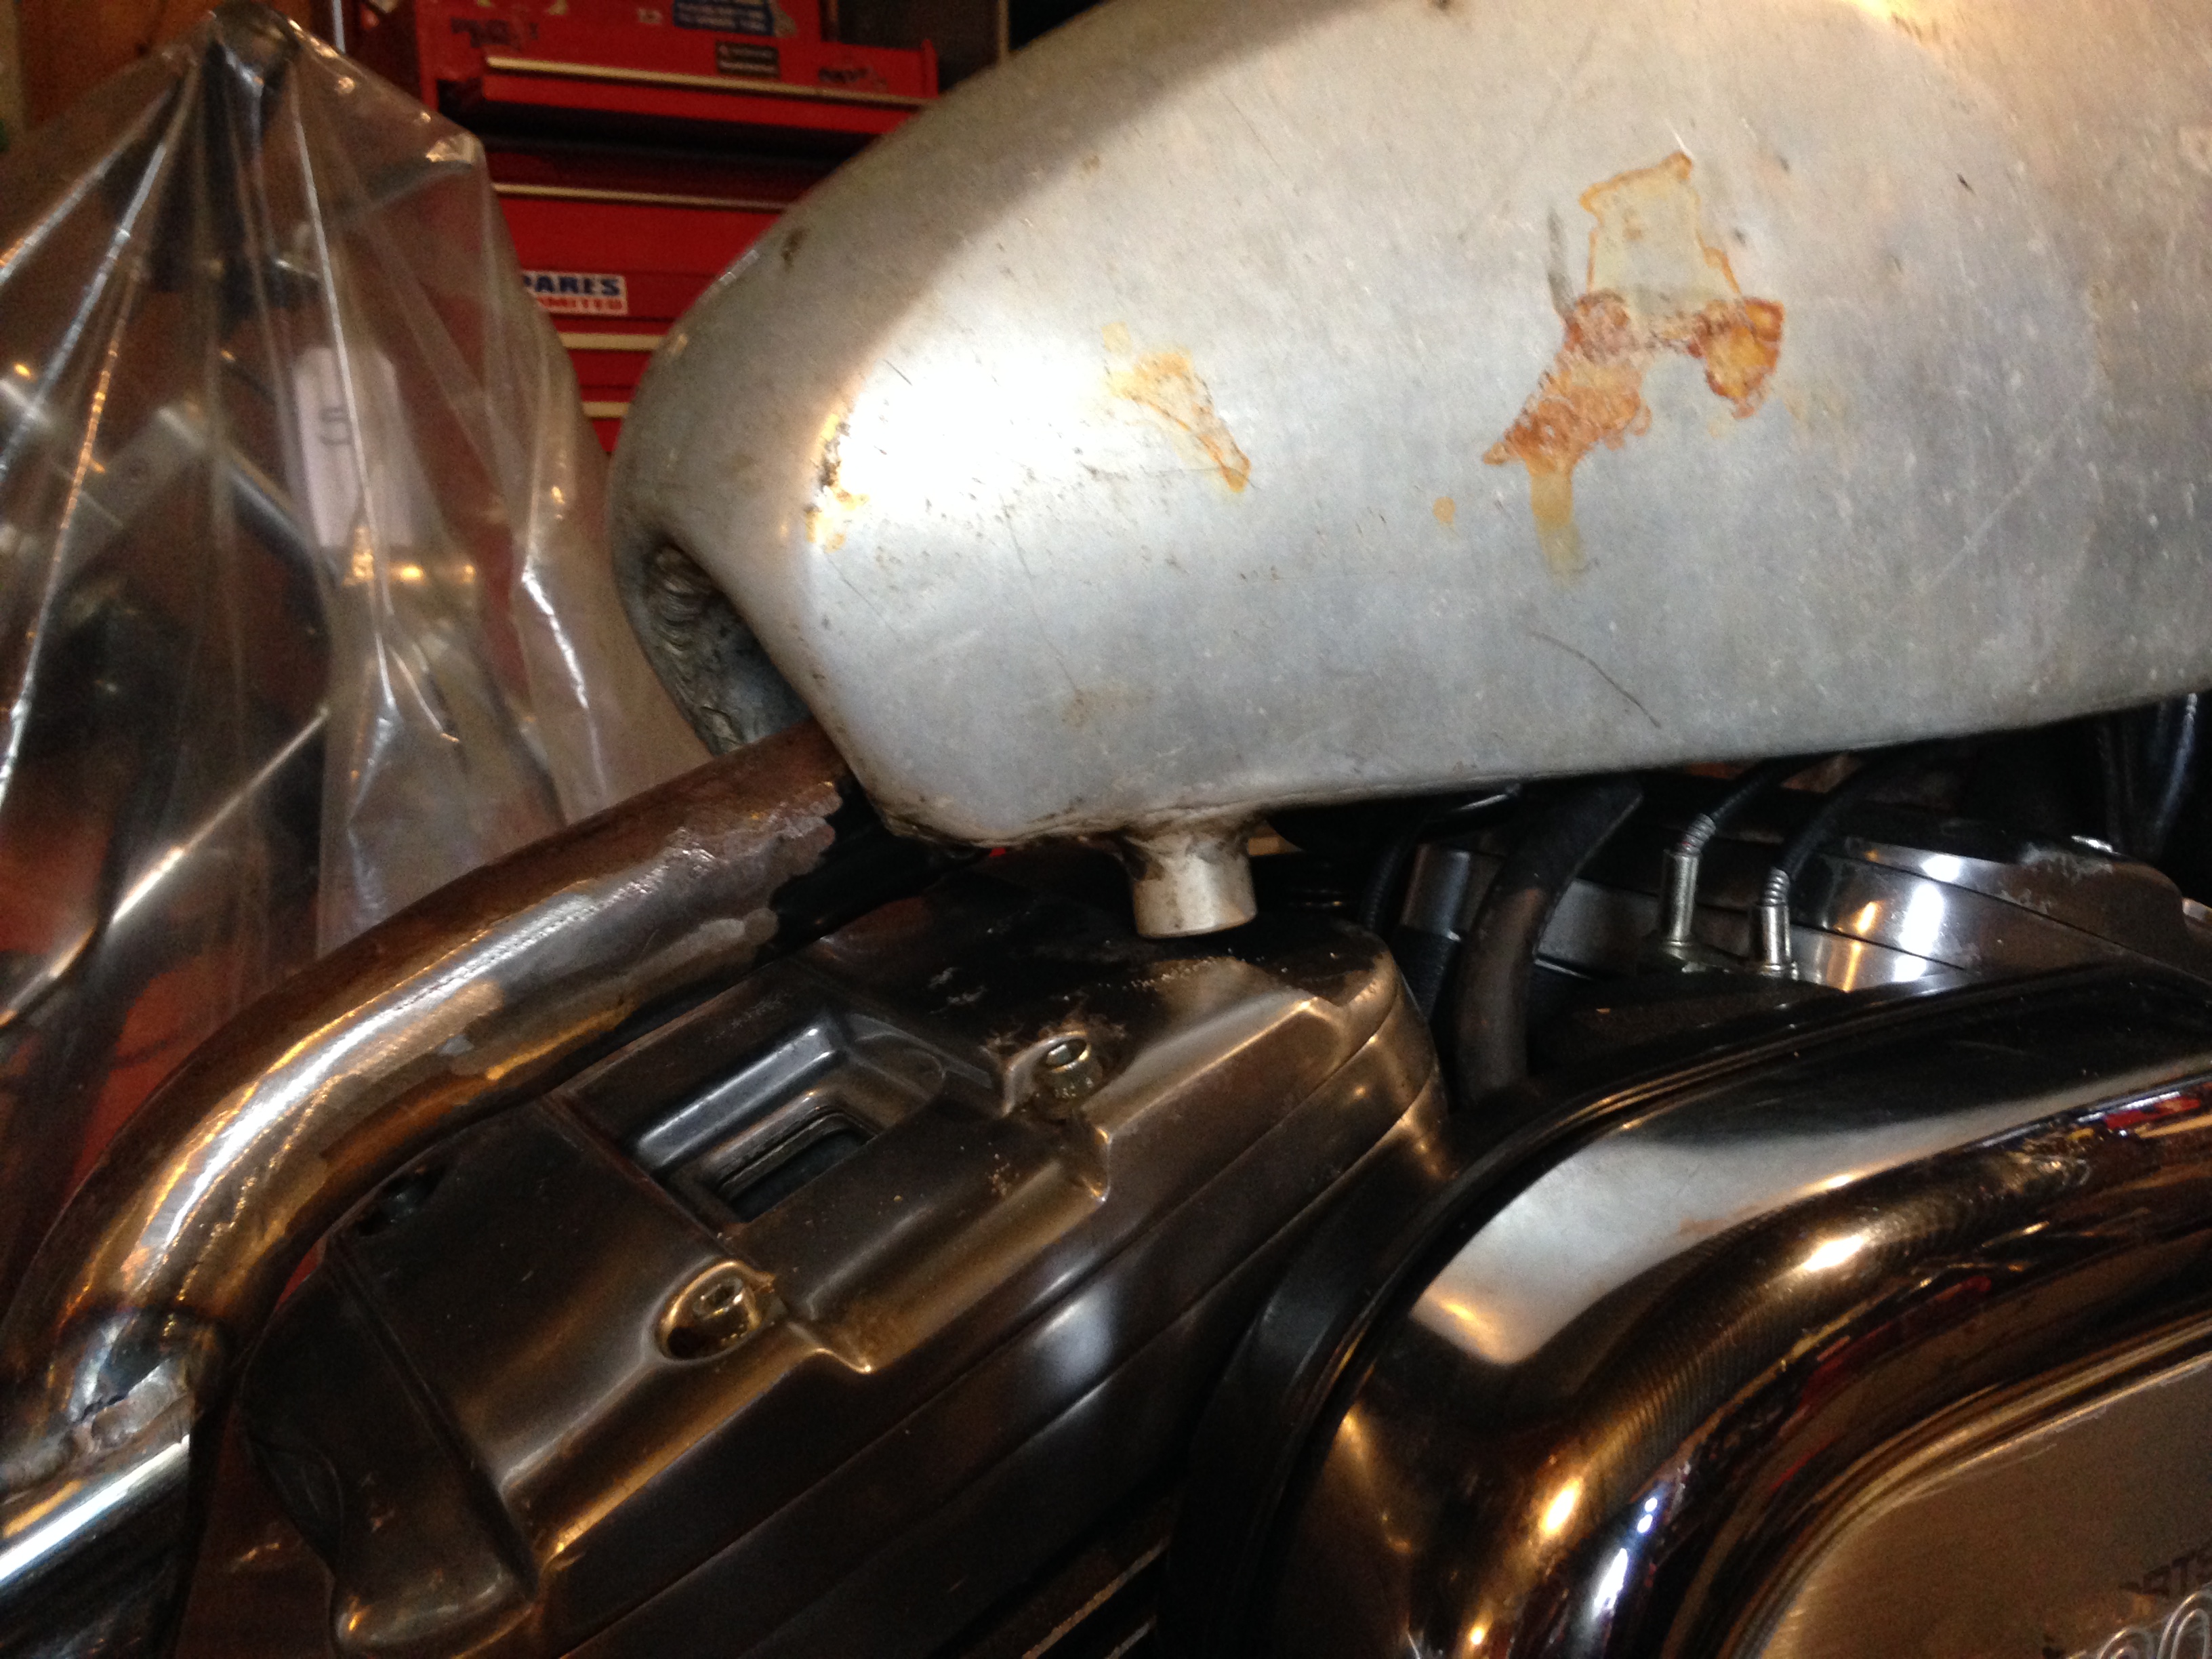
It was at this point that Heisenburg announced that he hadn’t done much ally welding and this was an opportunity to “try it out”. The two rear tap holes needed filling and a new bung welding at the front (where there is clearance above the Harley front pot)
Judging from the below picks he was either A) Telling Porky Pies B) Sickeningly Talented or C) Lucky beyond comprehension (I’ve asked him to buy me a lotto ticket for this week).
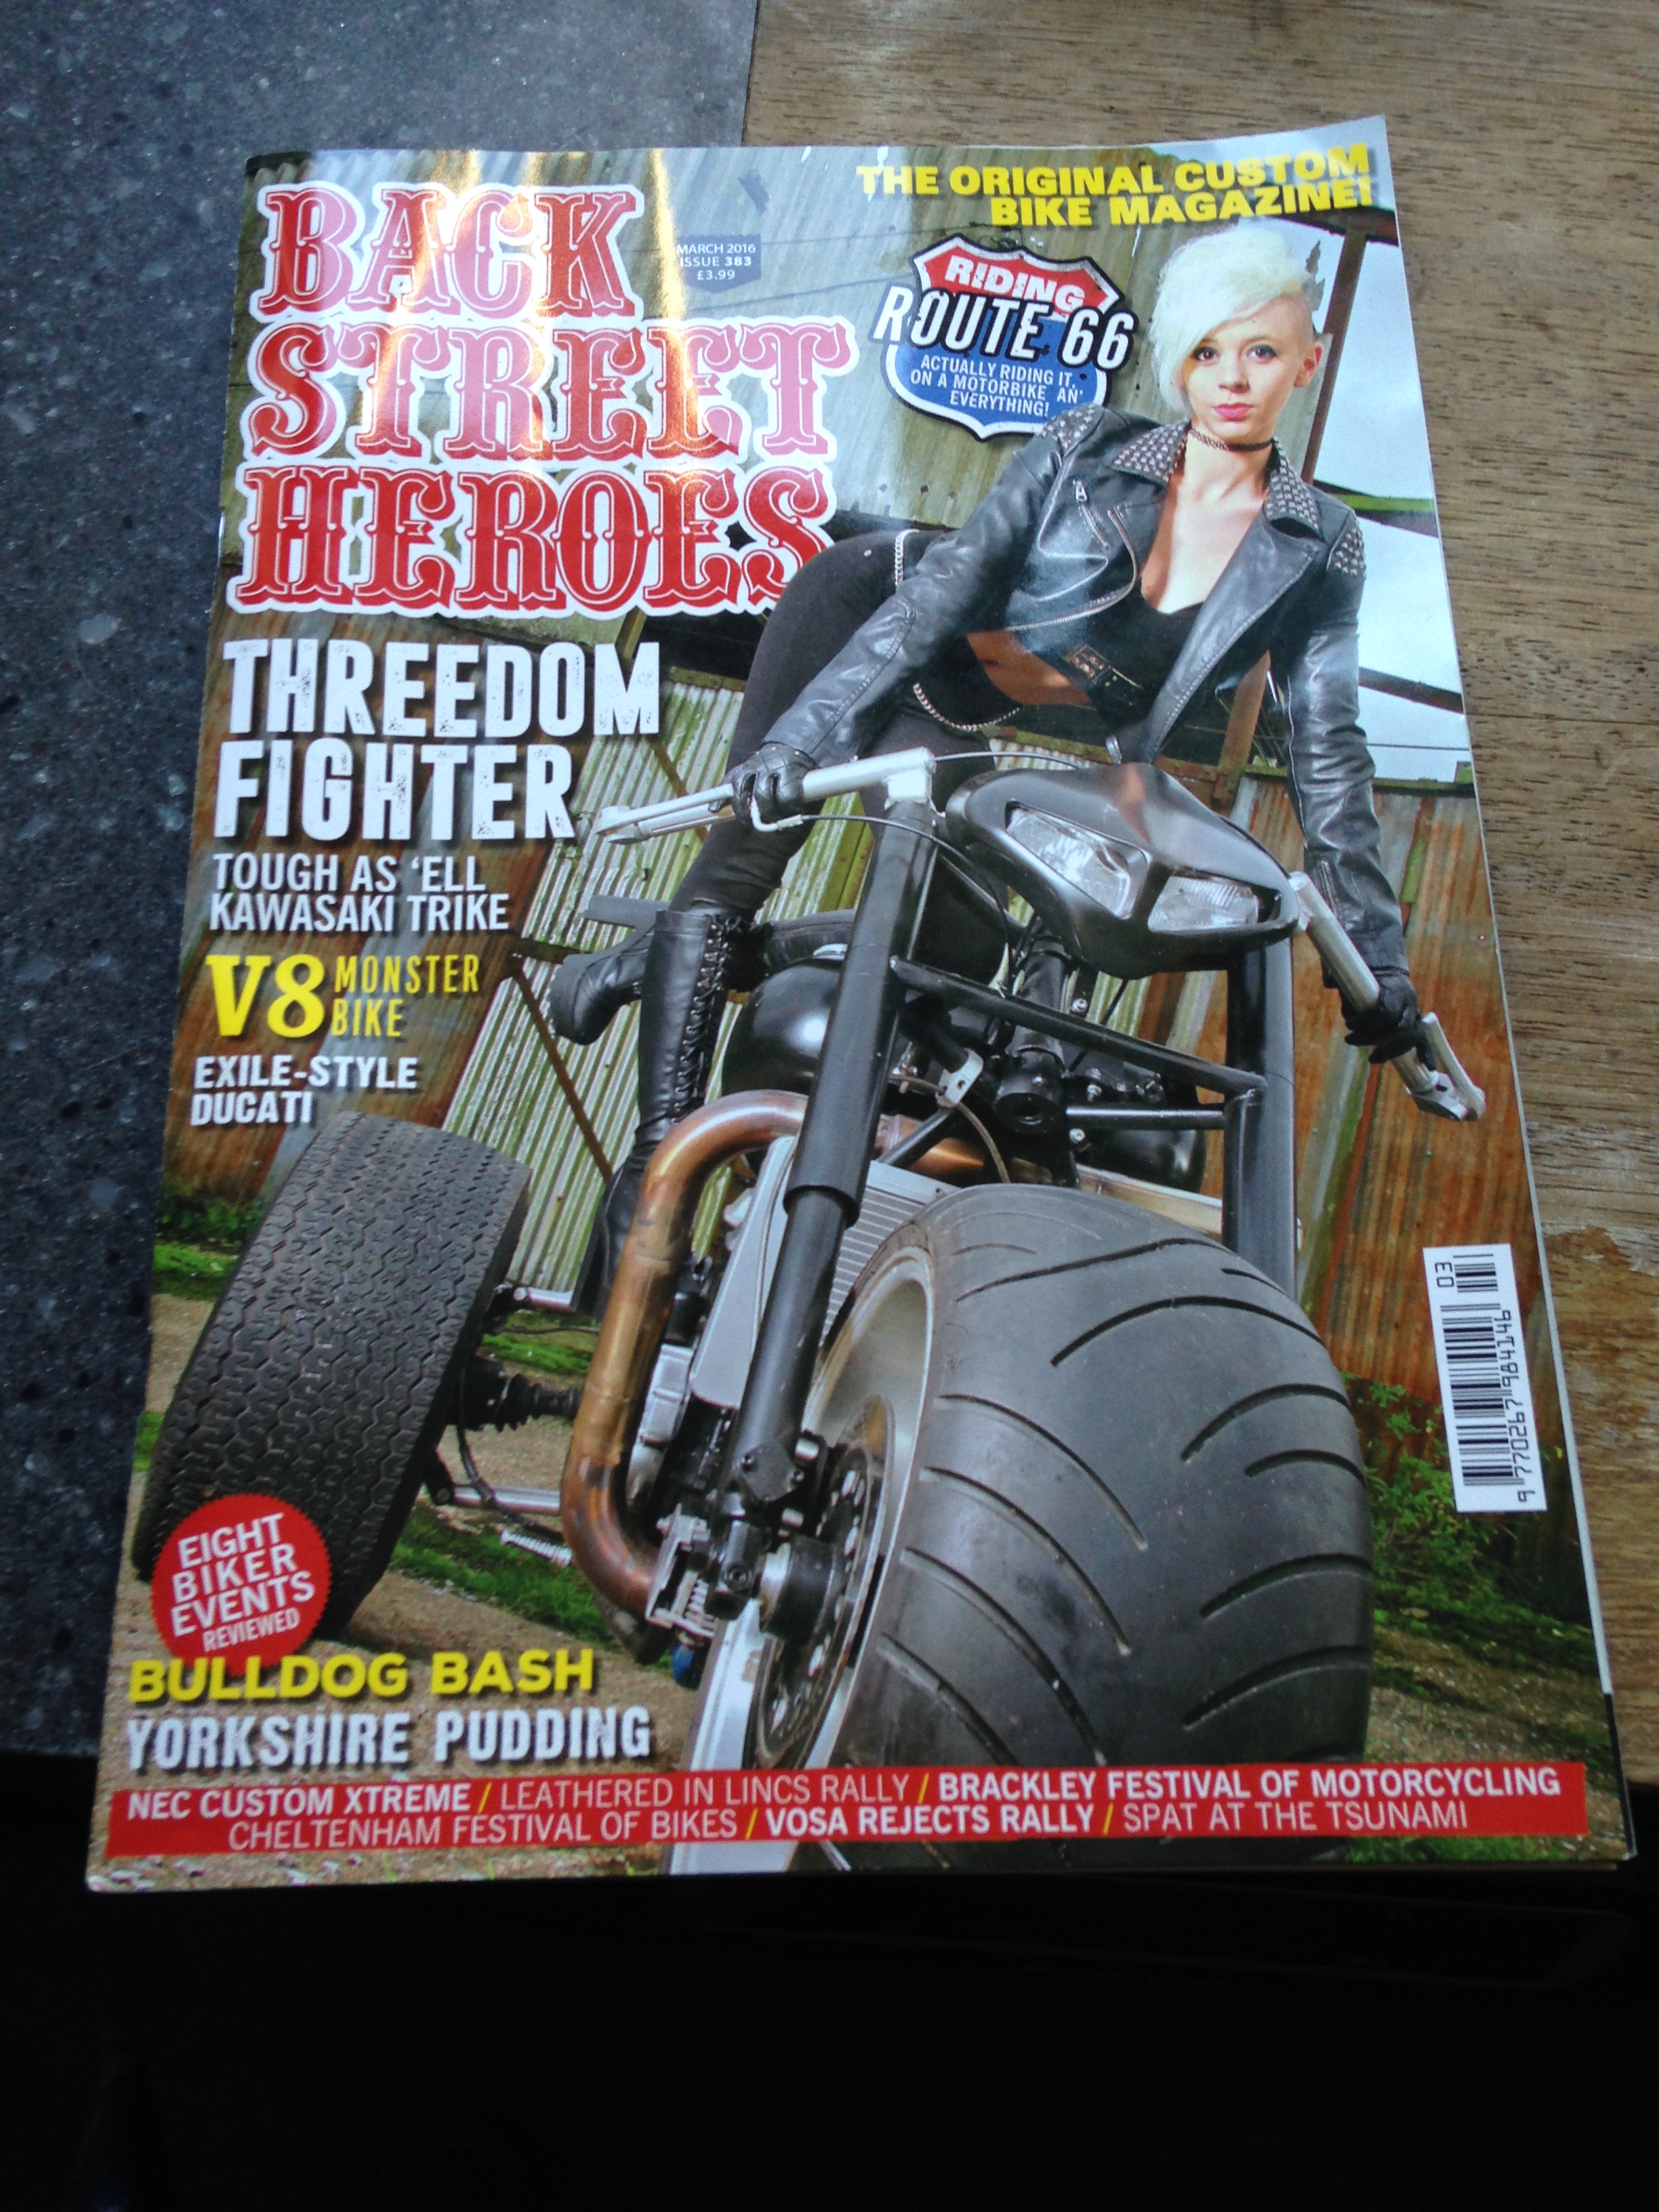
Big grins all round! The lovely Andy ‘Oakenshield’ Stroud pinged Mac a text (yes he mastered the wizardry of the tell e fone – for any of you who know Andy – he ” don’t do texts”) on his sick bed – man flu again – poor luv………….. but it soon perked him up when , having received said text, Mac dispatched his daughter to the corner shop , returning with the below copy of Macs favourite rag.
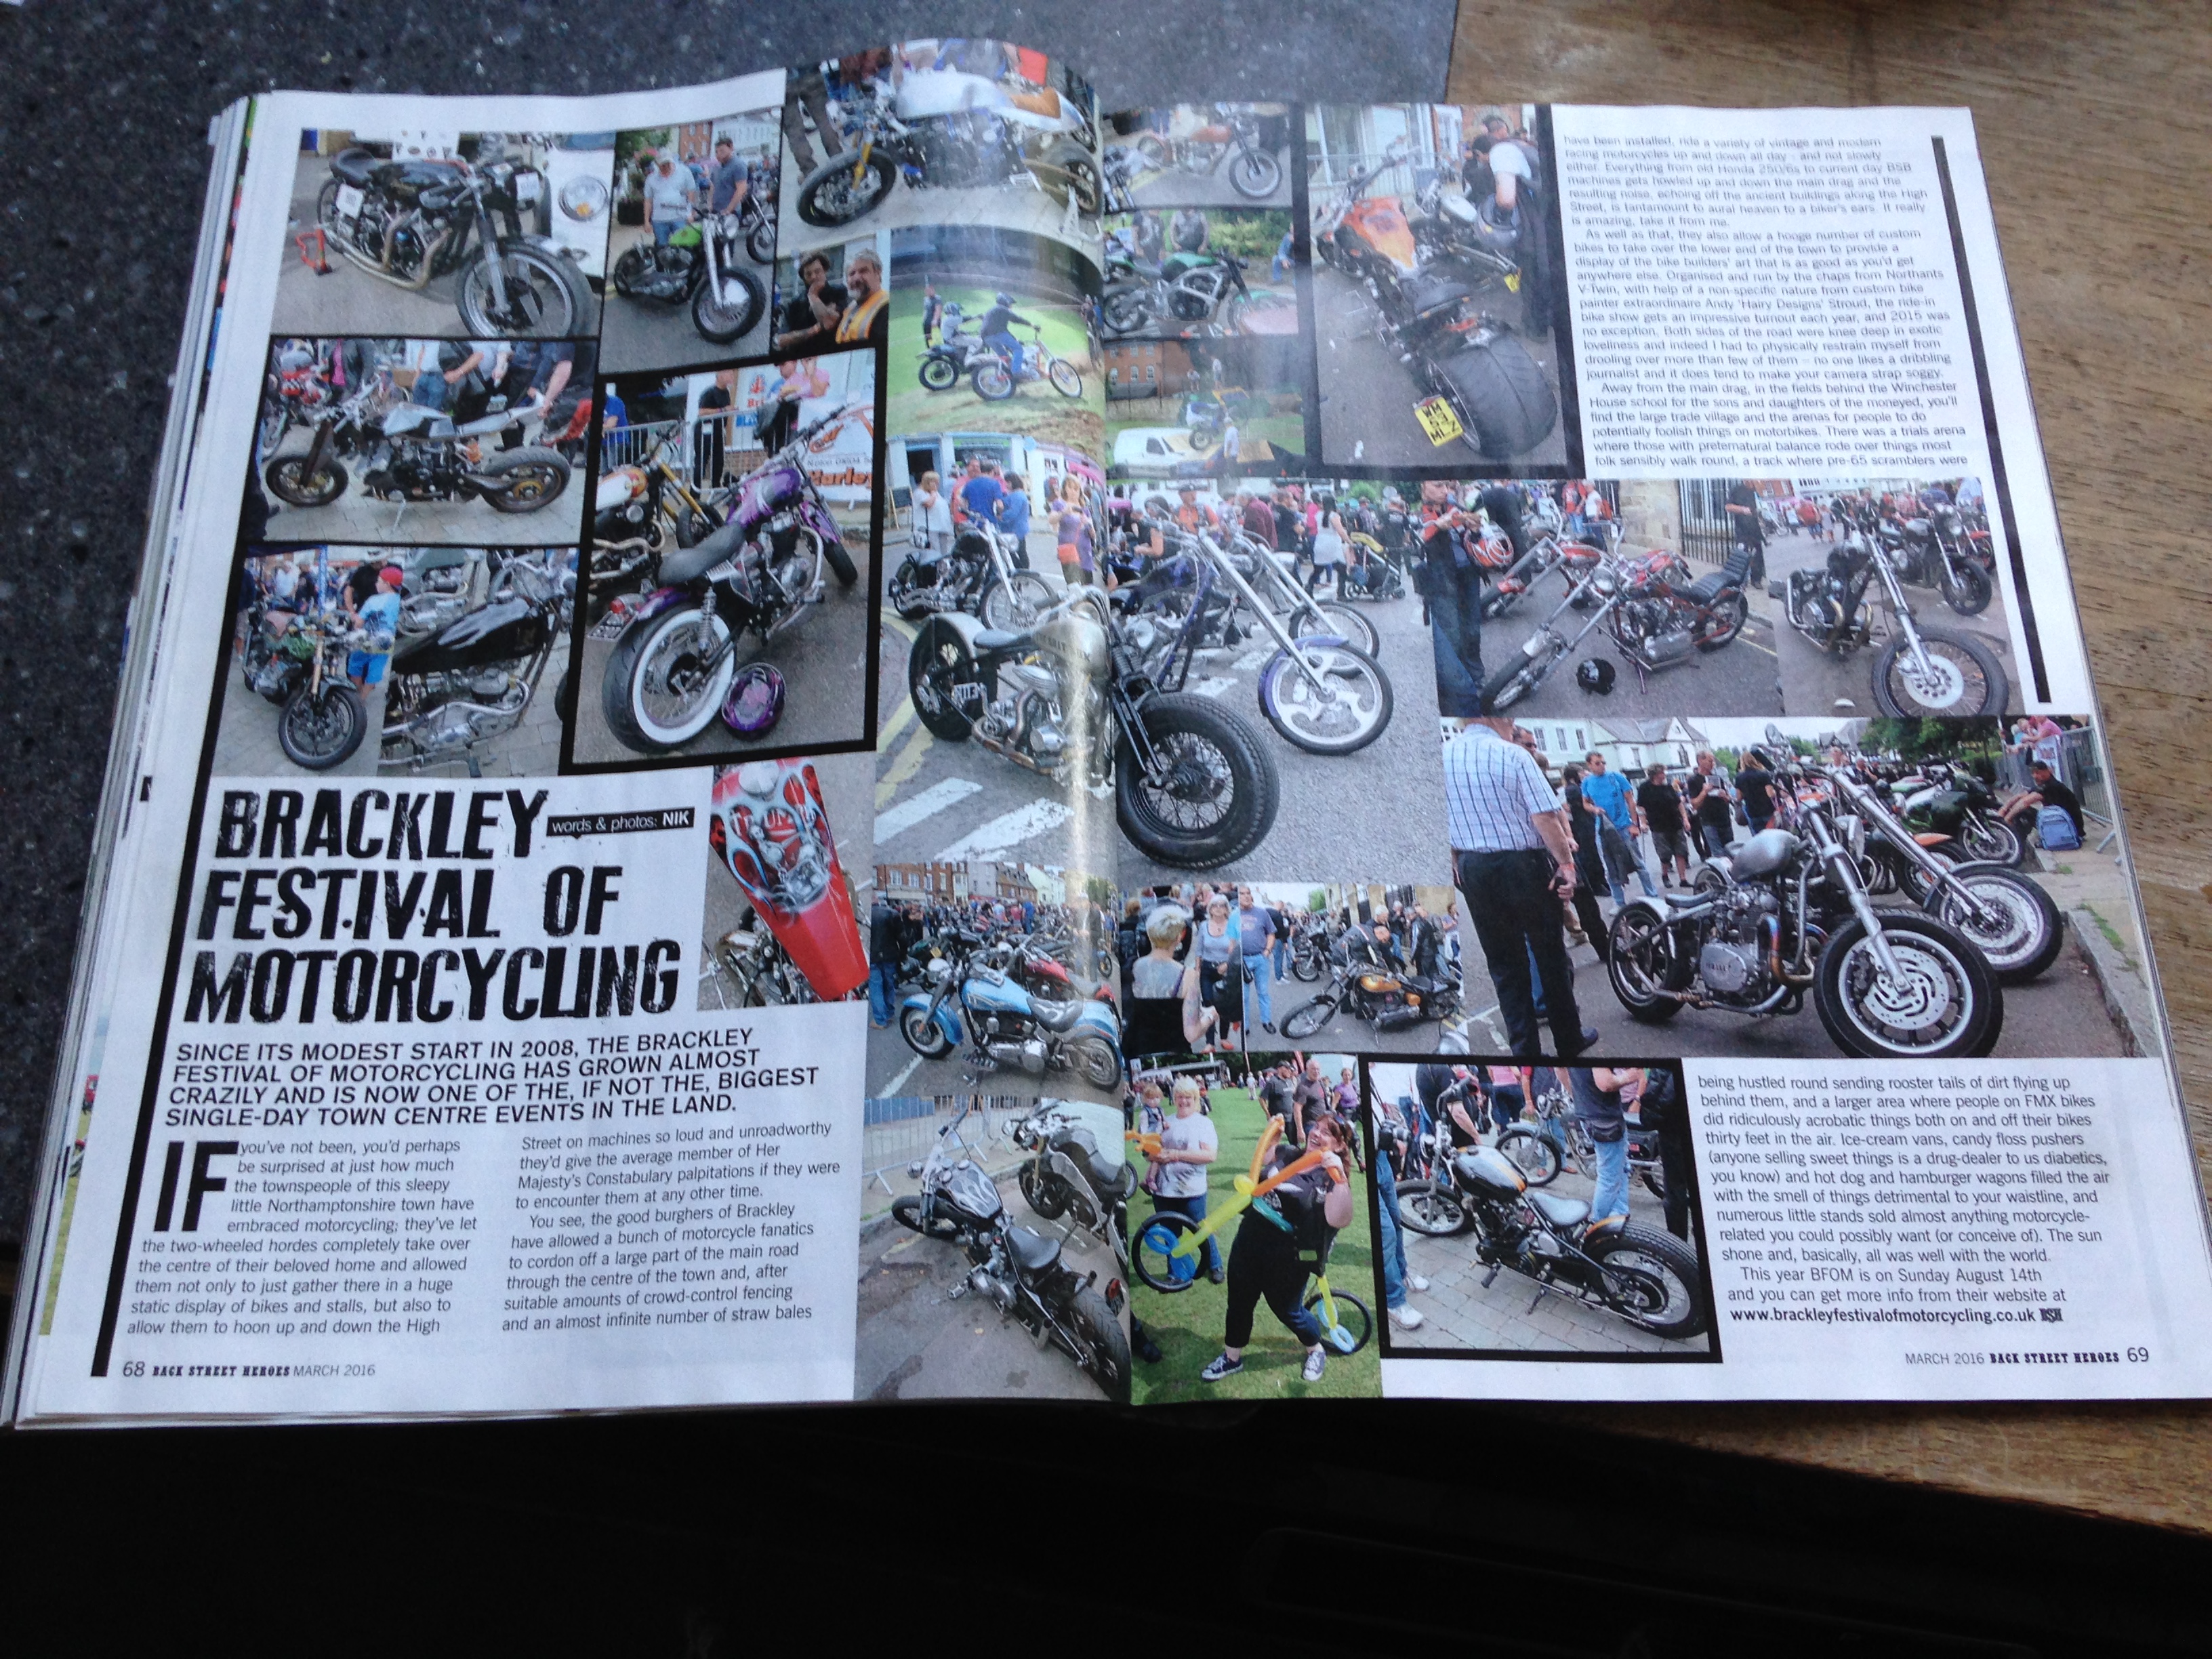
Having flicked feverishly through the pages he found on page 69 pics of his XS ‘Scavenger bike’ and Heisenburgs XS steam punkesque 650 (won award at show) . Theres another of Macs XS on page 68 and a bit on the BFoM cheque presentation on page 11. On the whole a good spread.
The BFoM guys and Gals need a huge pat on the back too! After years of being passed by by the big Mags (who seem to favour the monied events who spend squillions with them in advertising prior to the shows) have now got the attention of pretty much everyone – hard to miss really being the biggest one day event in the country………. Well done guys!
The project Yamaharley didn’t come with a rear master cylinder and to obtain one of either Mr Harley or Mr Davidsons stopping devices would have cost a small fortune (2nd hand or otherwise) so – enter the land of the rising sun and a CBR1000 rear master at a staggering £6.95 , married to an old rear foot peg hanger (from an SV I think) with the right step out and Bob is your proverbial uncle! Throw into the bargain – by leaving the lower mounting point I have somewhere to hang the exhaust when we get around to it.


All the expensive stuff on the Yamaharley needs to be bought now so …. being as stoney as a biblical execution I’ve had to crack on with stuff that costs nowt!
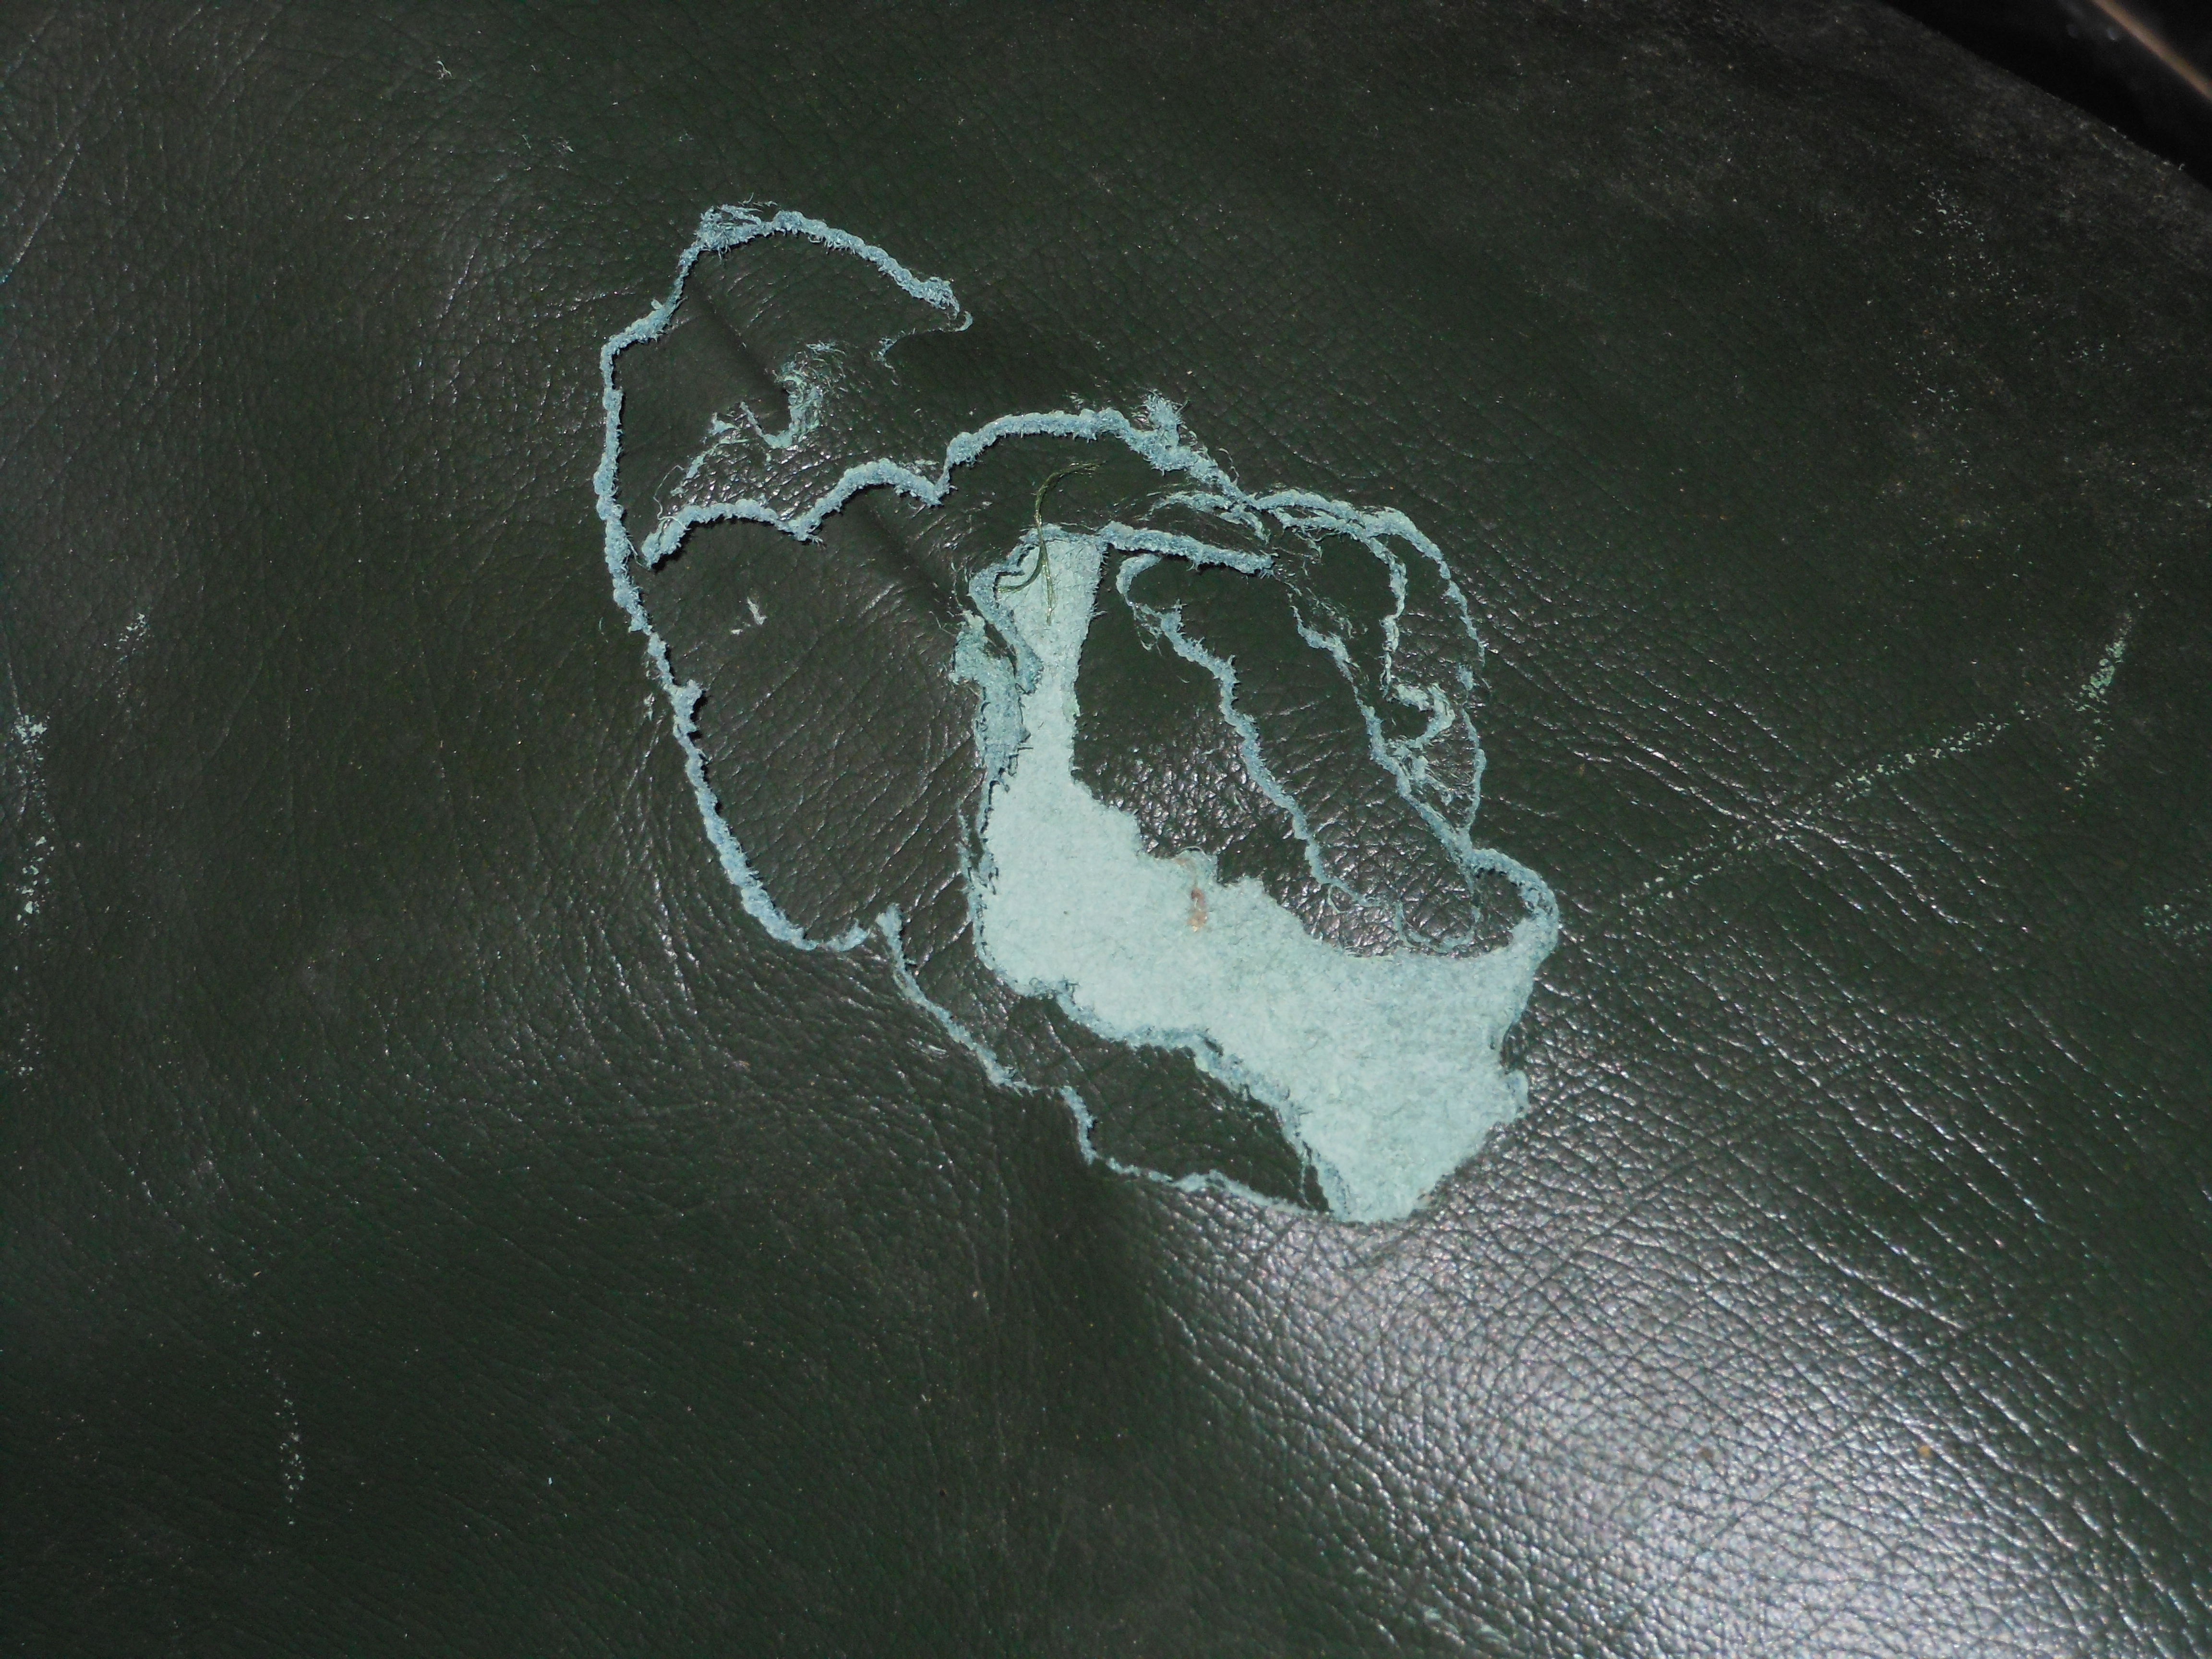
So went into the garage to sift through my pile of leather donated by Heisenburg (from an old sofa I believe) to find that the Rats had been in the garage and chomped through all but one panel – not through an edge either – oh no right through the centre of every sheet – time for some special blue popcorn for you guys!
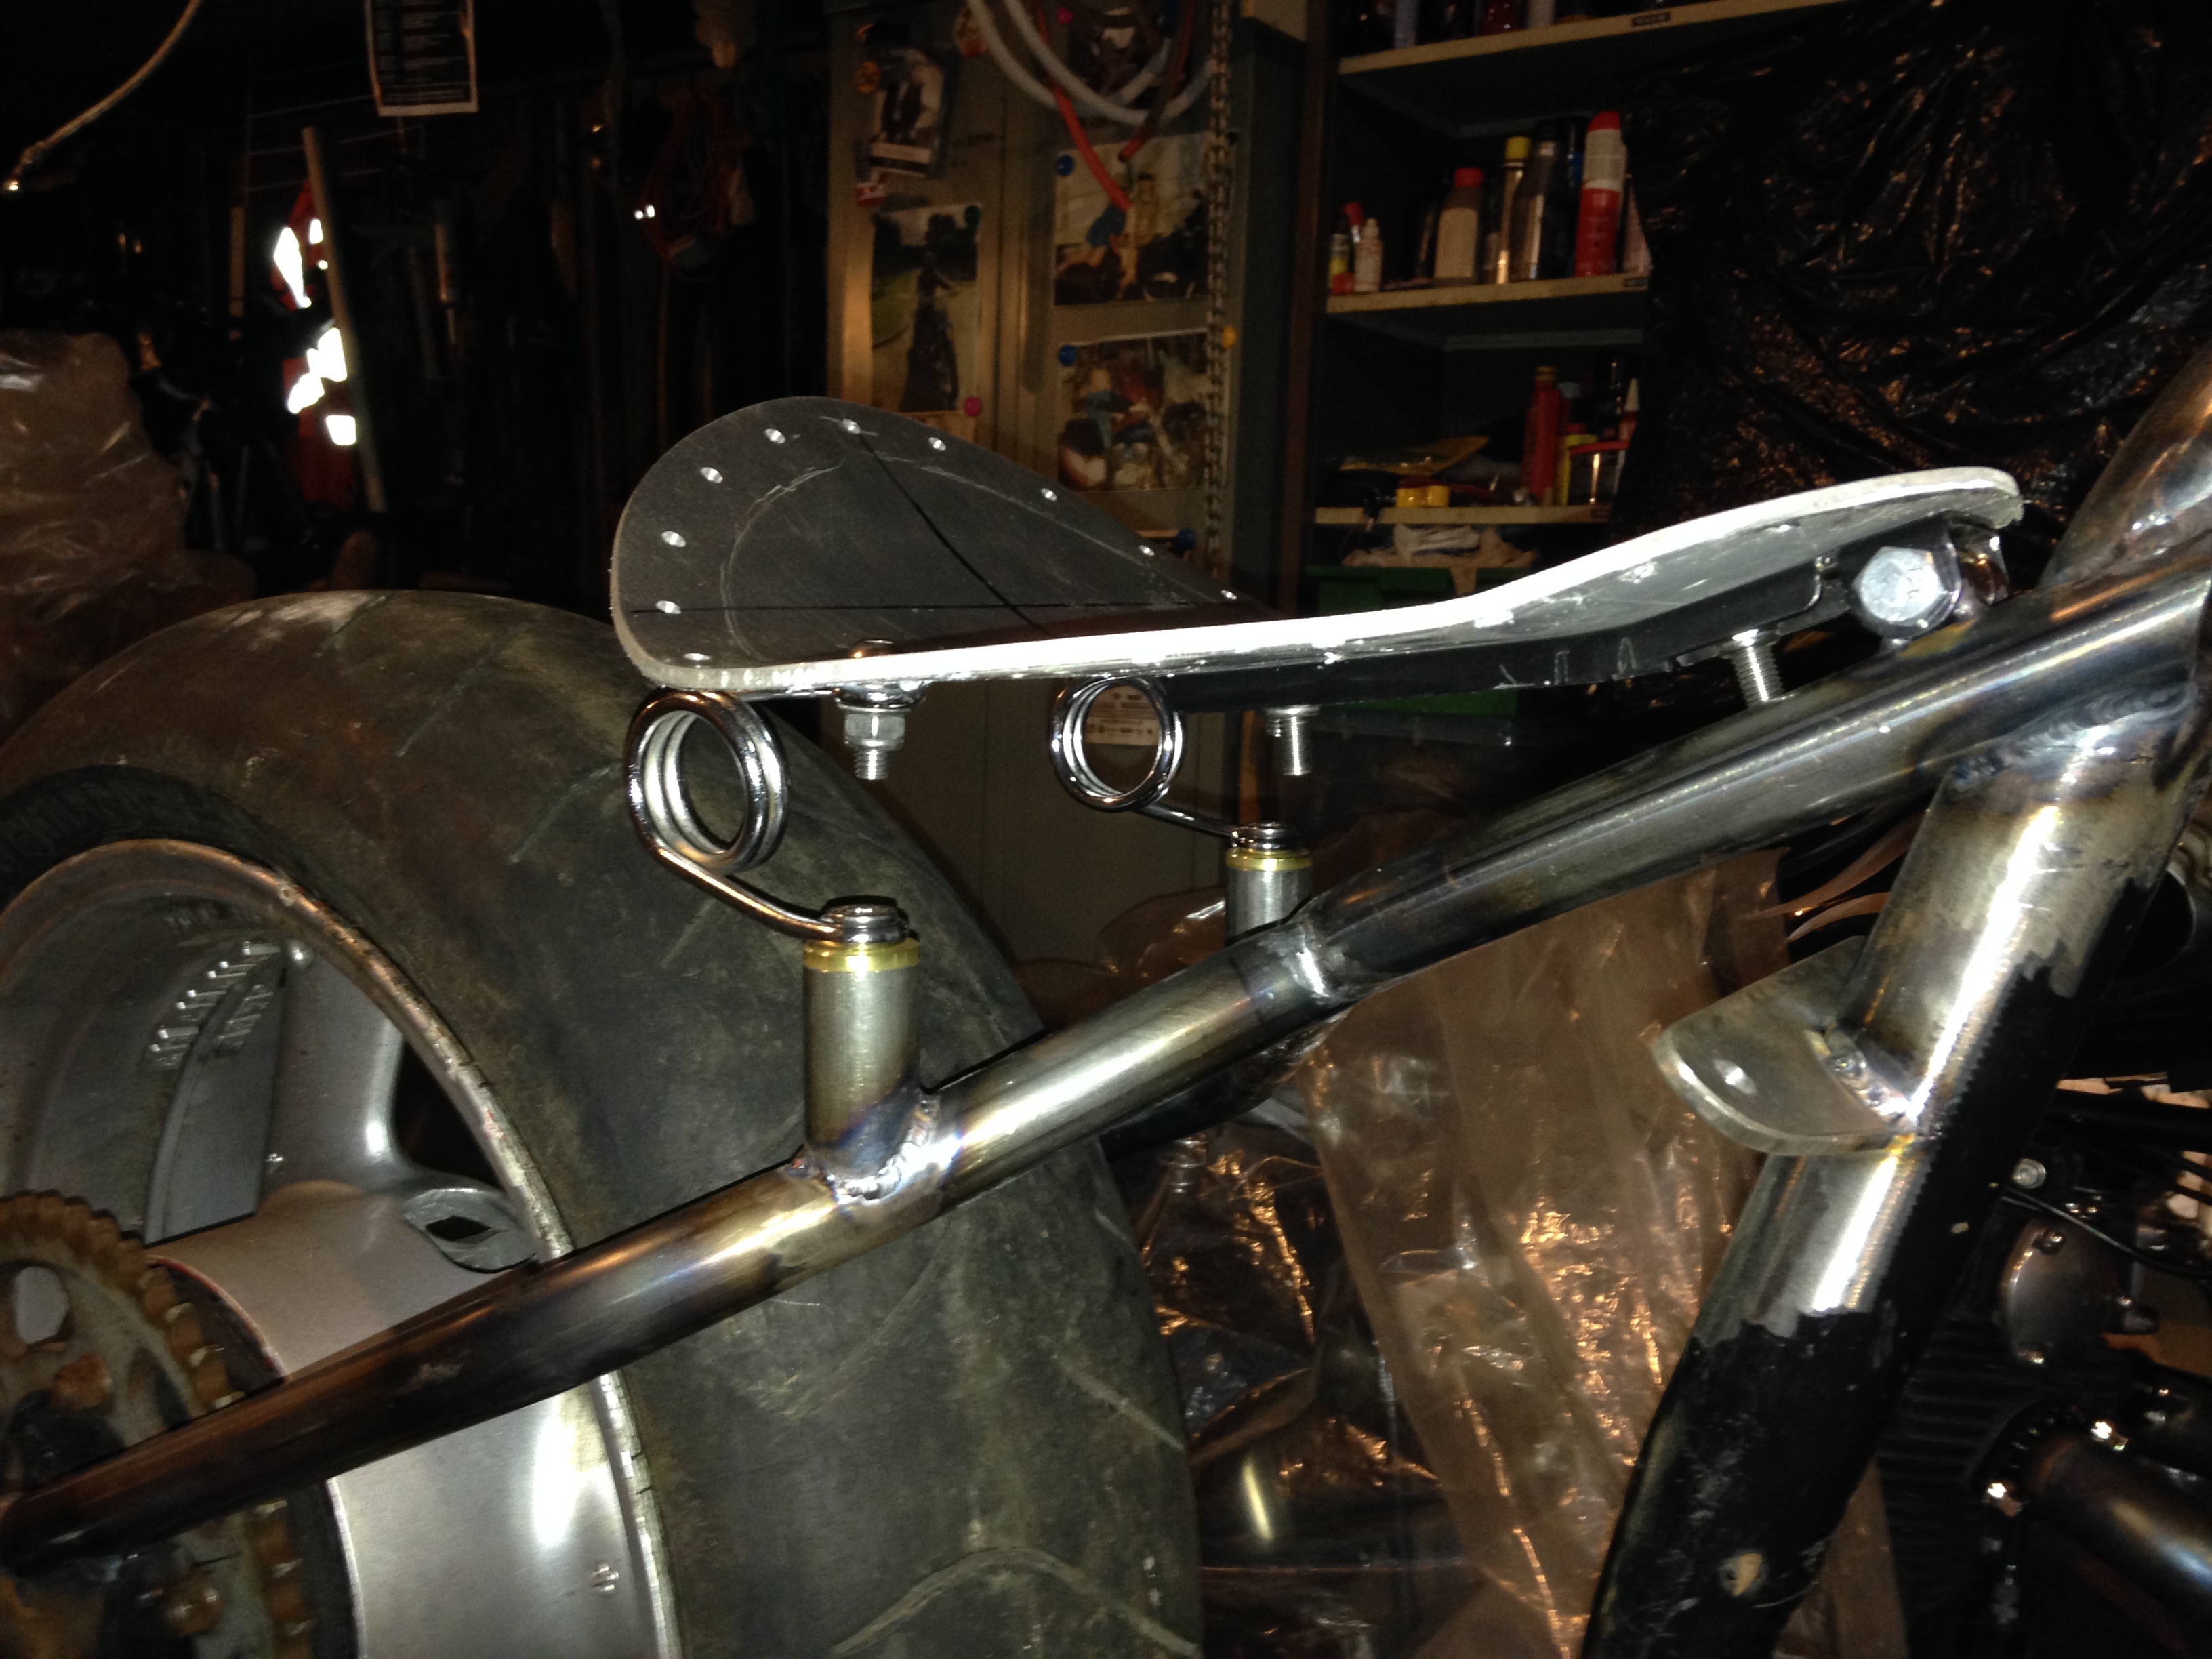
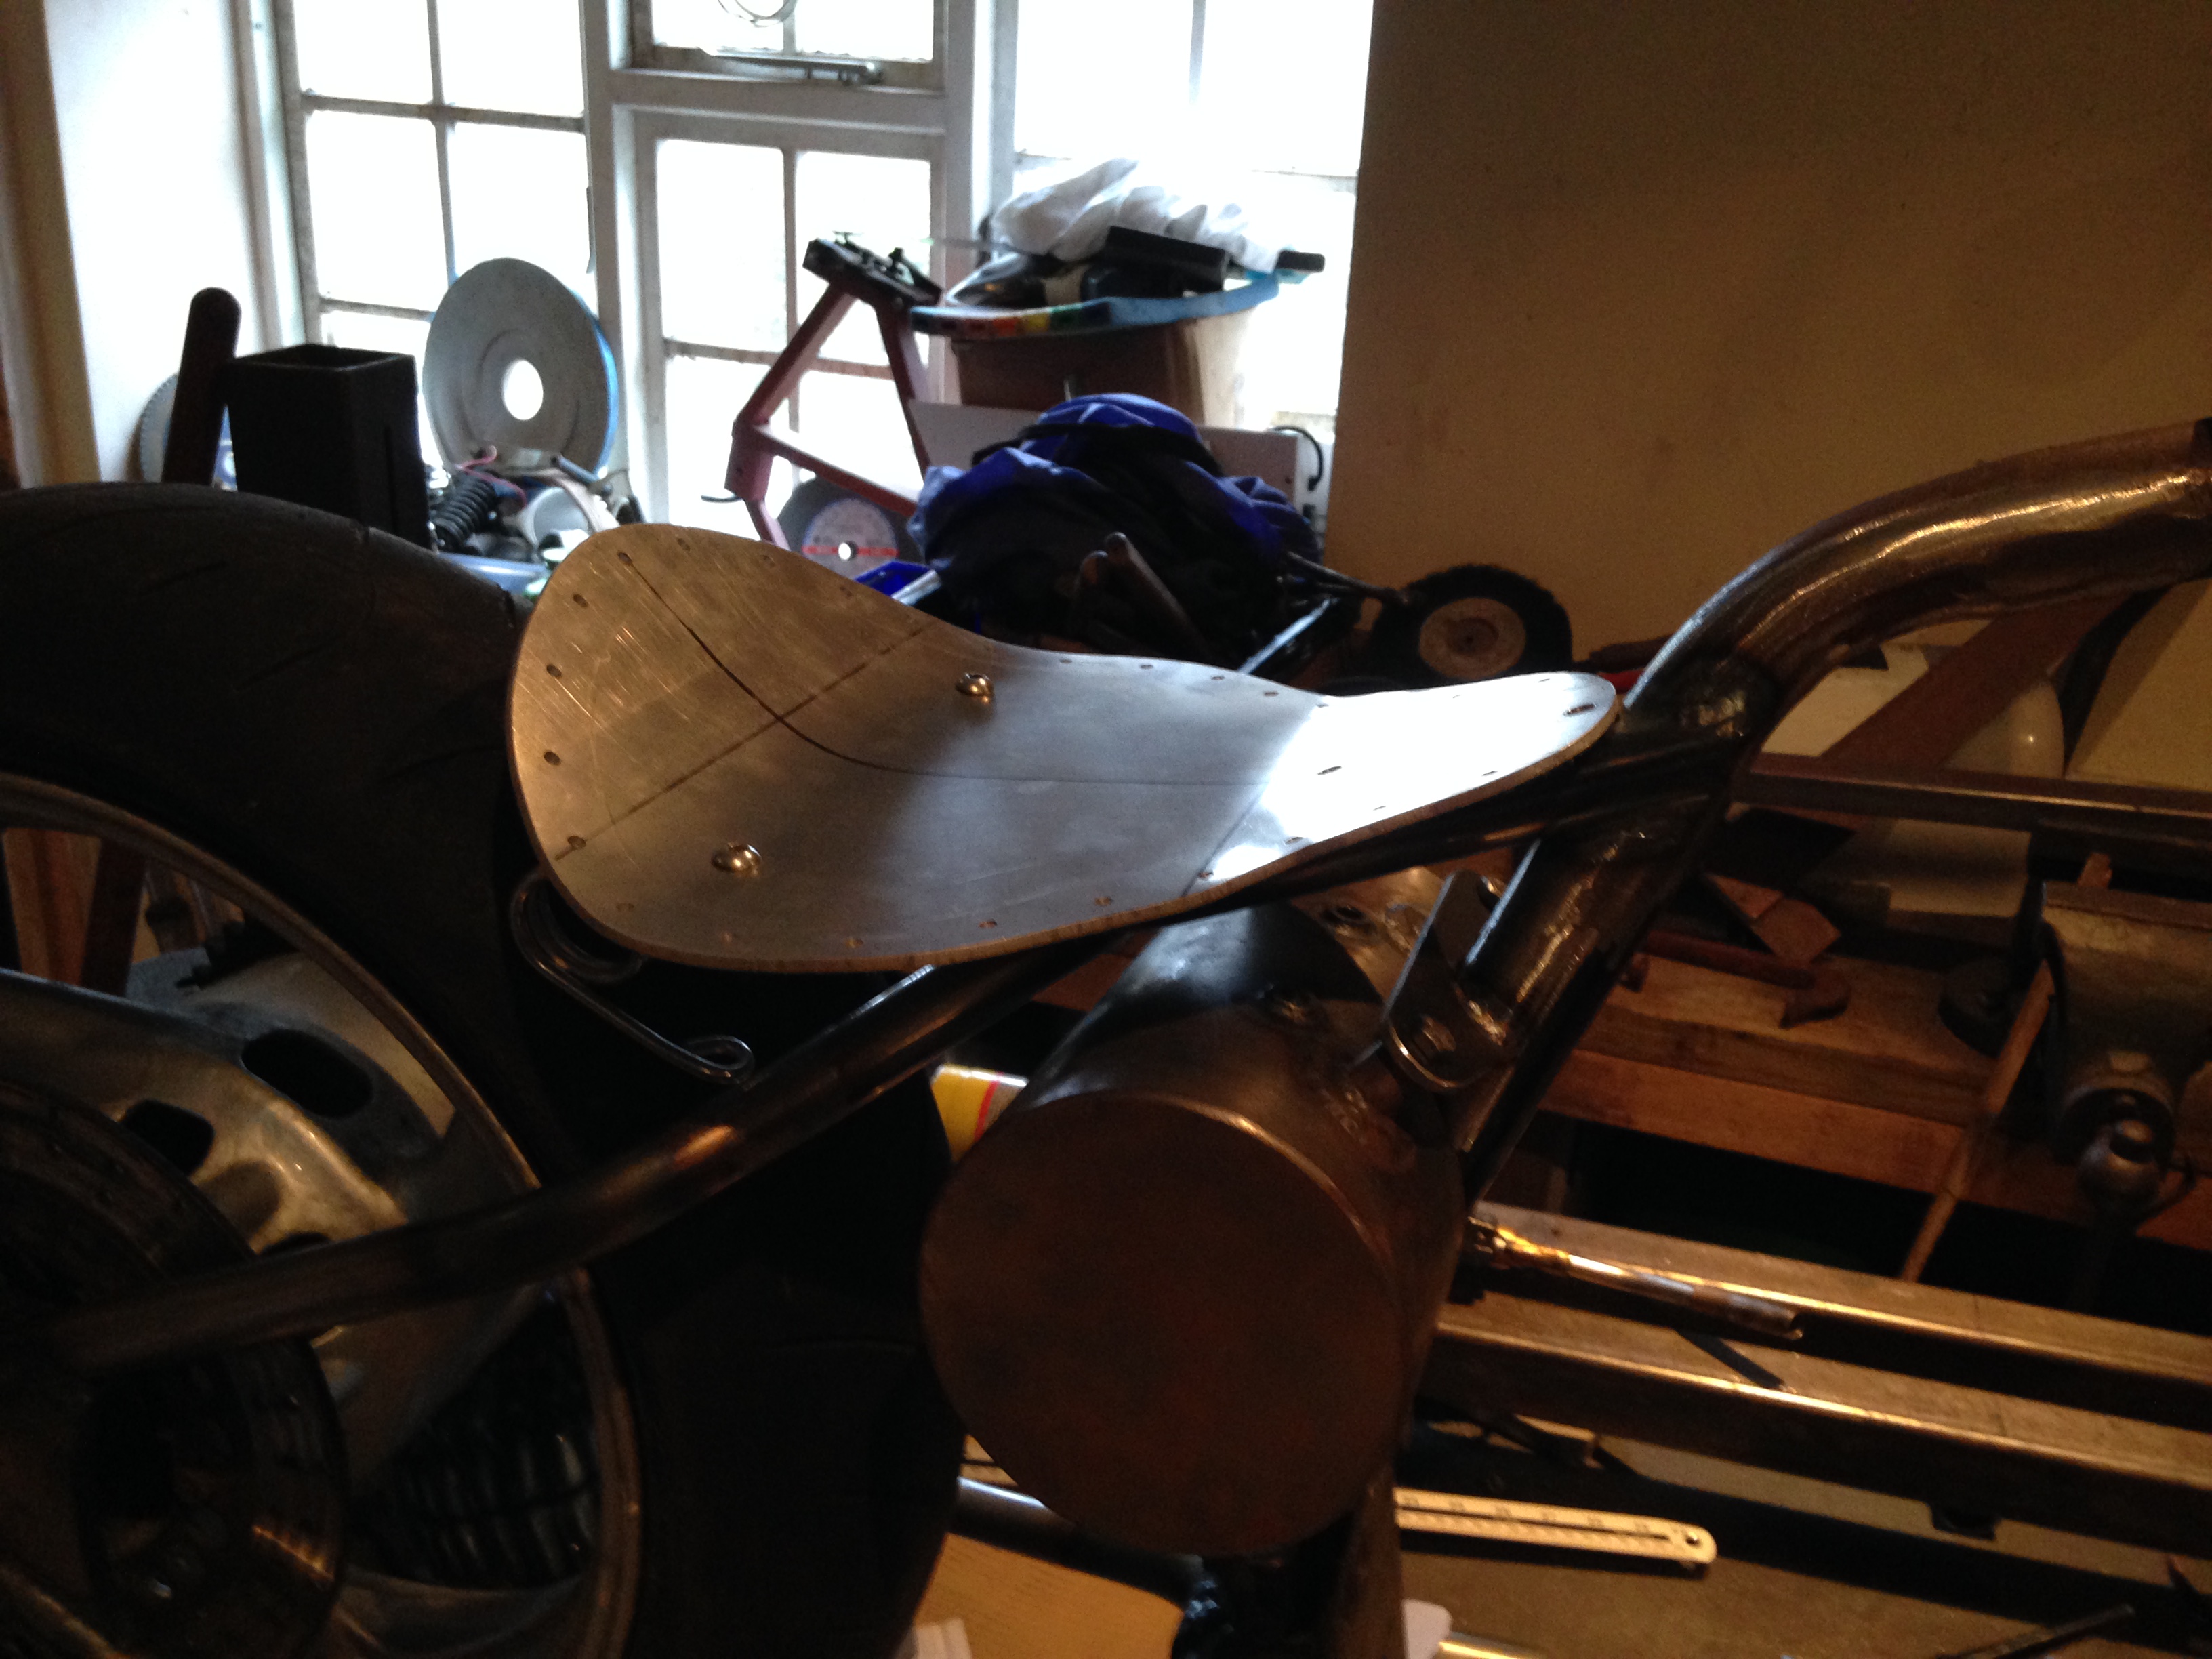
Anyway, took the seat pan and cut out some old blue camping bedroll I scooped out of a campsite skip after last years Grand Prix. Stuck this to the base and then bonded (glued) the leather over the top .Then re drill through the holes (and leather) before popping in these natty little screw in ‘rivets’. Then stretched over the leather, a small hole with a braddle then pop the back of the rivet on to hold the leather in place. Home made saddle for about a tenner (+ springs and bracket). …… the ‘scavenger’ way!


 .
.

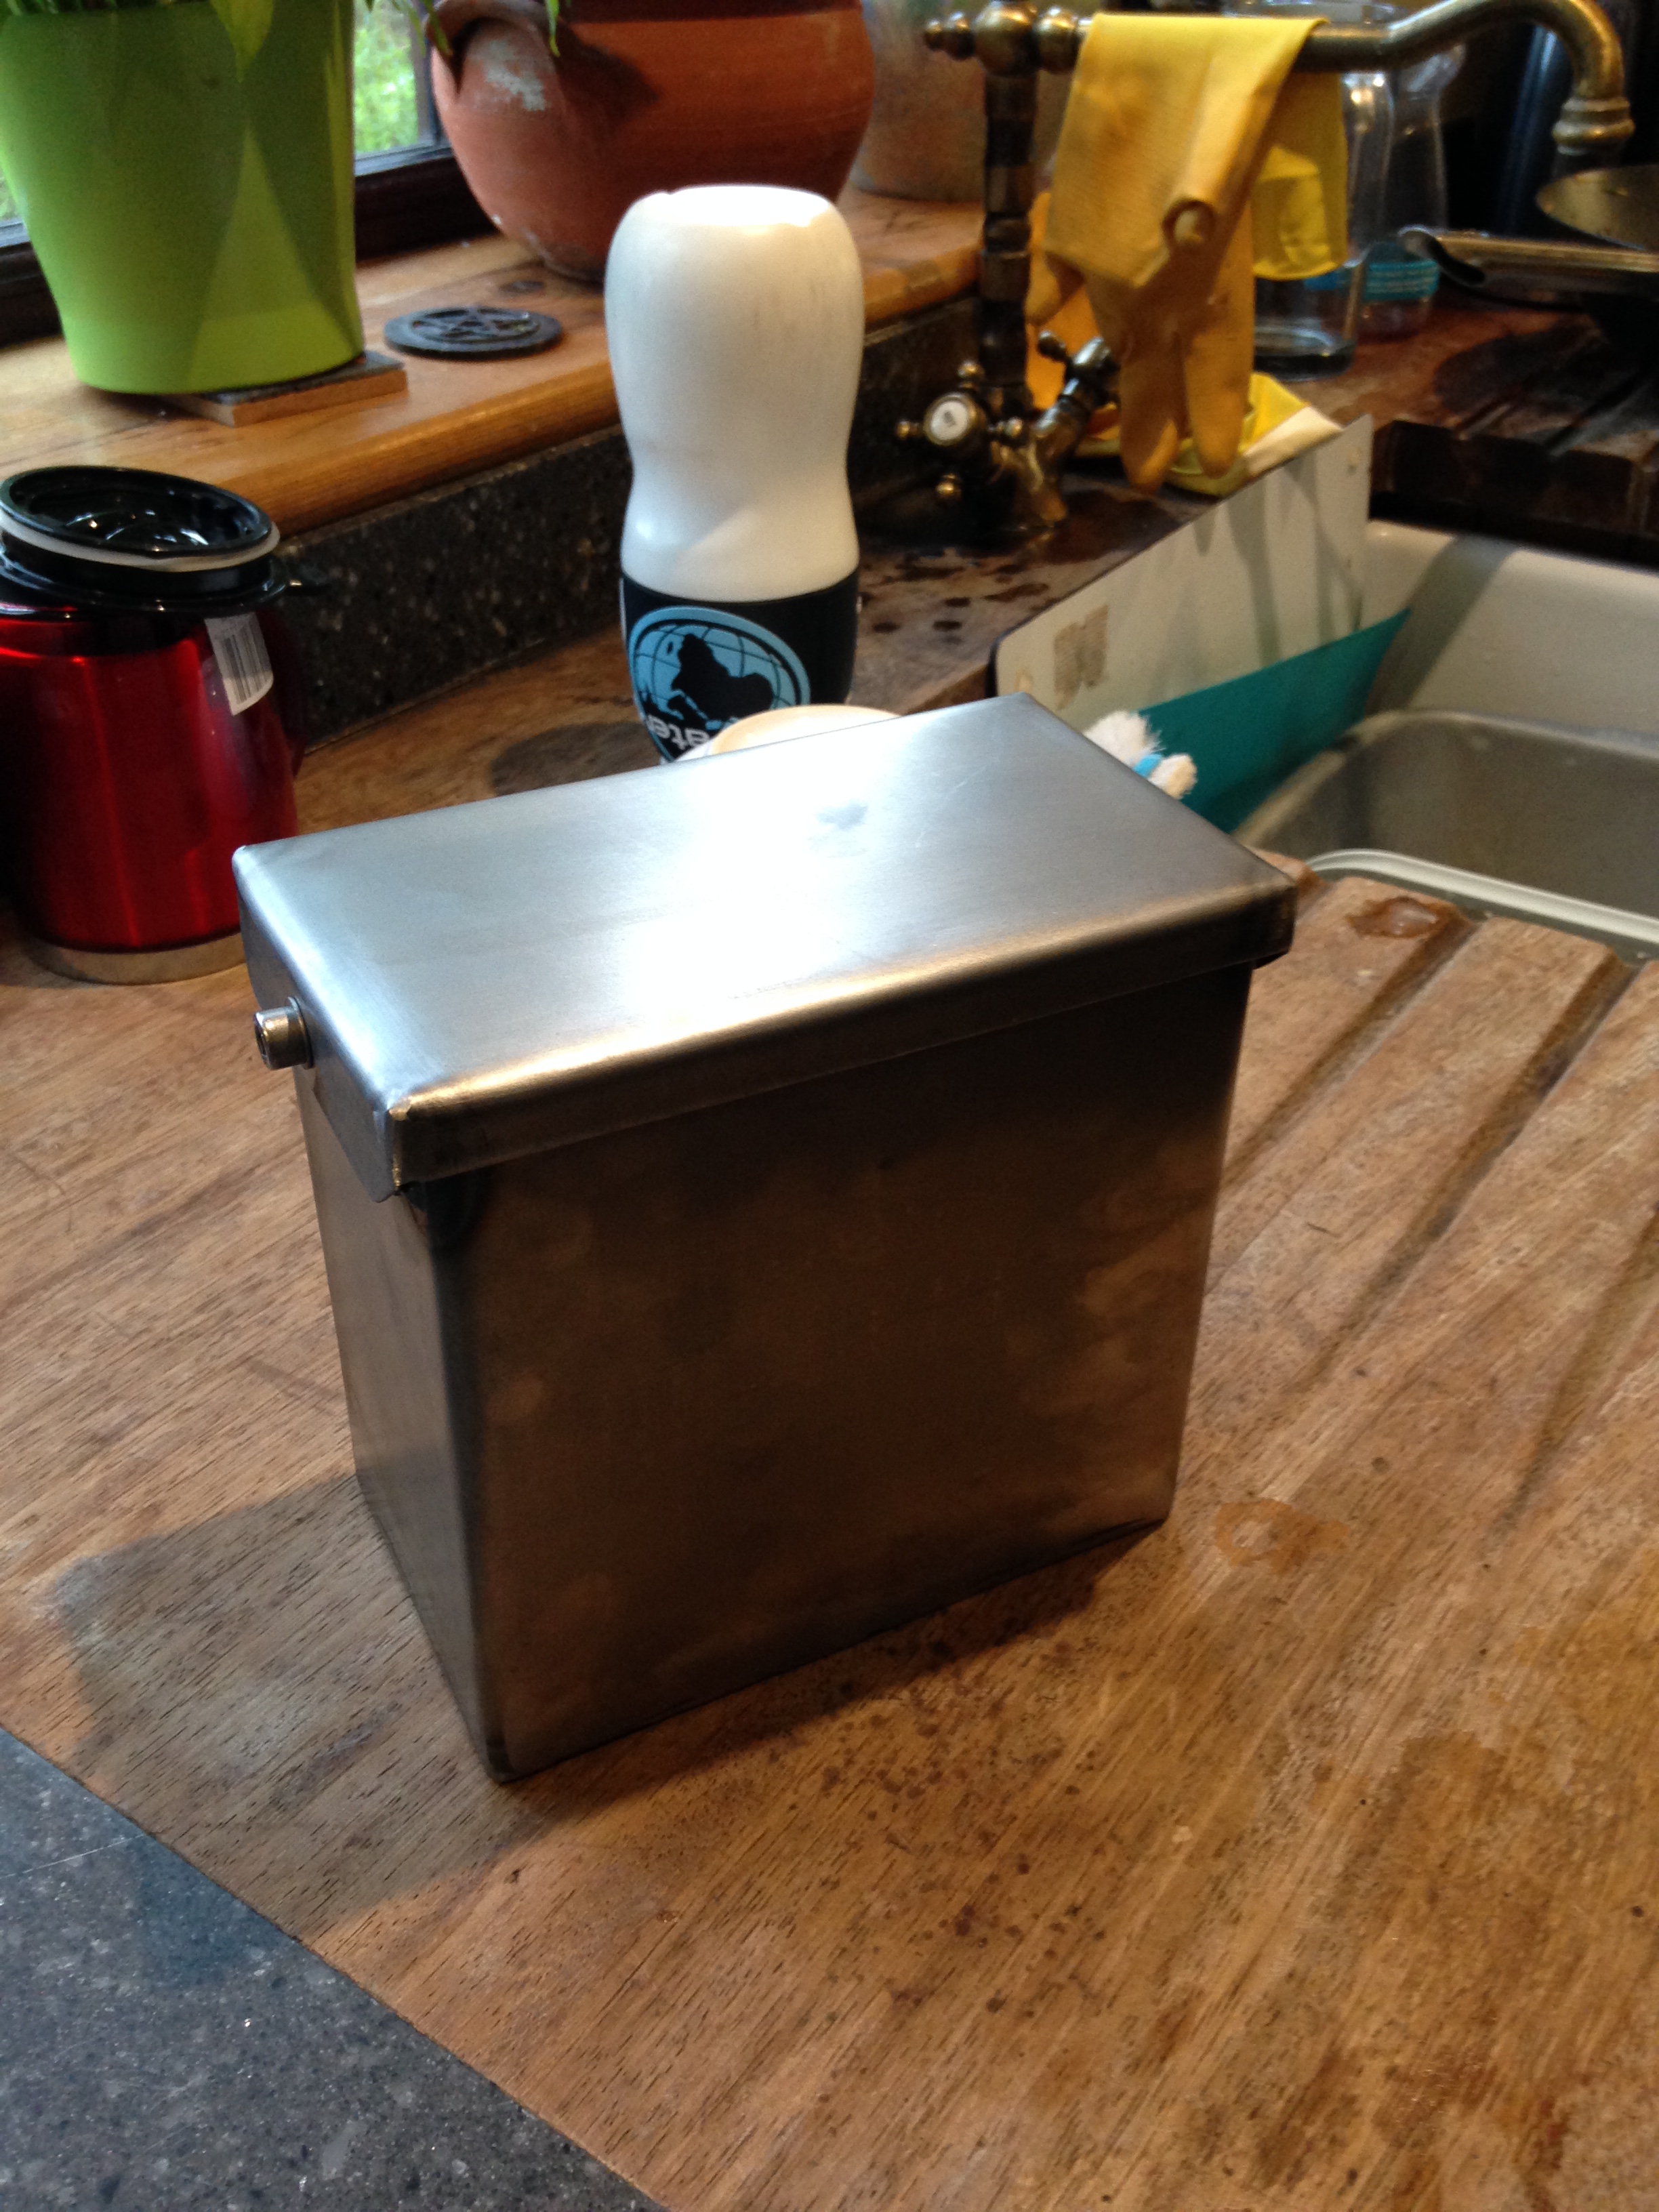
YamaHarley returned to Macs garage yesterday, Heisenburg has done an amazing job on the old girl but she needs to be dry built to work out where all the tabs and brackets need to go for the exhaust, battery box etc. – so on went the front end, next to fit will be the engine to see where the forks should be after introducing the weight of the engine.
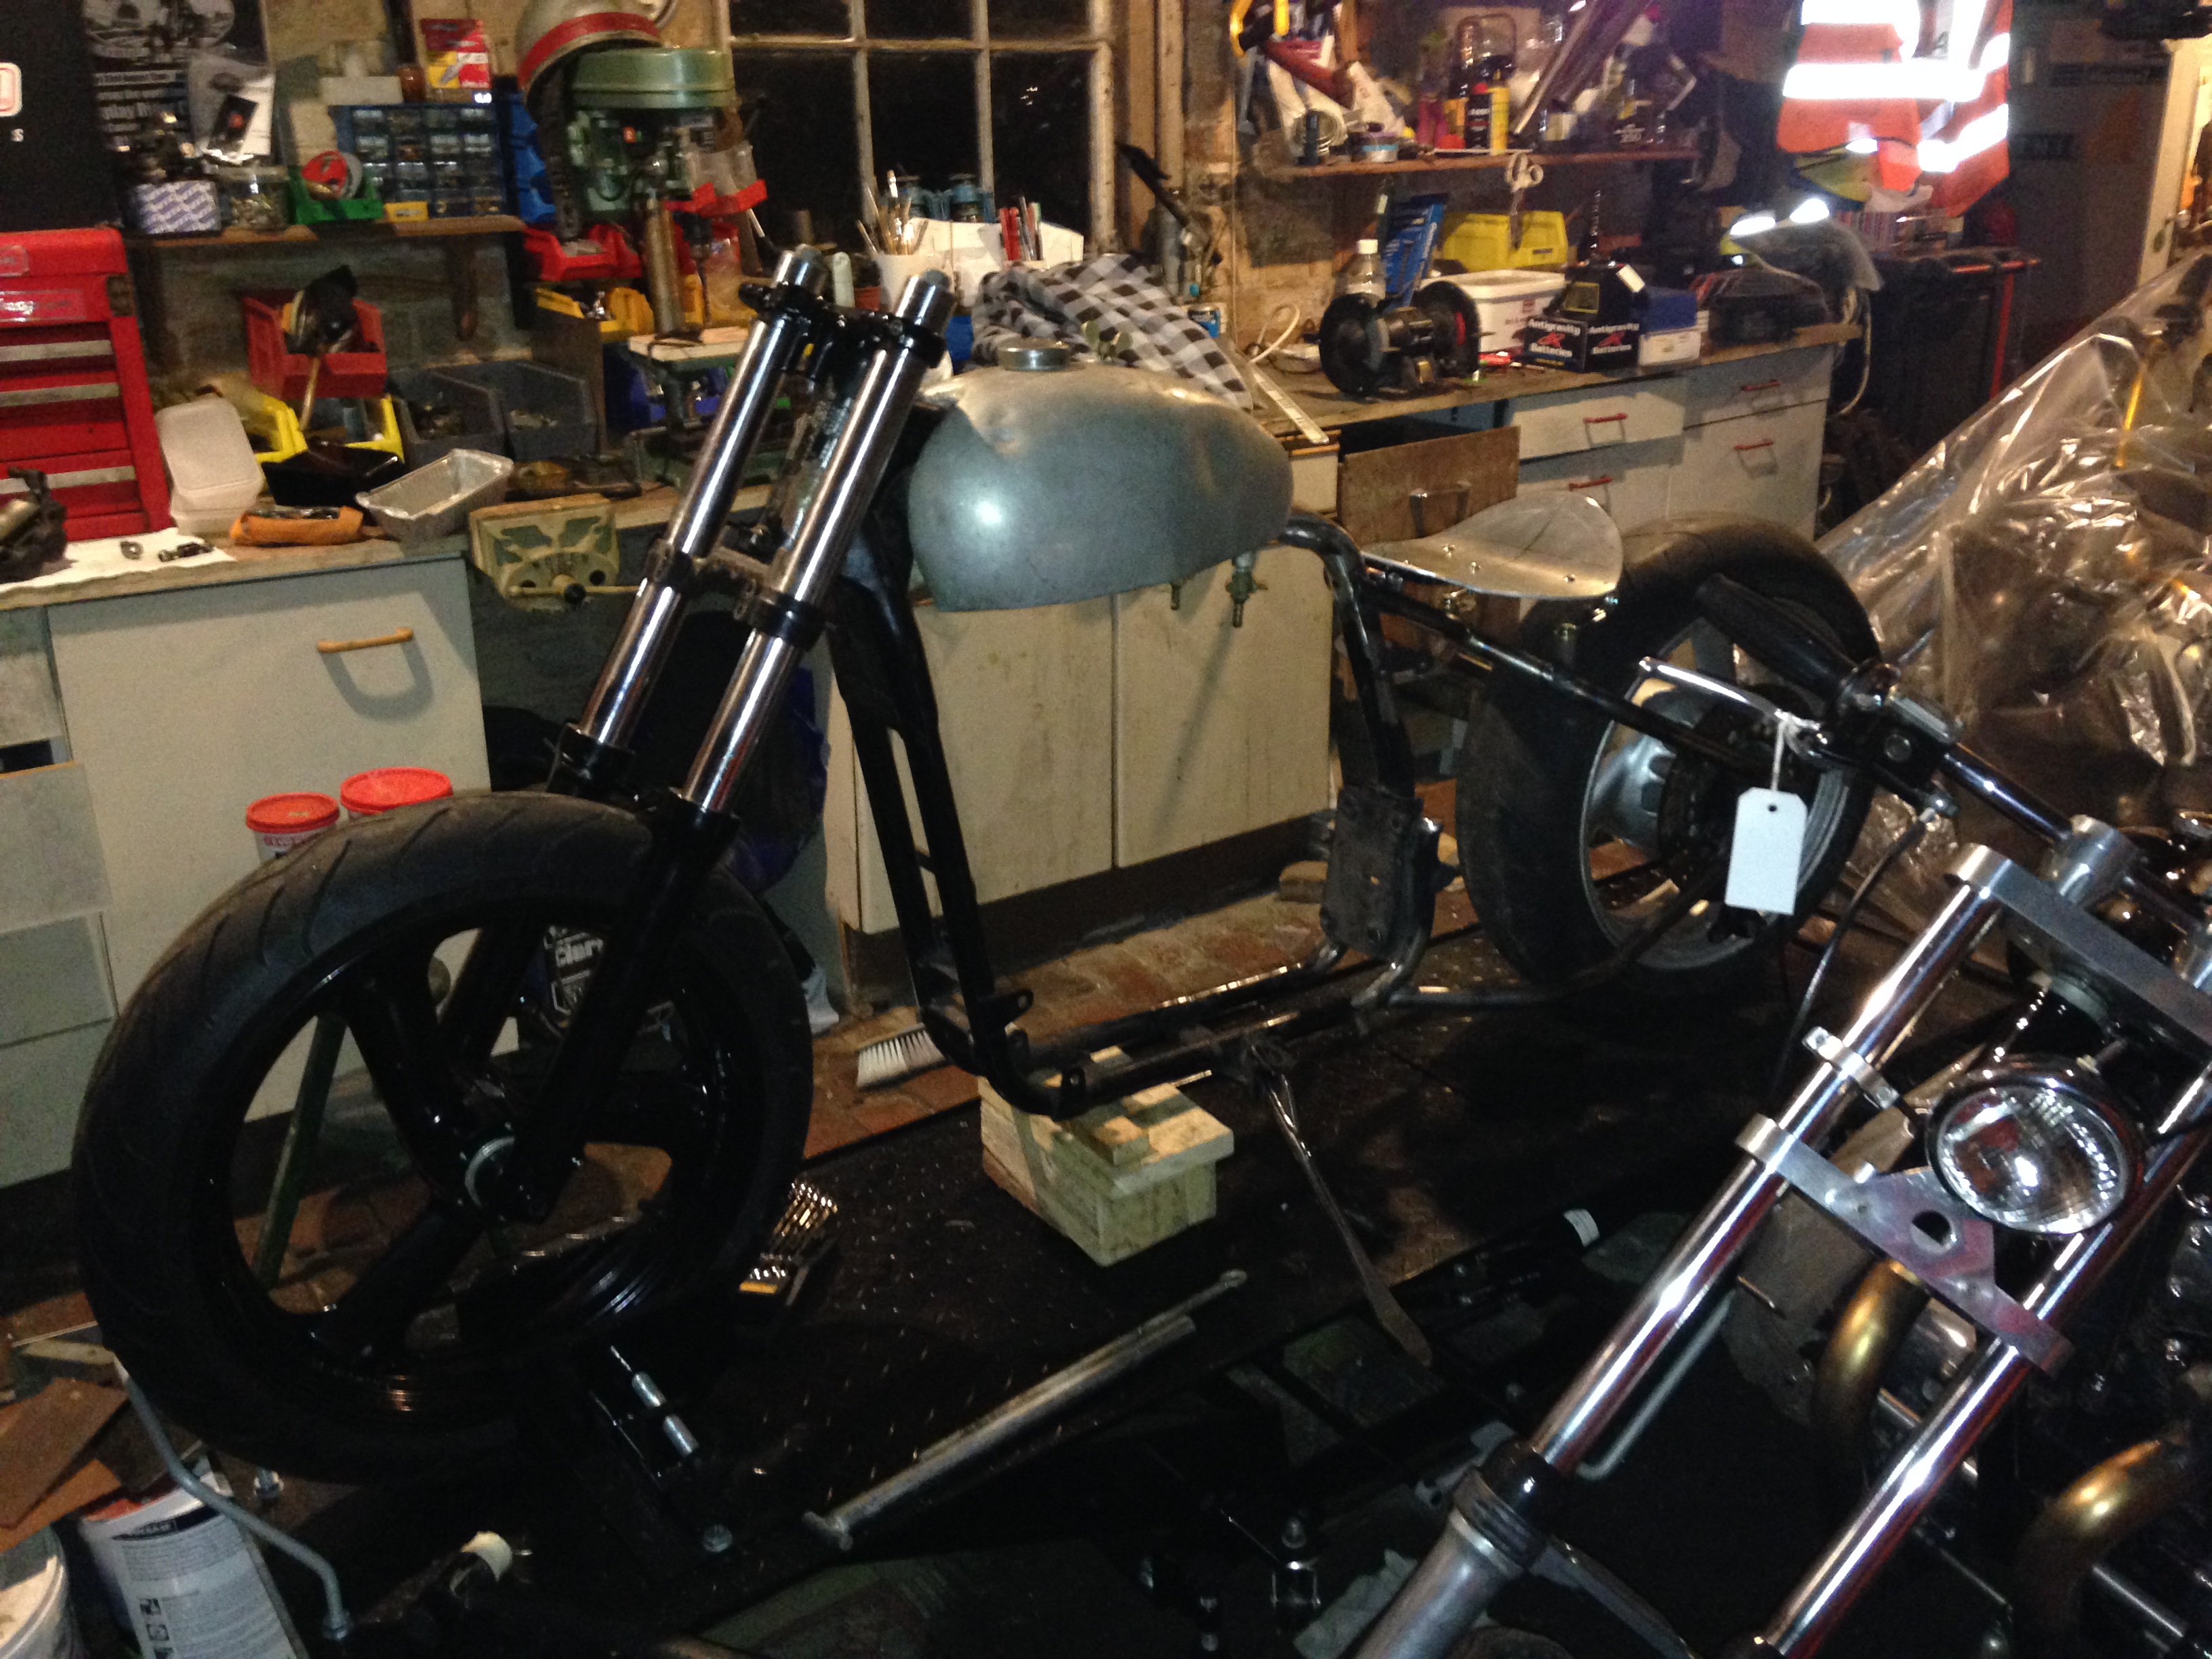
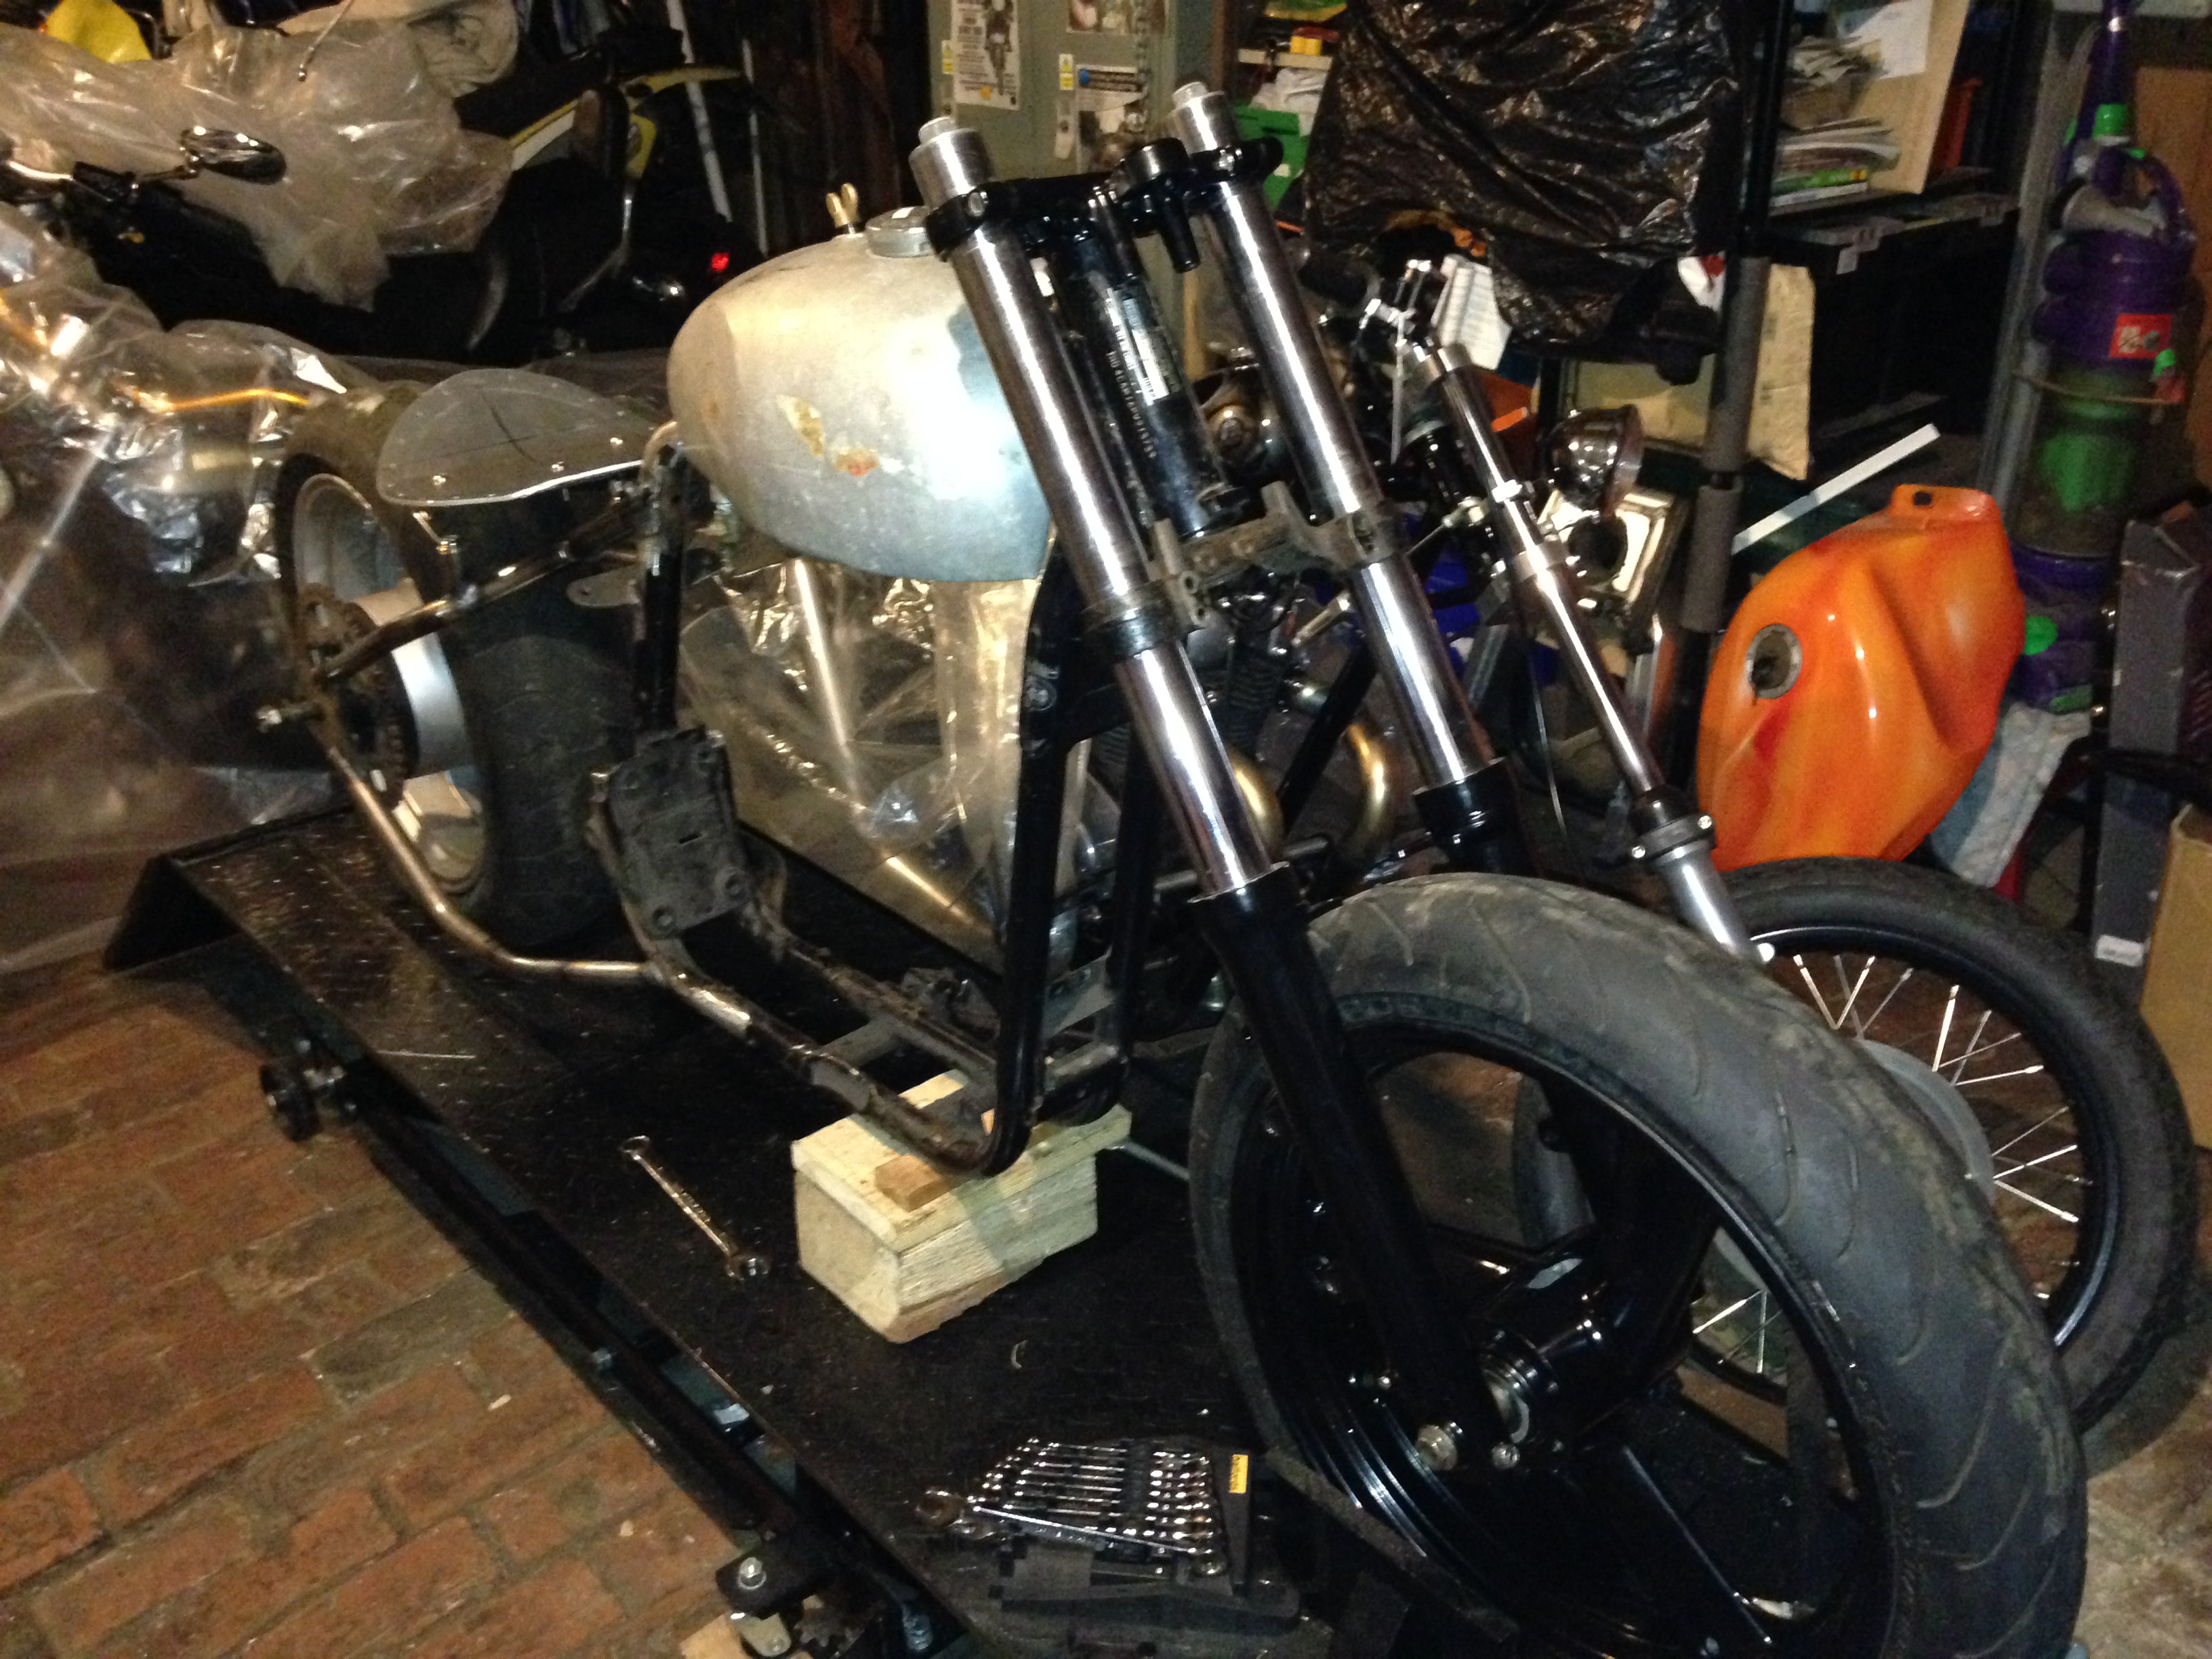
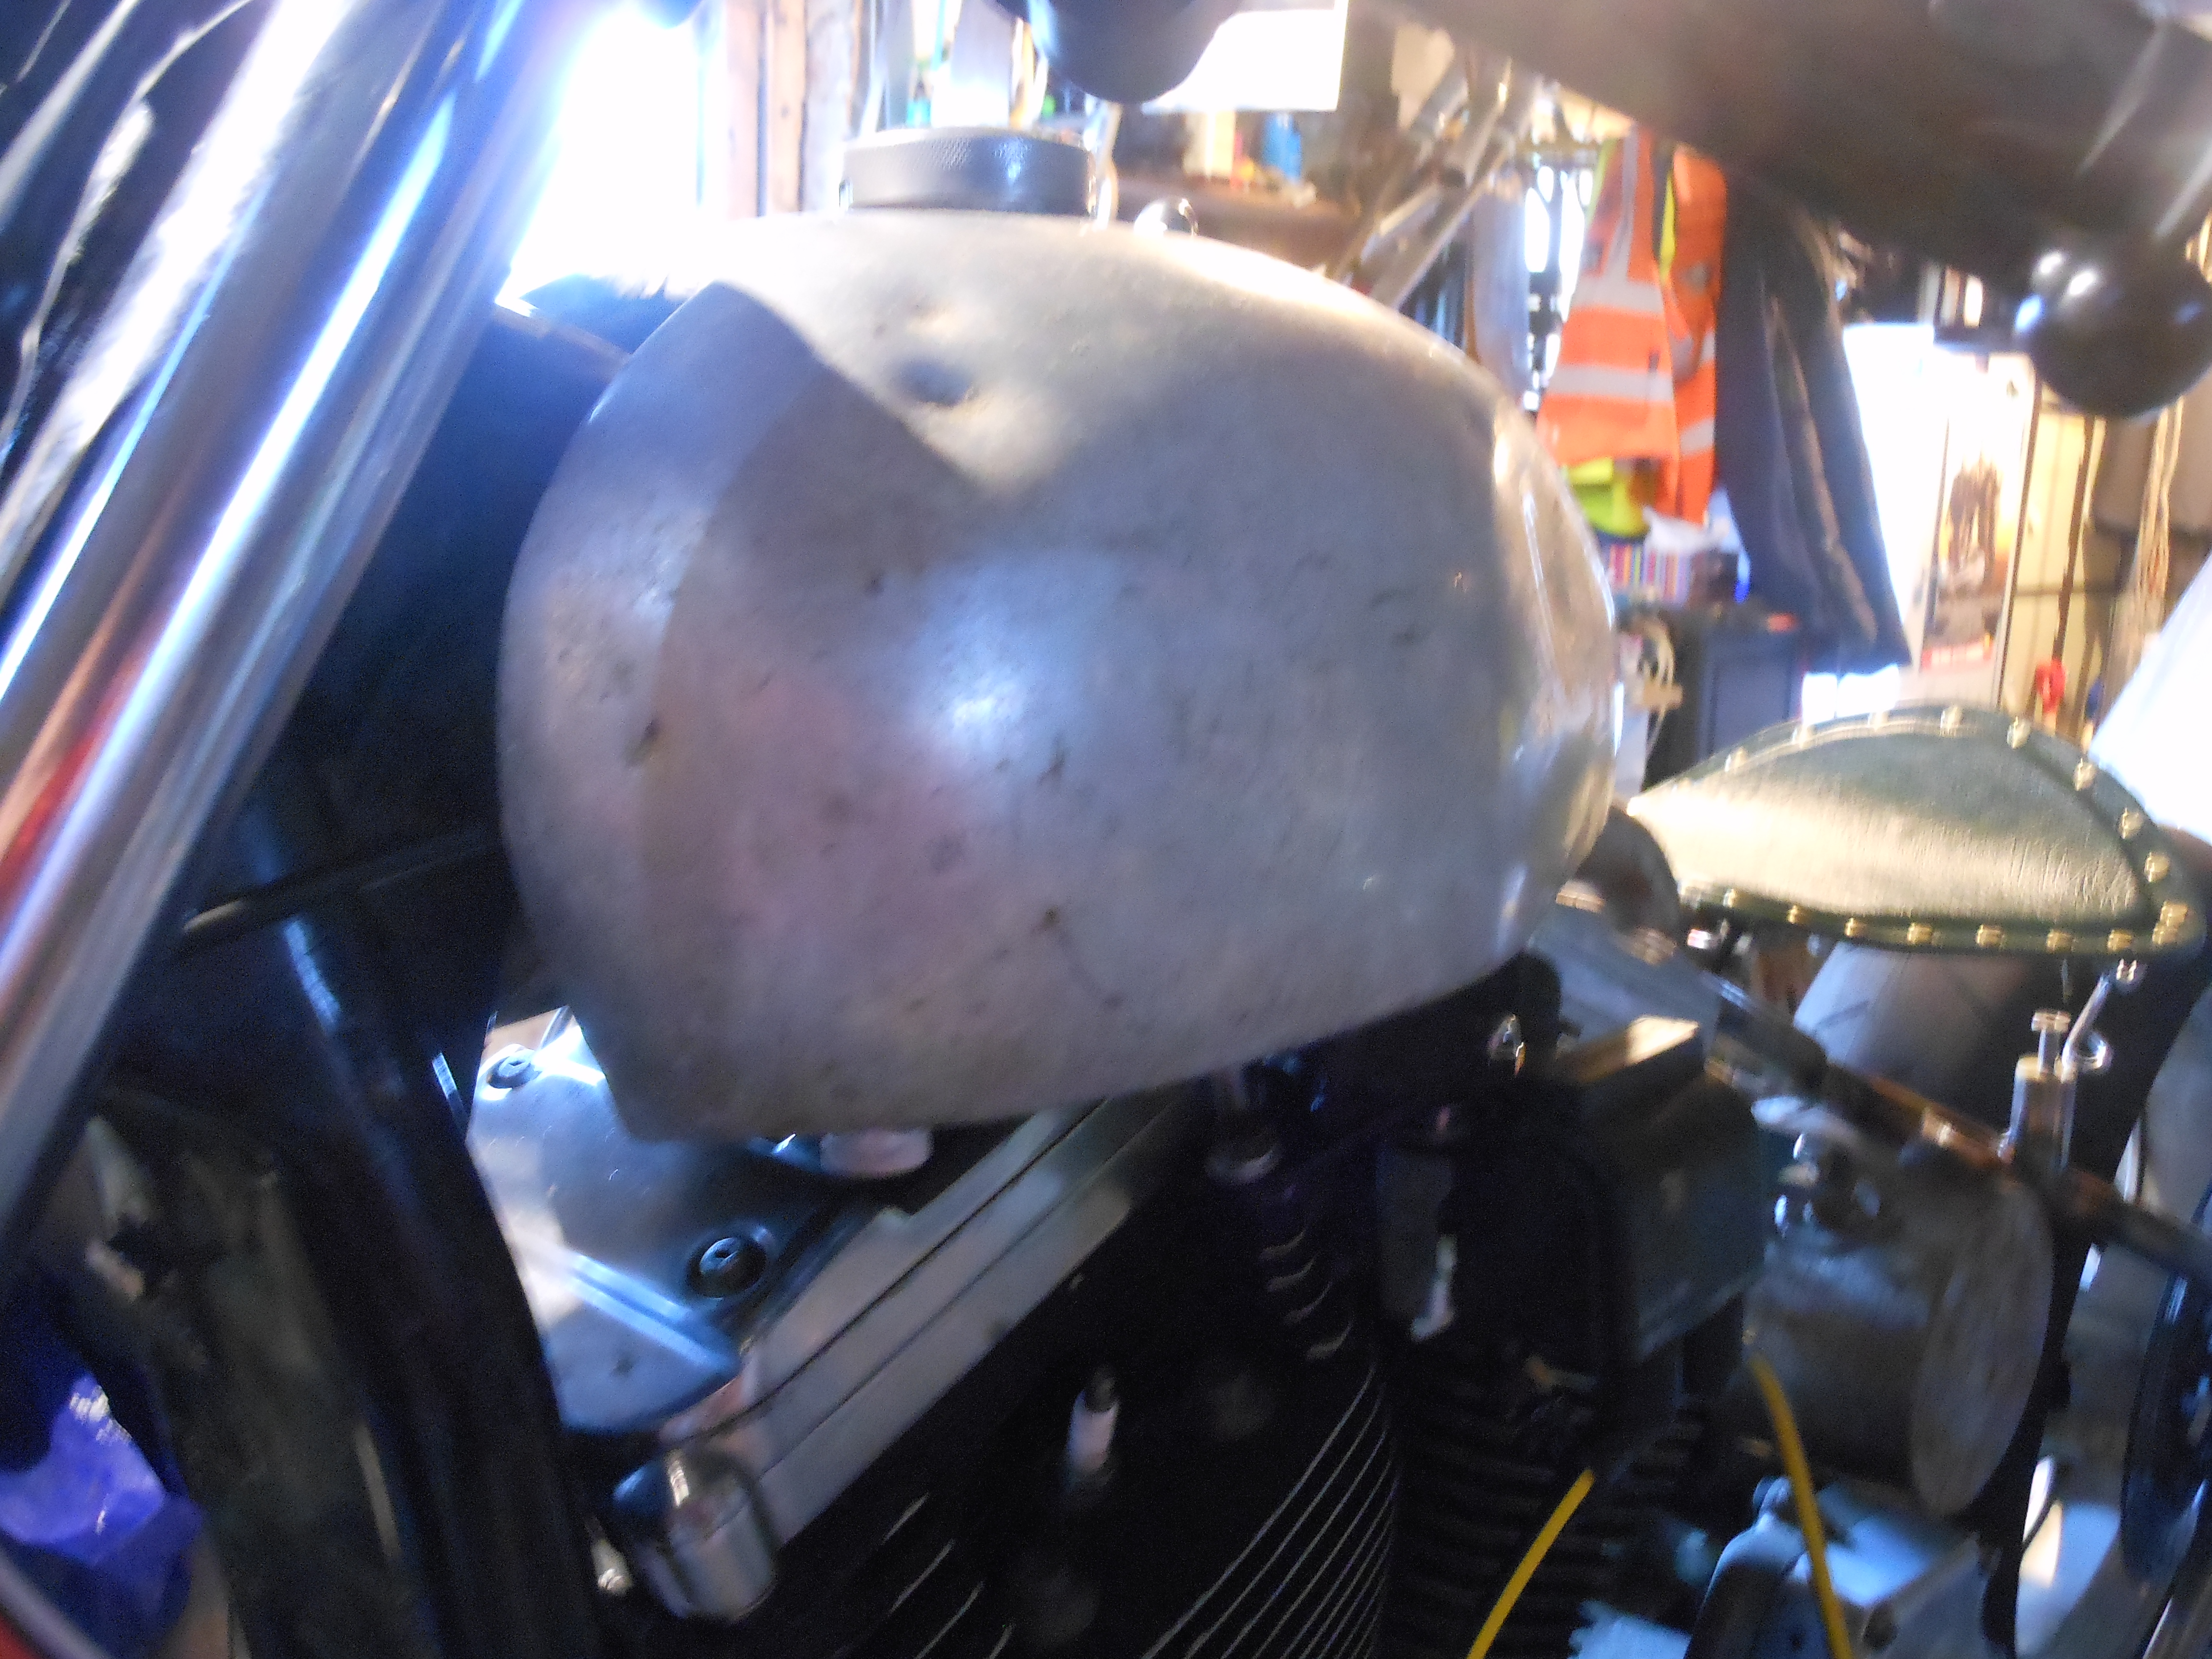
Well , engines in – either Sportster engines are getting heavier or I’m getting old – Bl**dy heavy on your todd! Straight away saw our first problem……. Knew it’d be tight – the tank but the two tabs on the bottom of the tank hit the top of the rear cylinder………….. oh Mr. Heisenburg………….. how’s your ally welding??
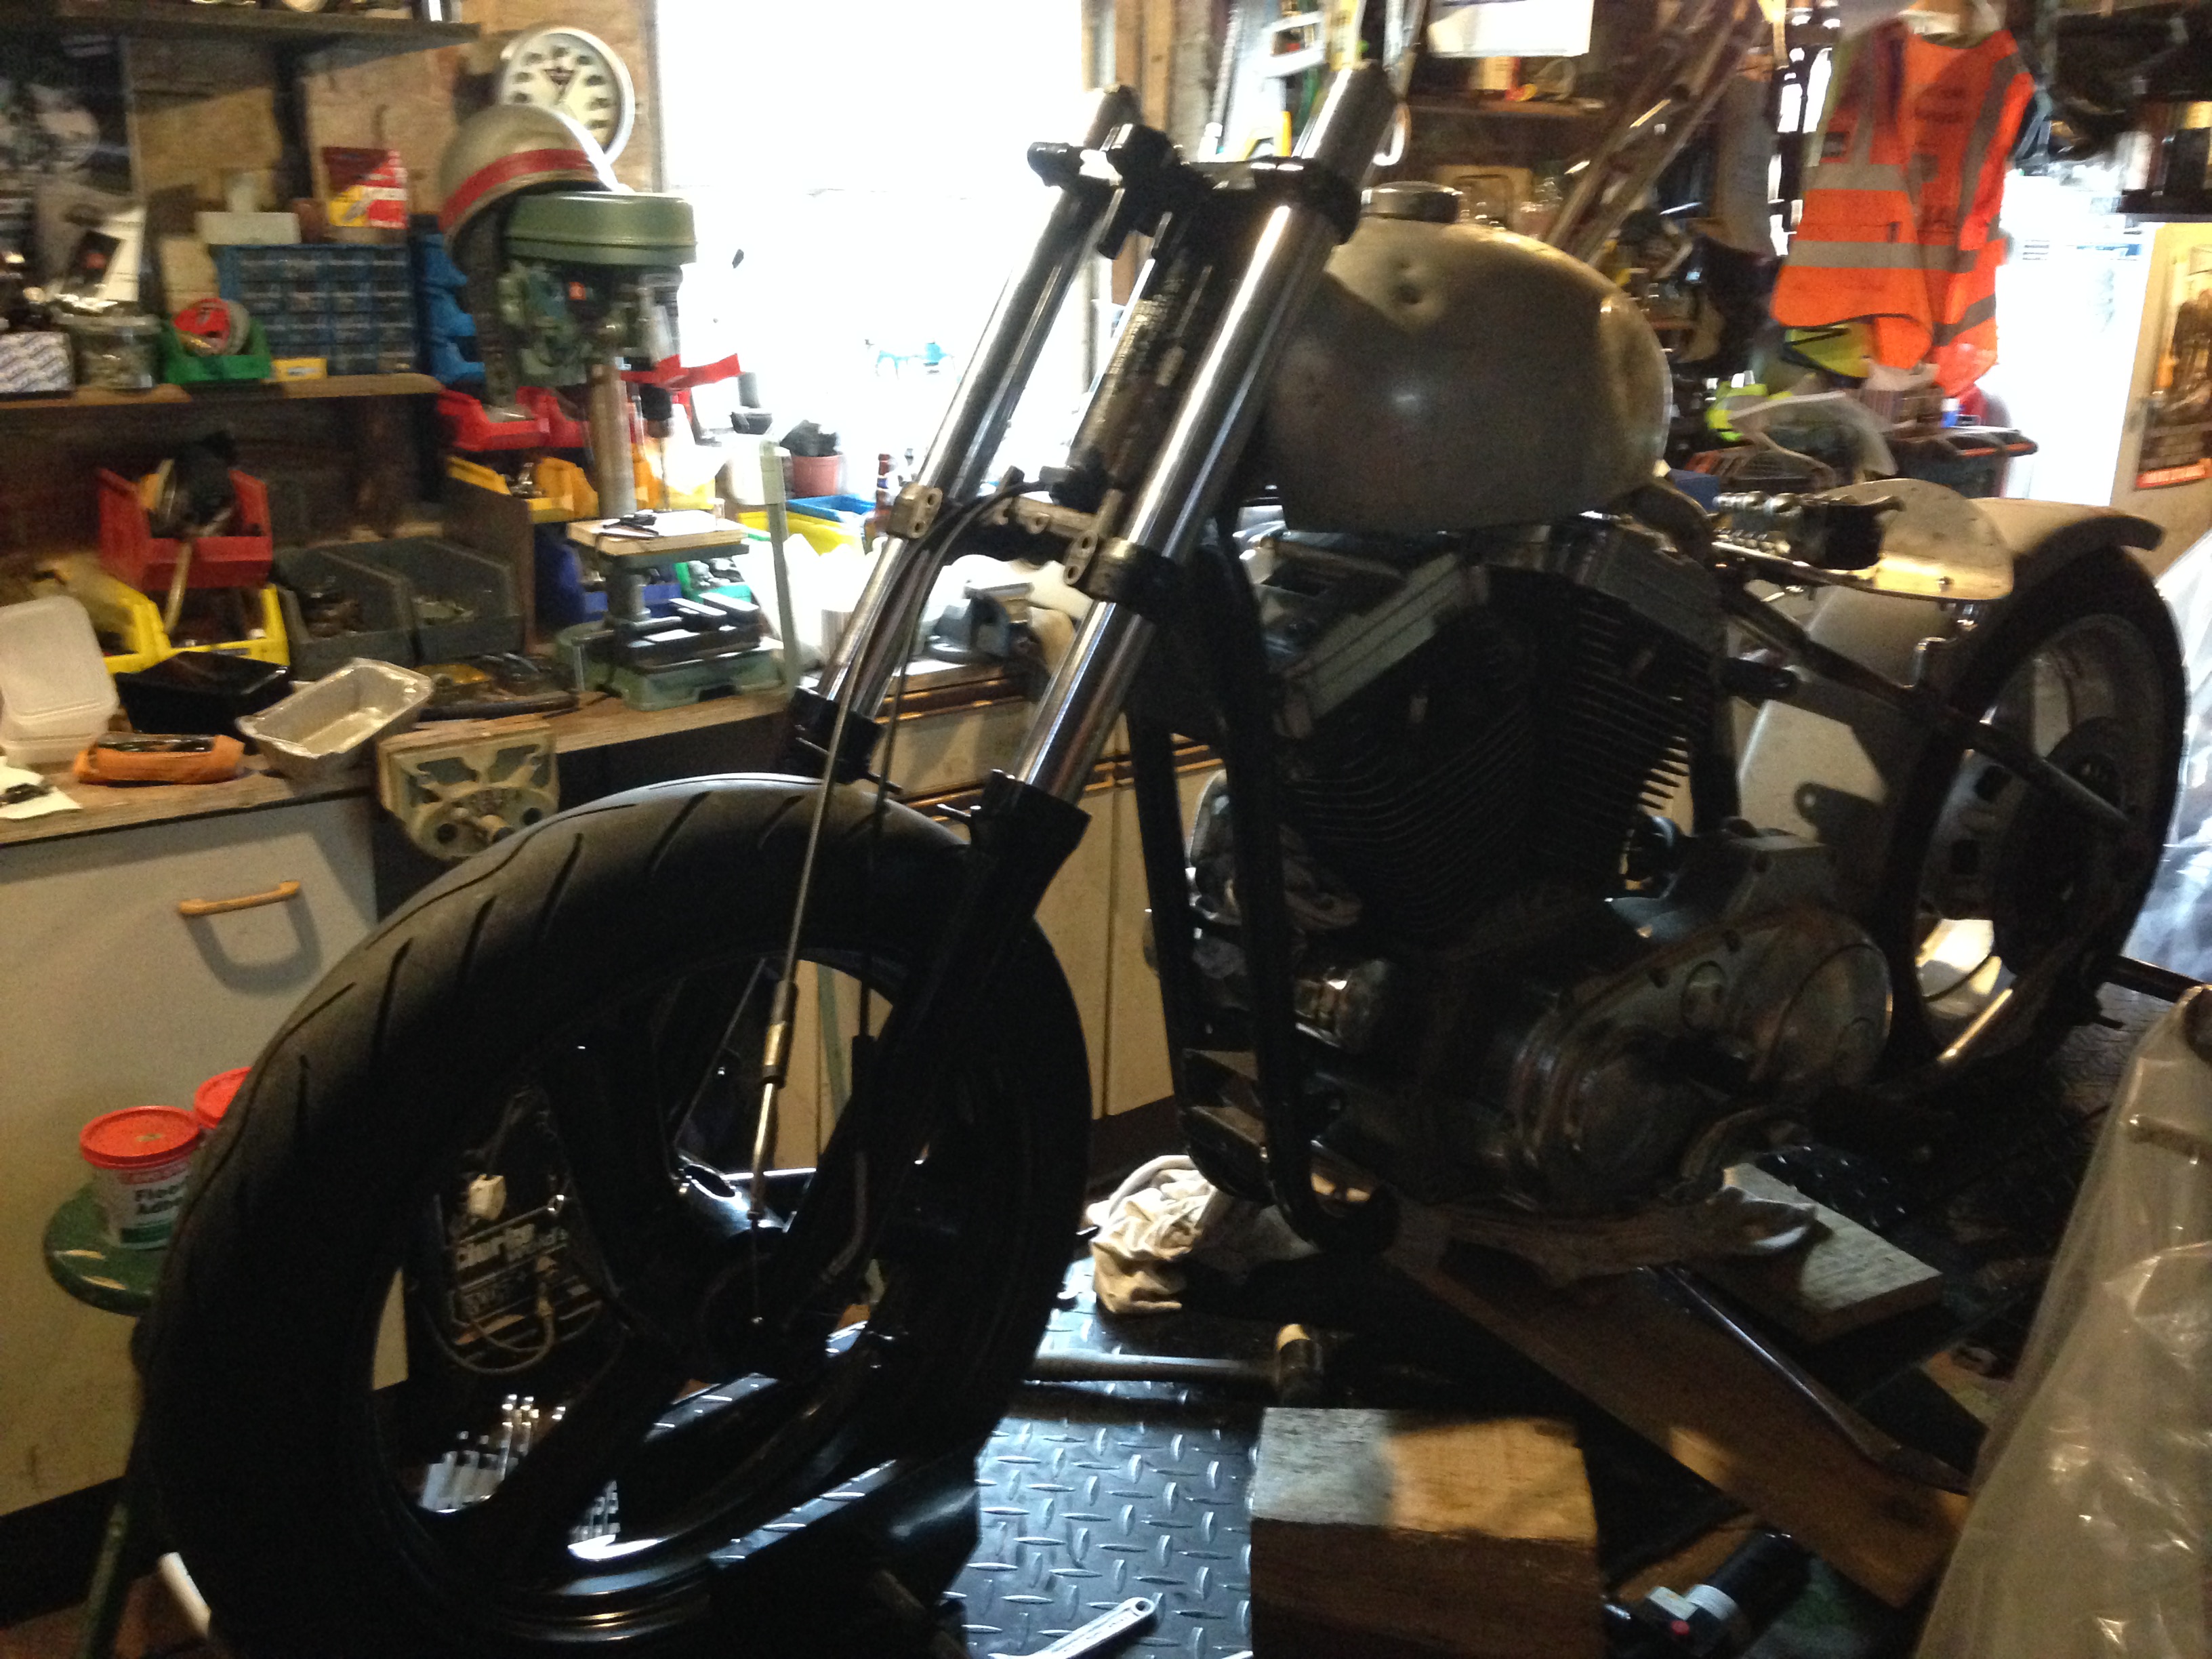
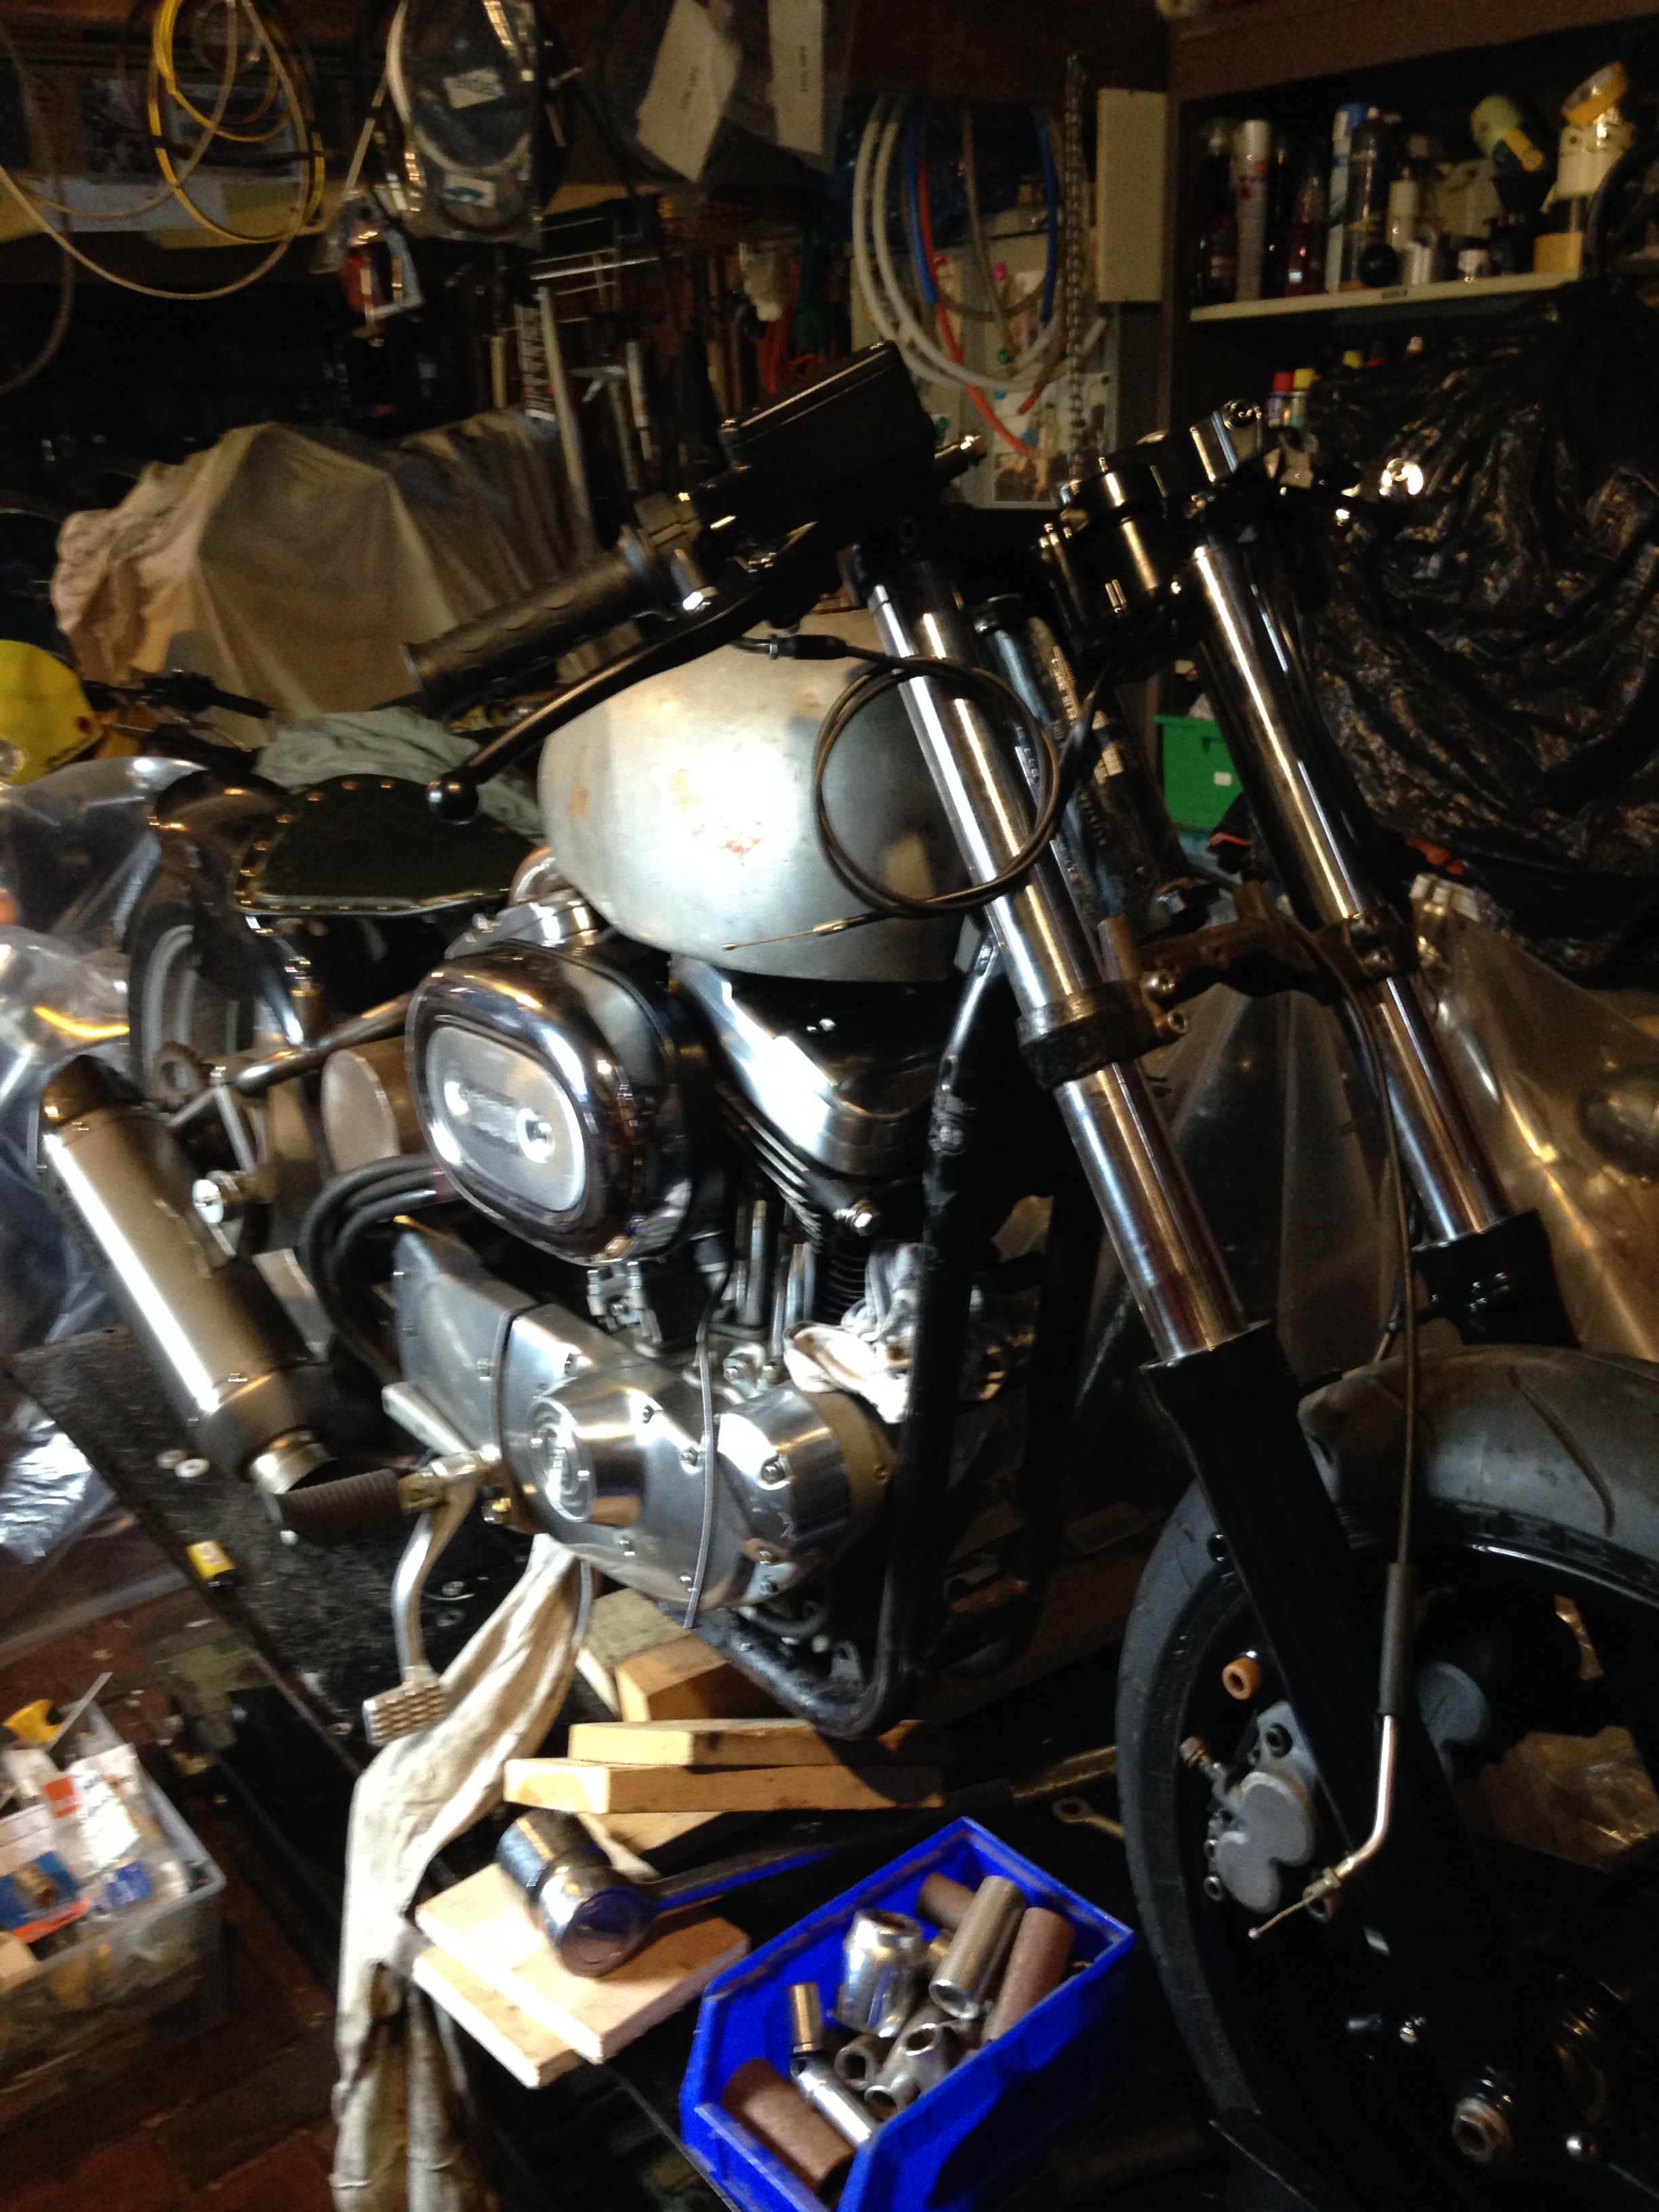
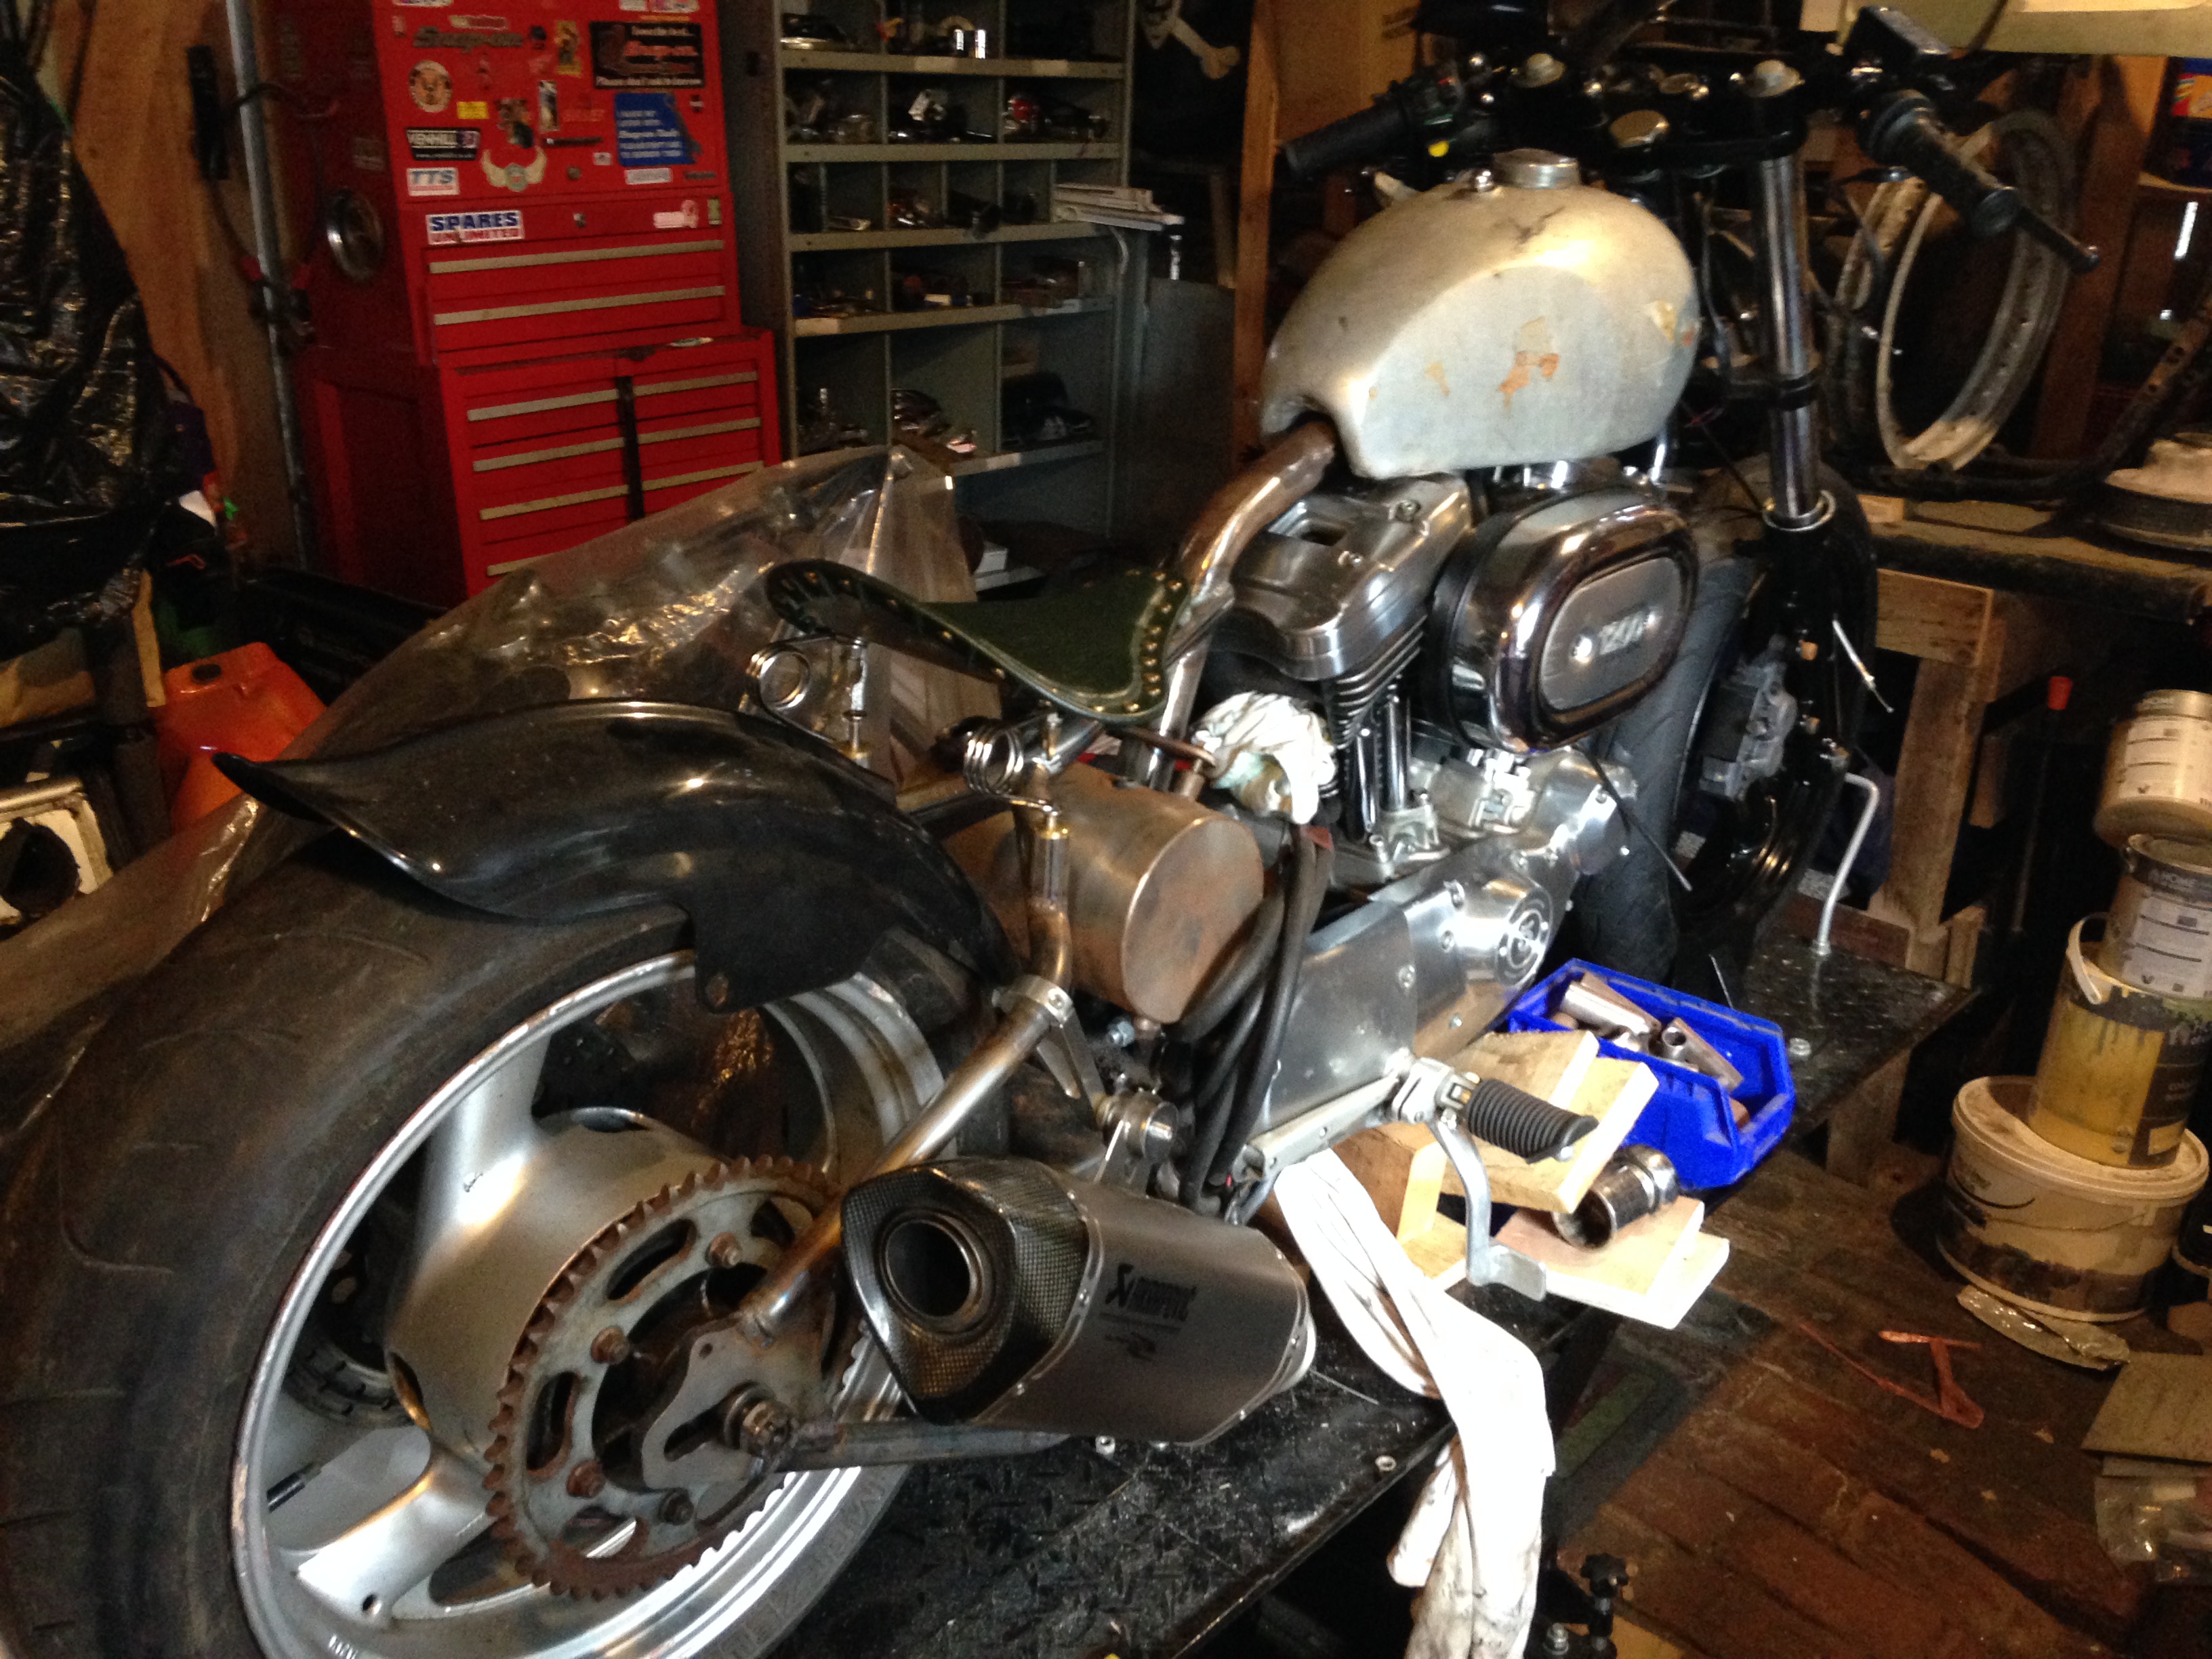
Mac popped up Heisenburgs for ’20 mins’ (as he told his missus) to take a look at the frame mods and discuss the seat (too big – not a good idea building a bike around a seat – easier the other way round) and ended up watching Heisenburg doing his thing until the witching hour.
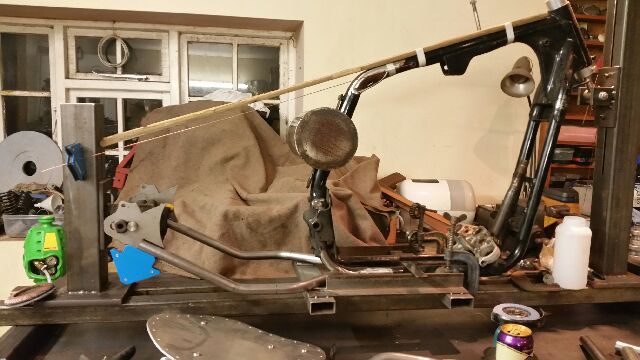
After bending the bottom rails the Discussion was how to make the top rails flow nicely into the frame without loosing any structural integrity
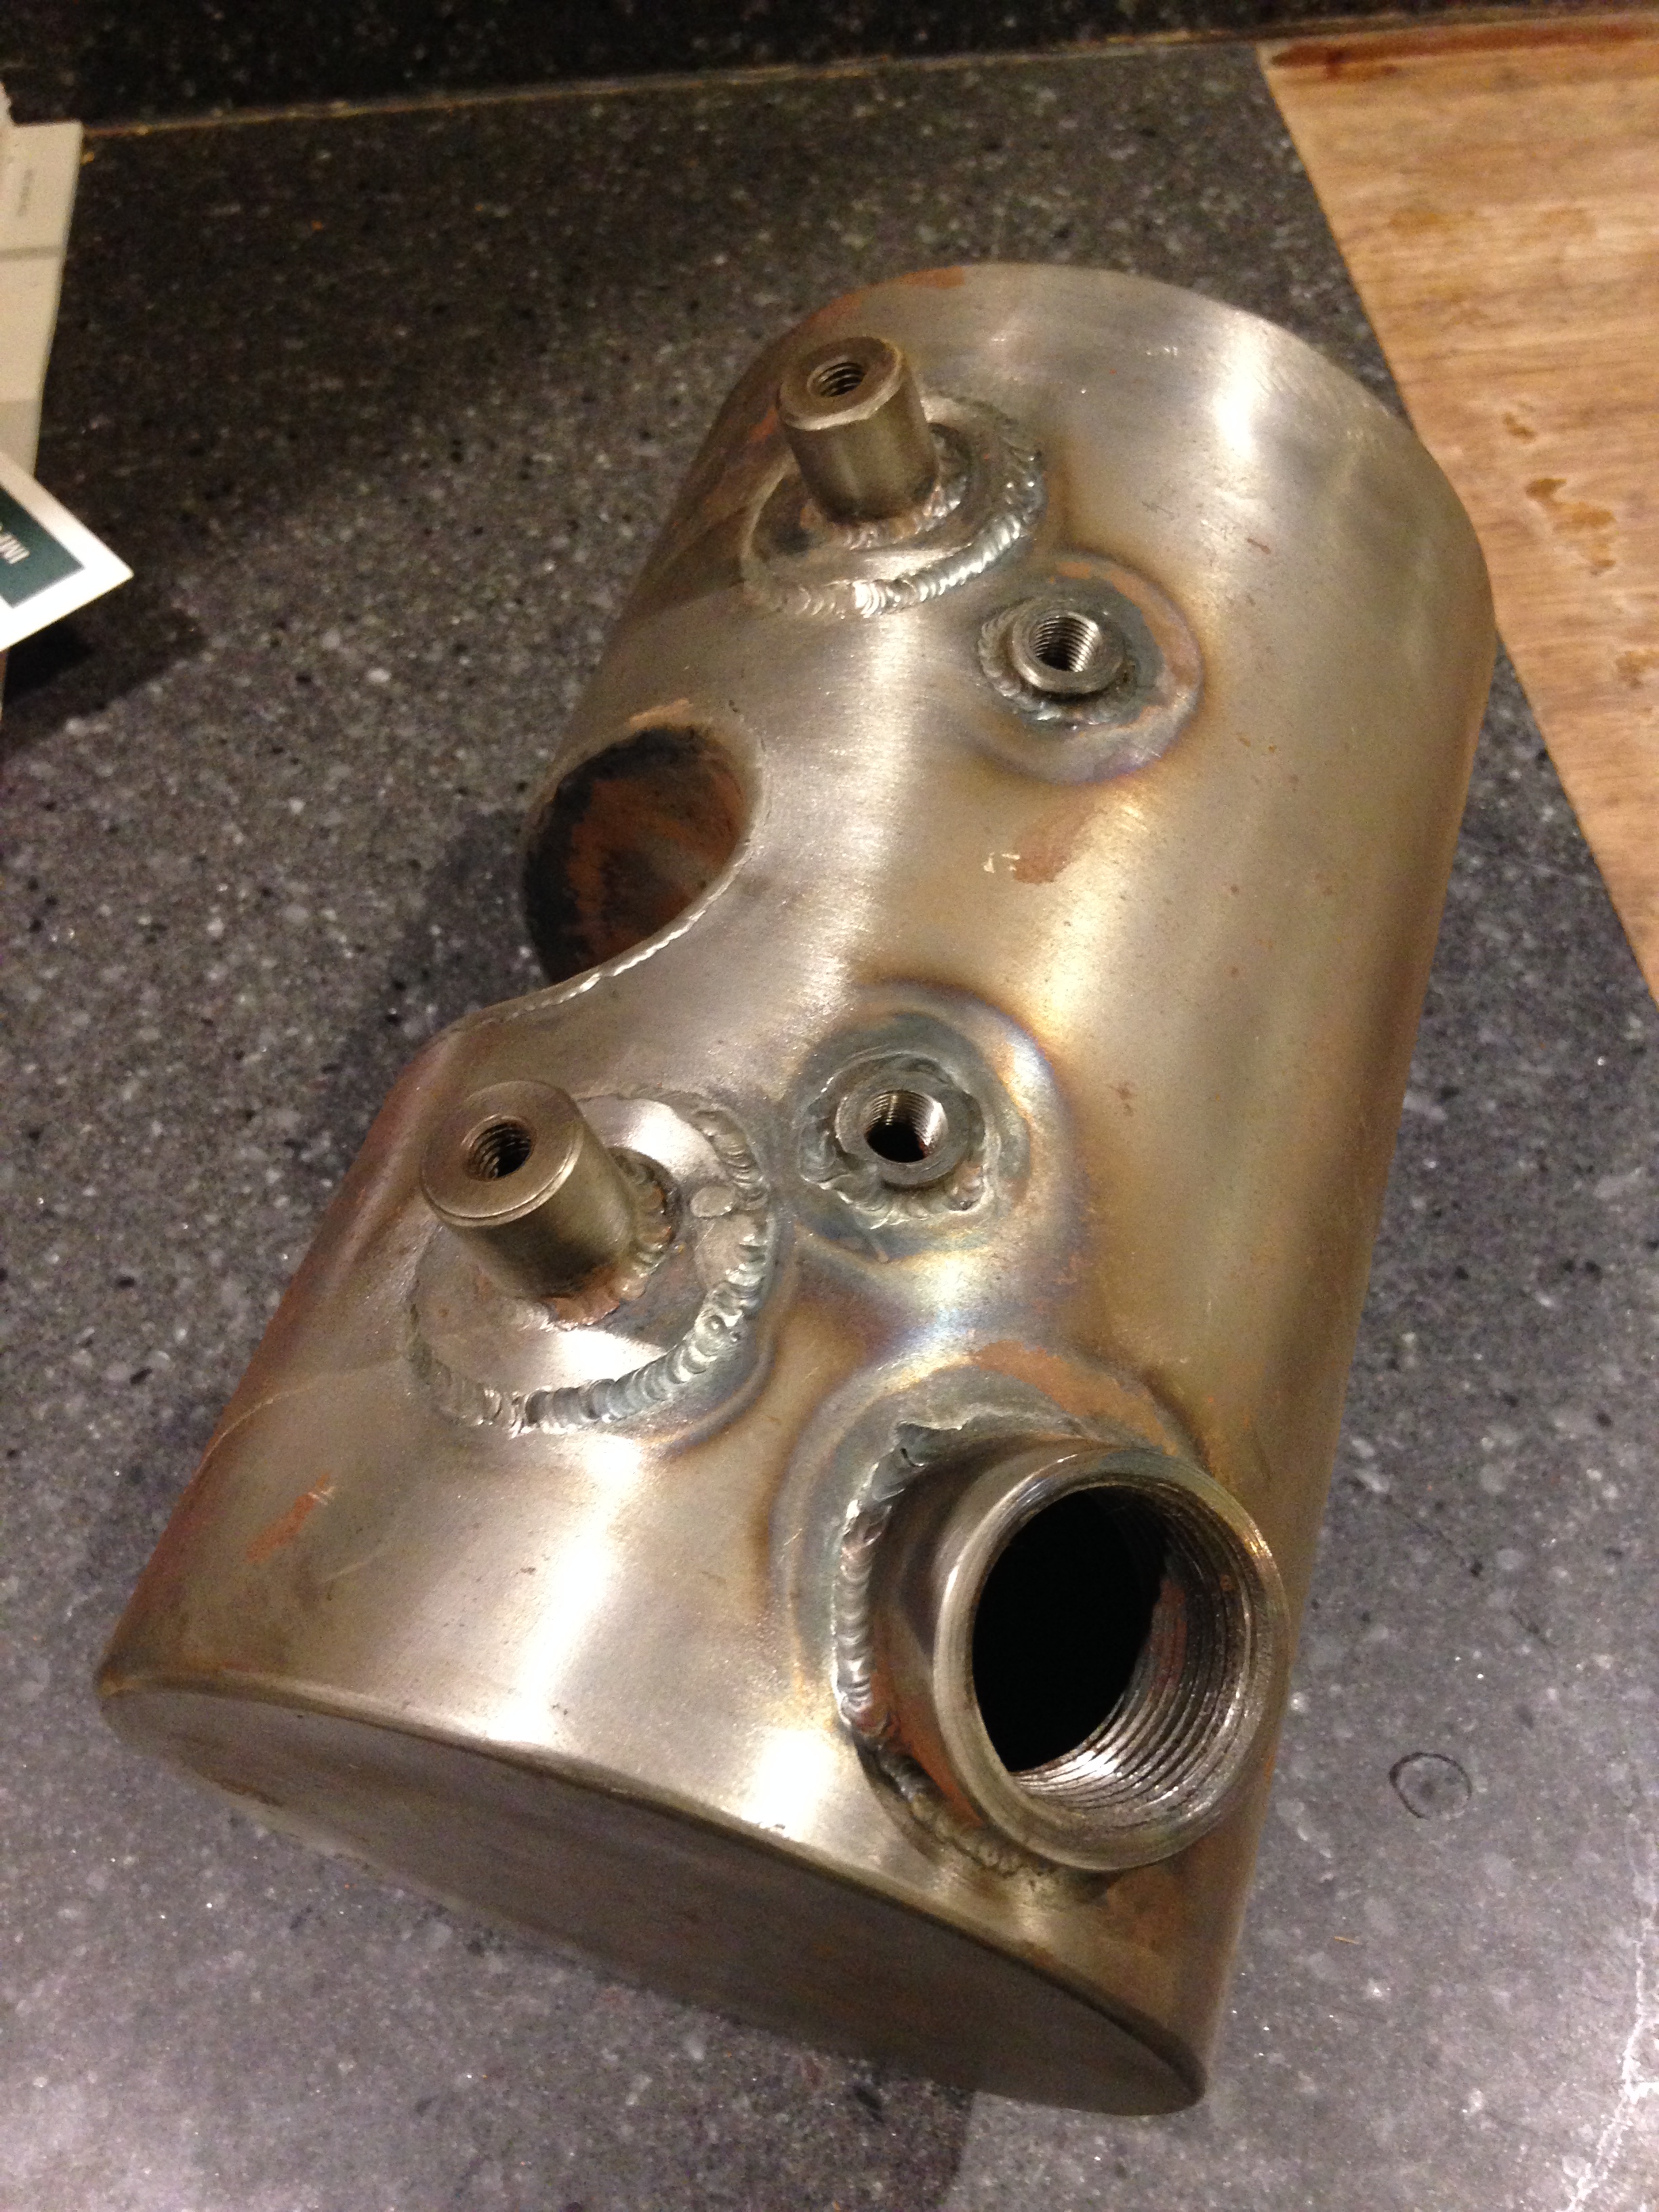
Lovely Oil tank supplied by mate Hobbit (who’d bought a spare for his chop??). This’ll go on to get the bike fabbed up then we’ll re-visit the fire extinguisher idea
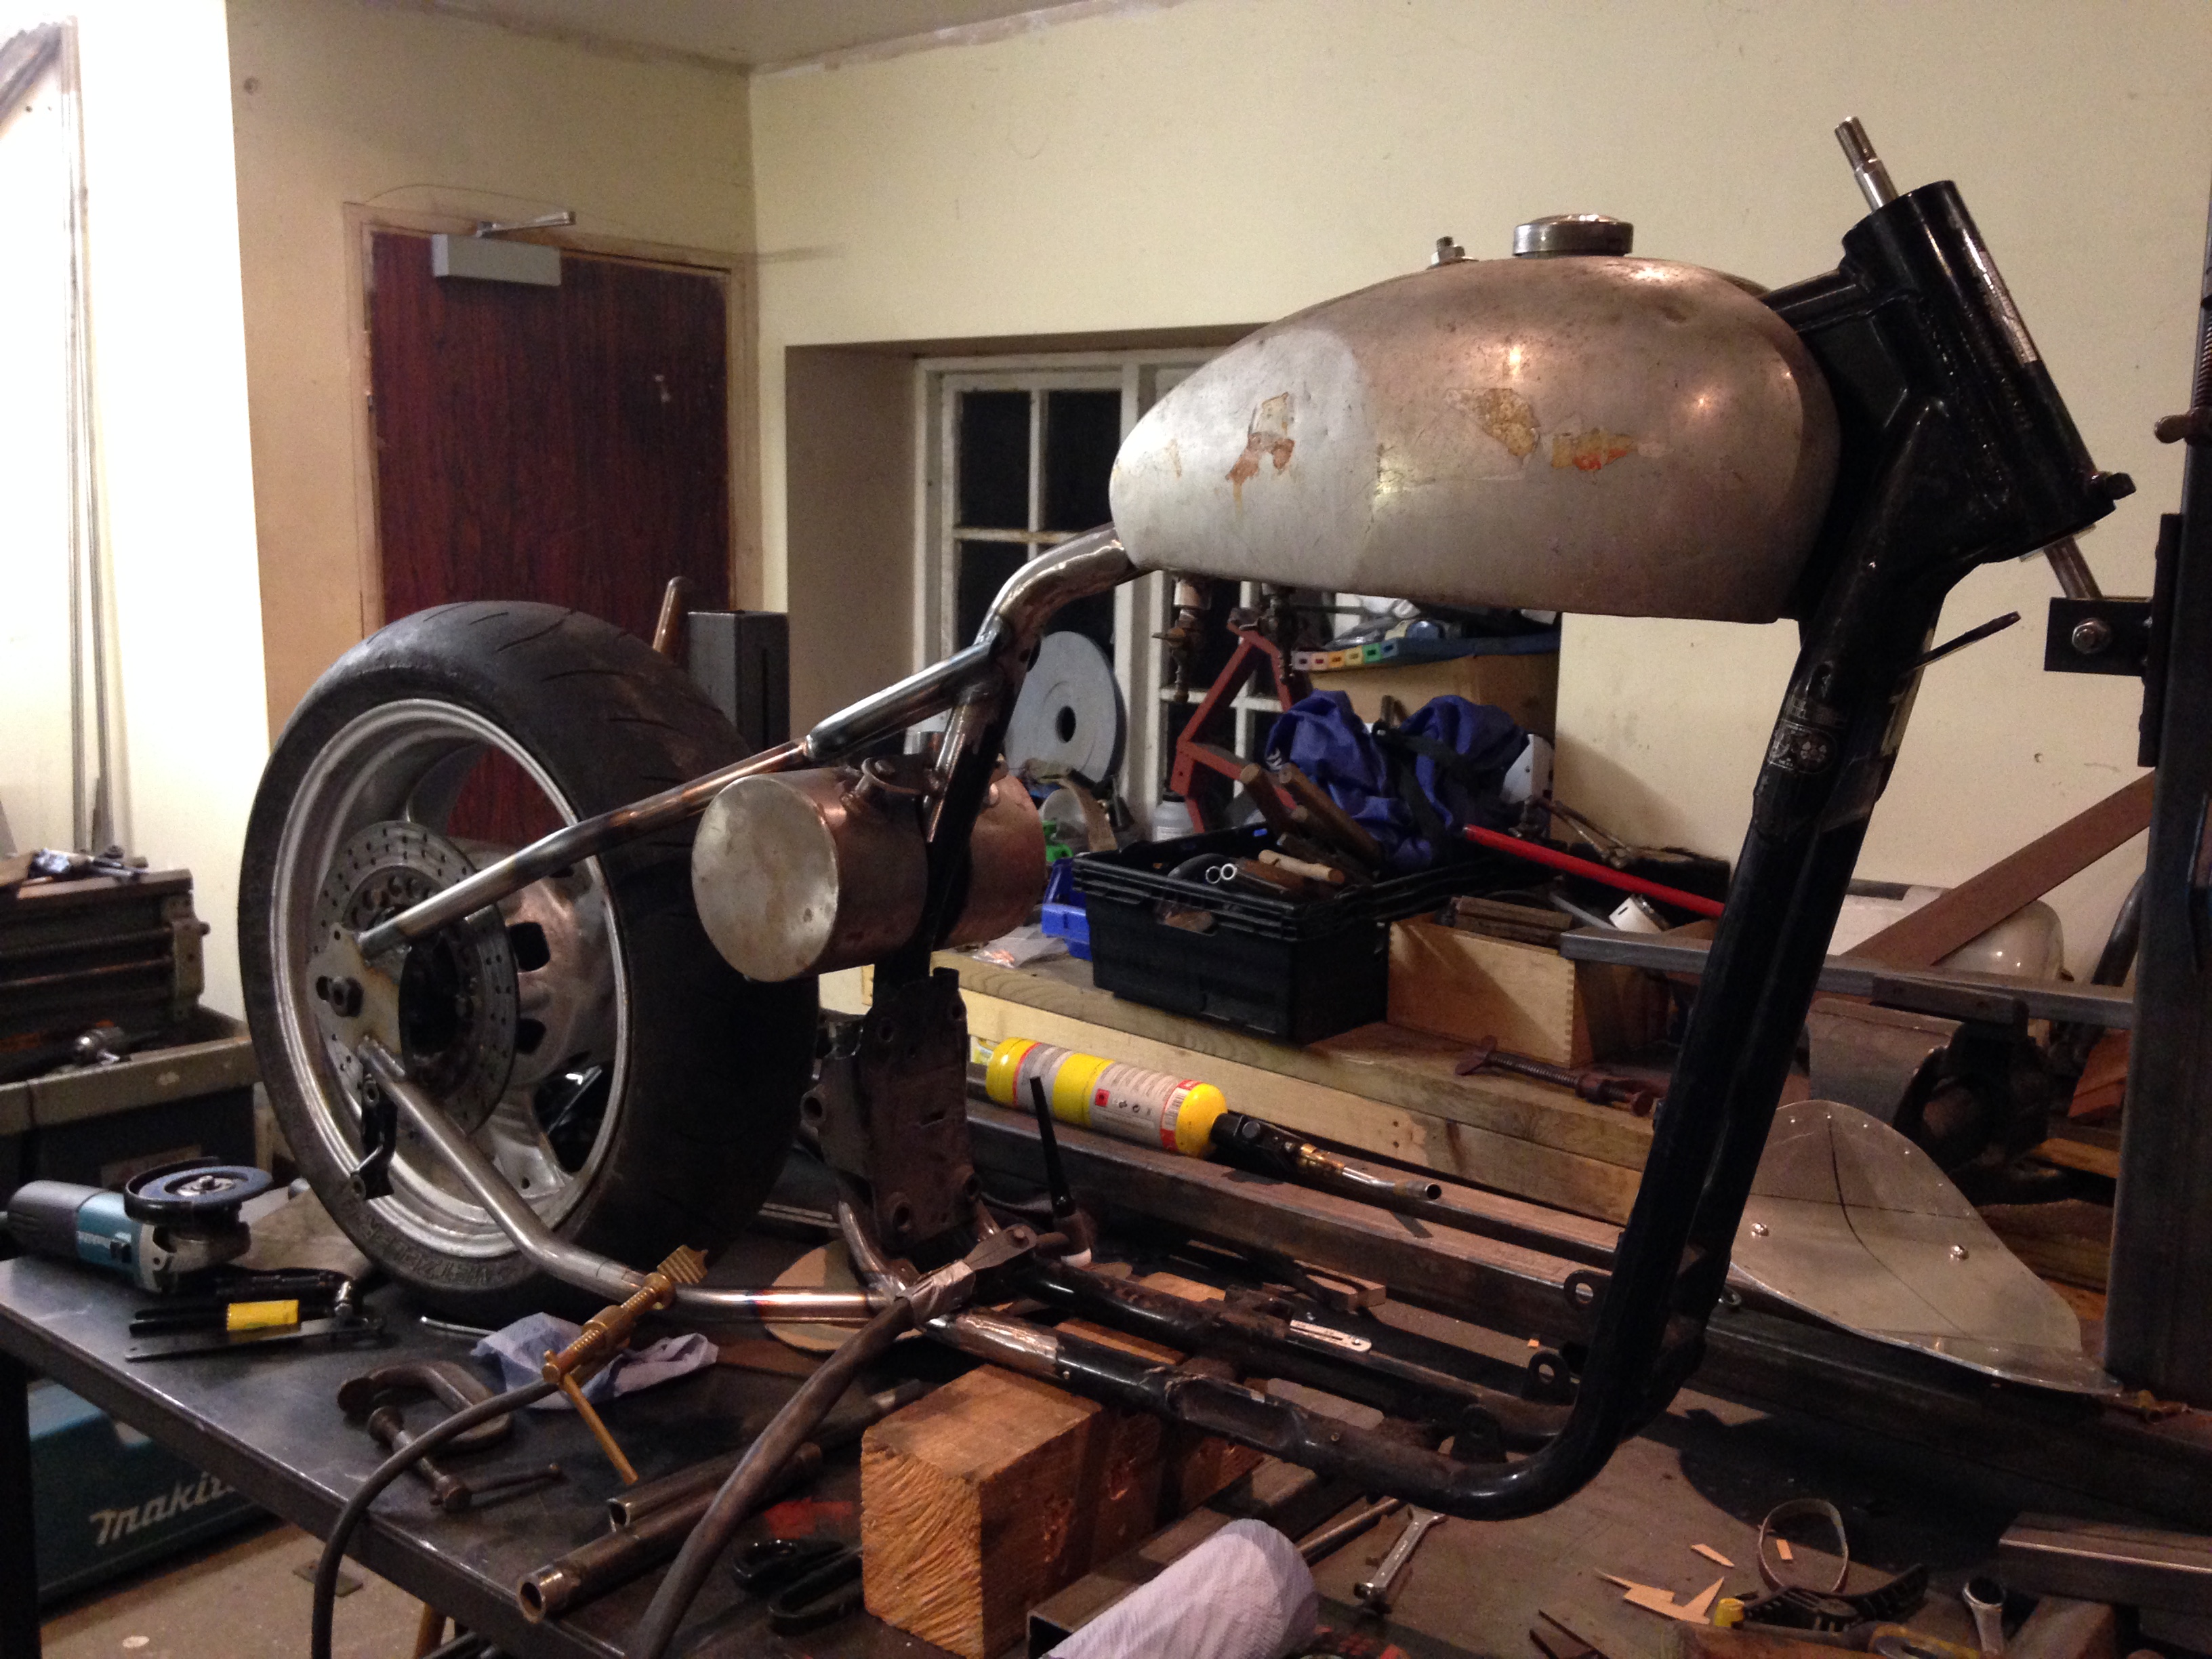
And this is what Heisenburg came up with – pure art……… inter twining tube wrapping around the main frame then flowing out to meet the rear axle plates – beautiful! Shame is – no one will see it as the seat will sit on top!
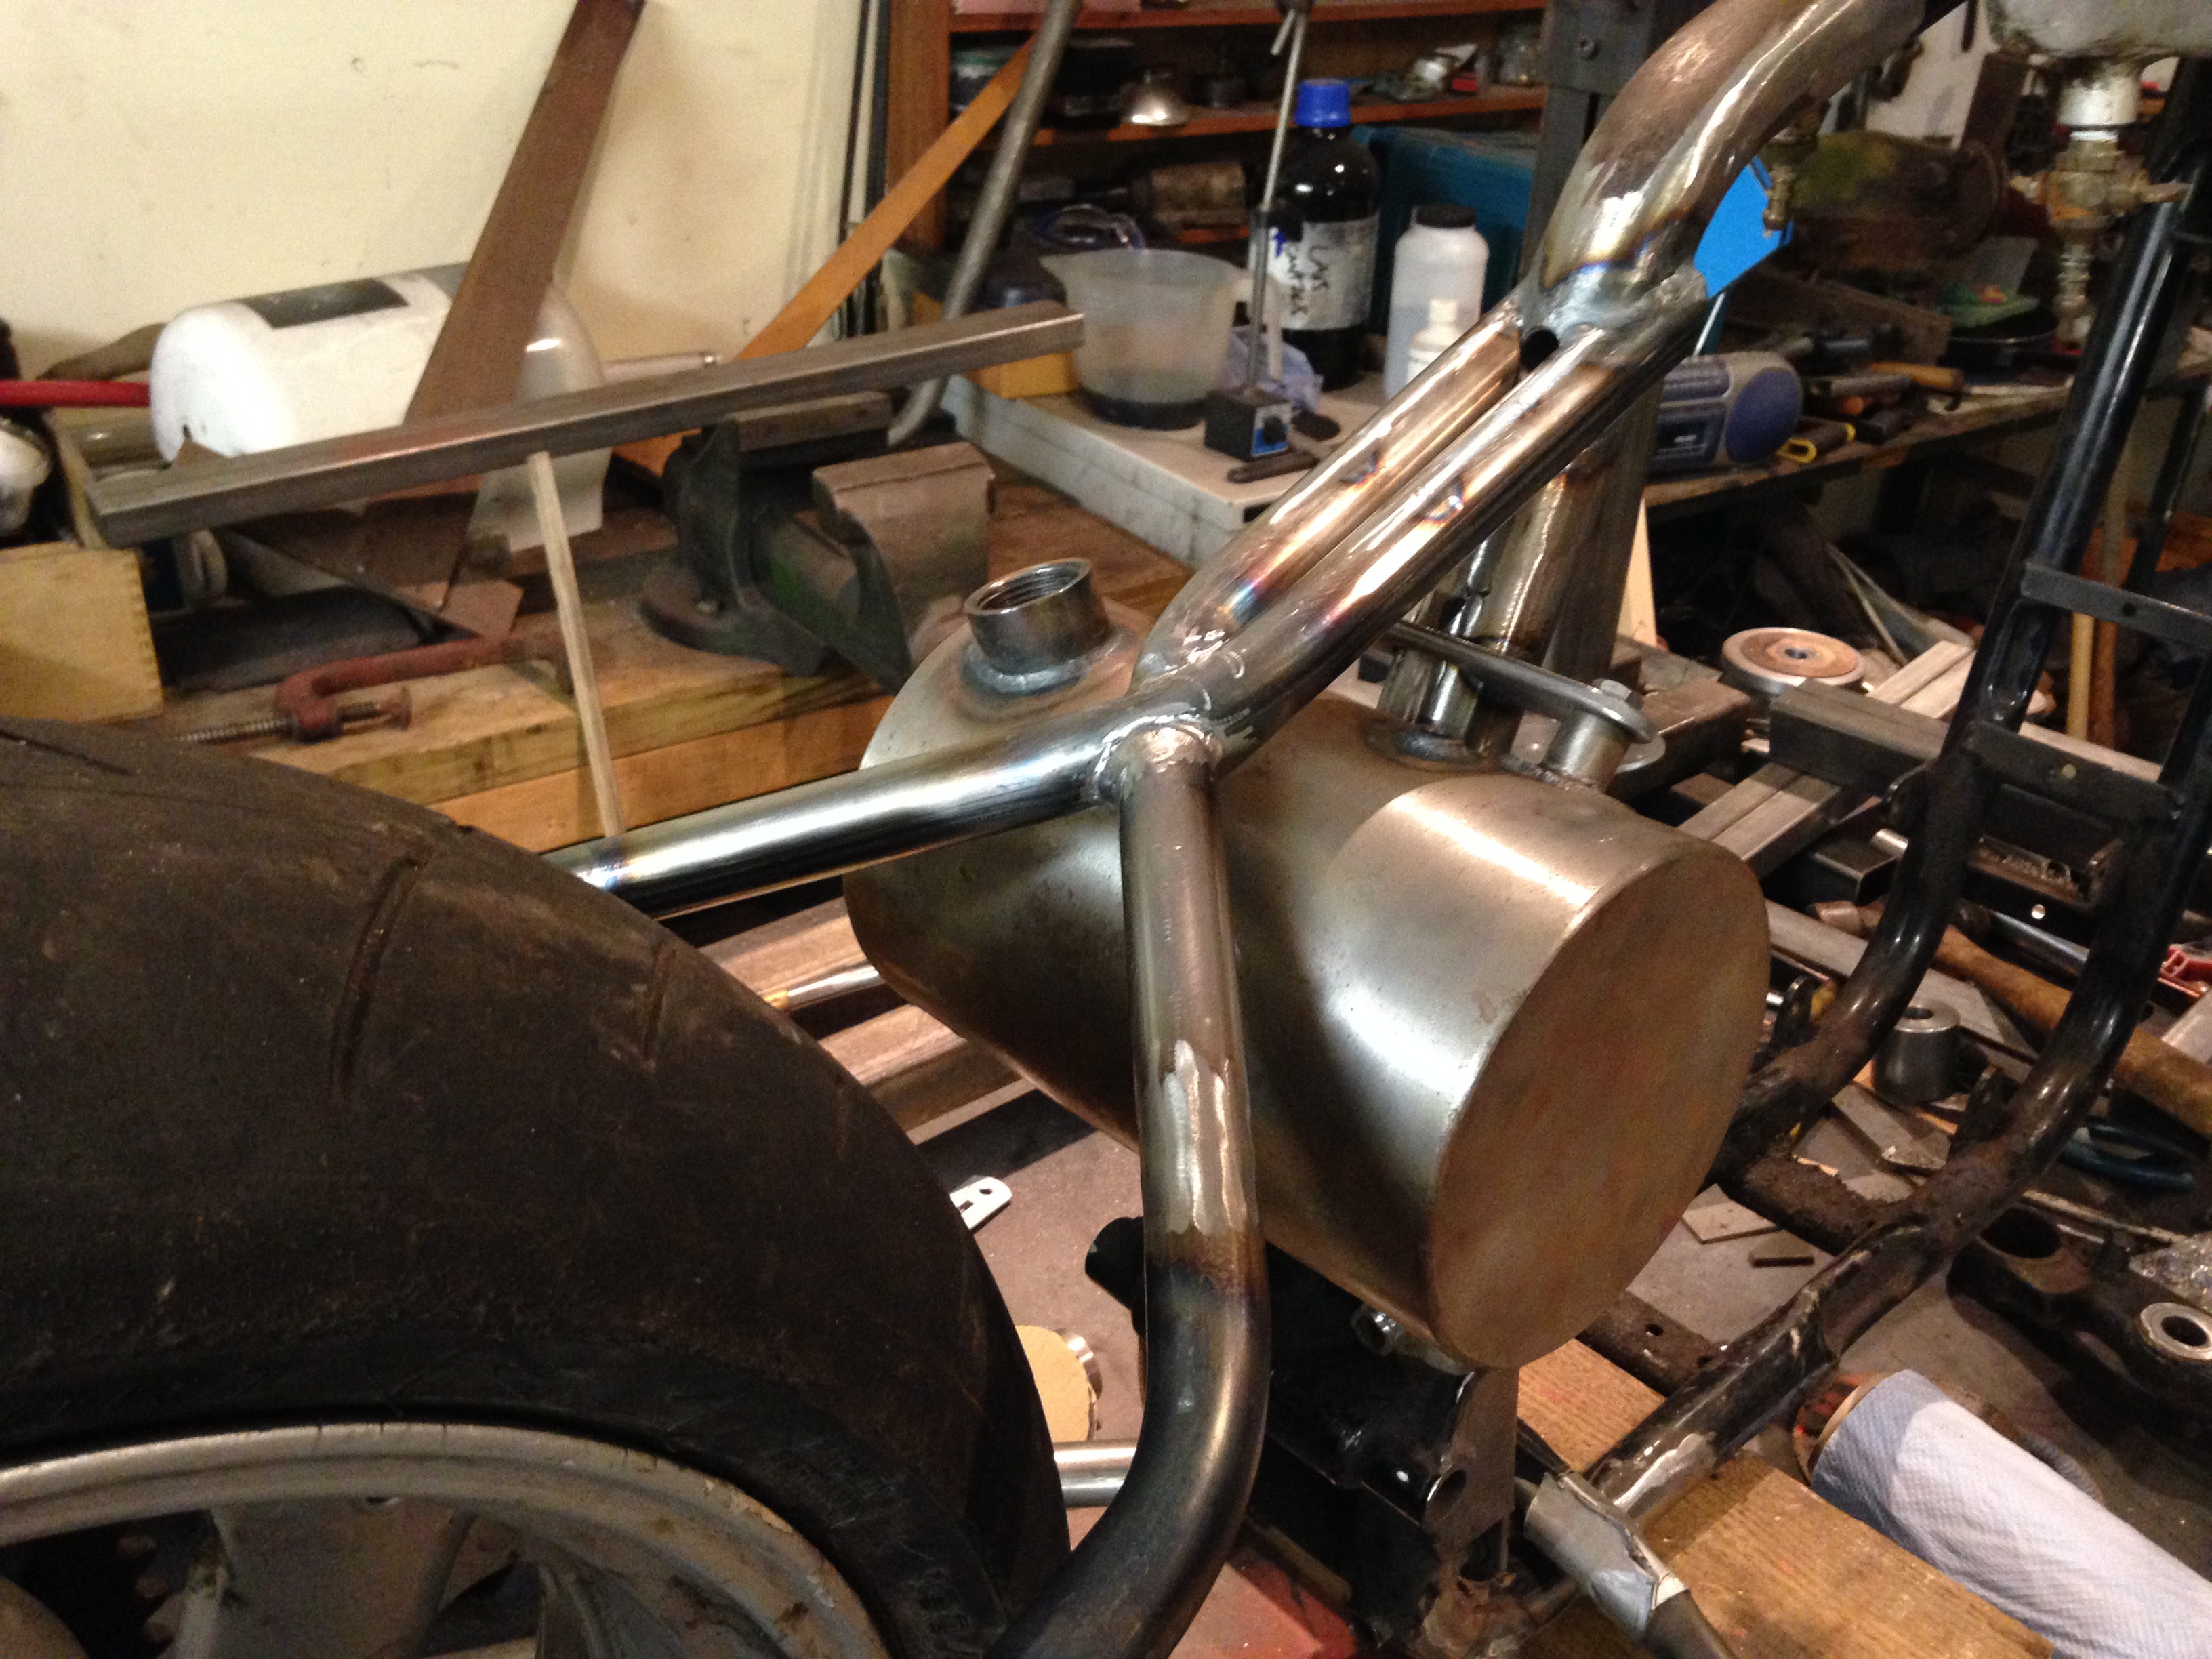
 just to make sure you’re paying attention!
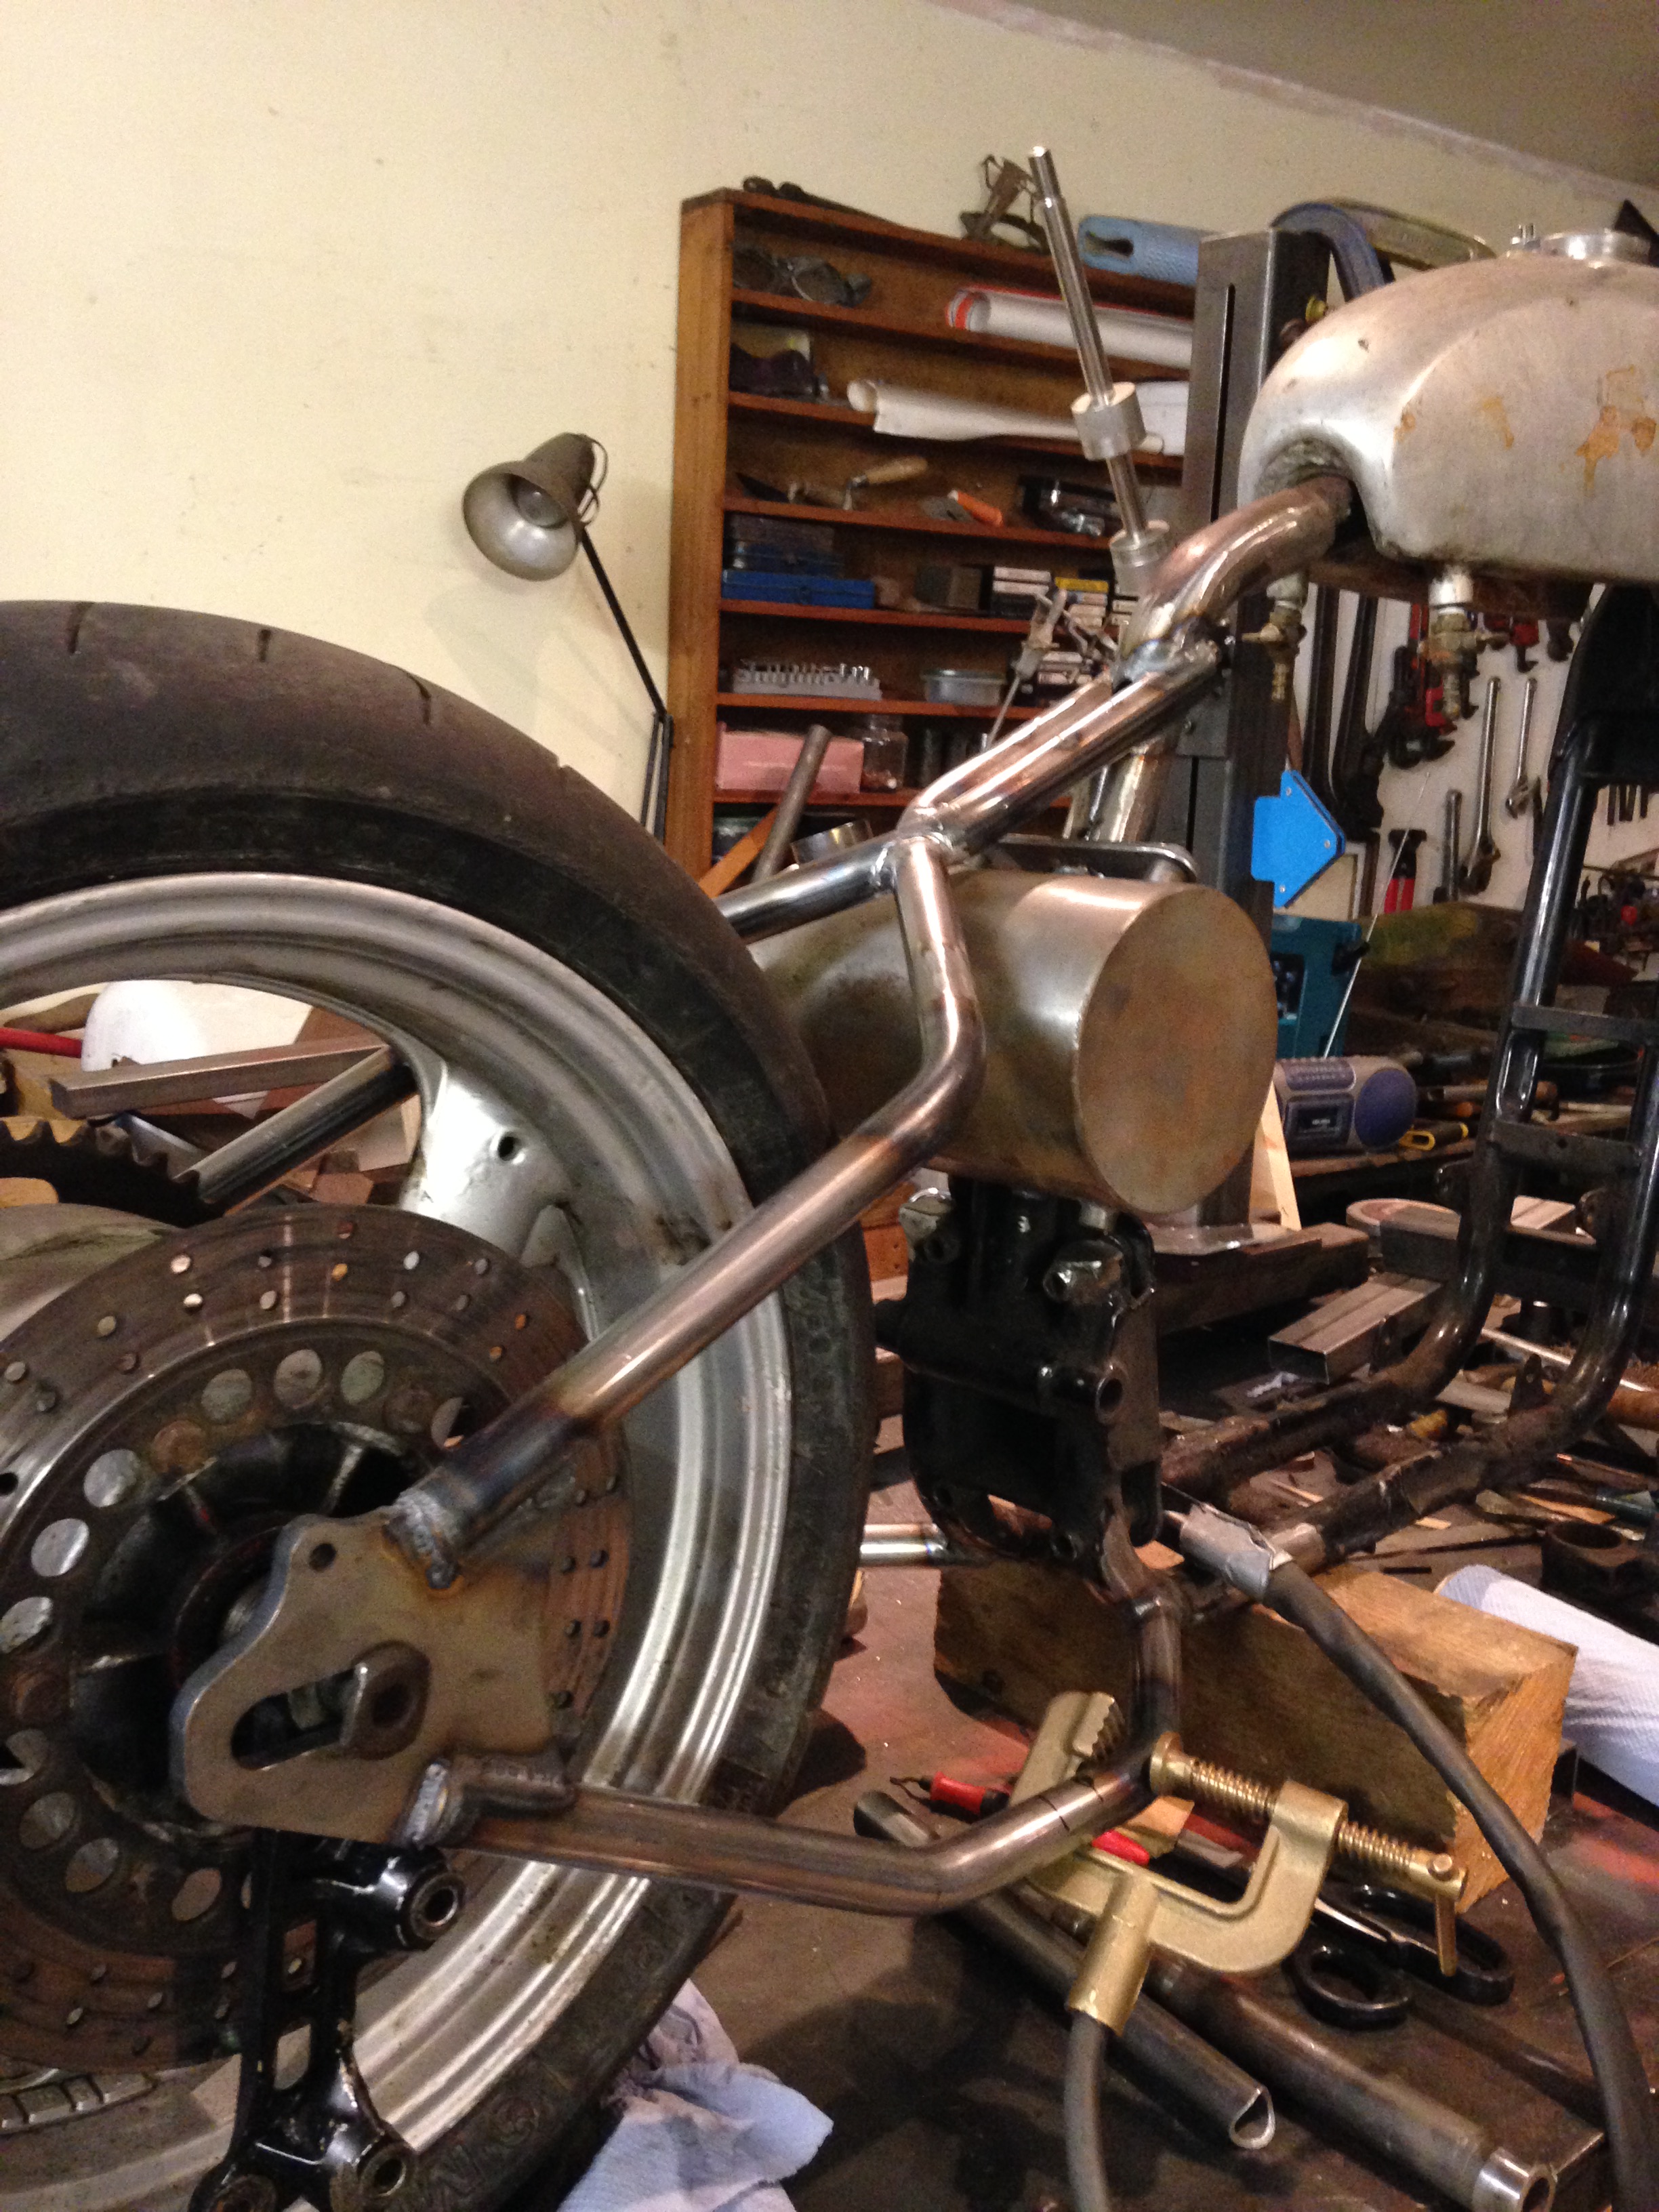
Starting to take shape, Oil tank mount going on.
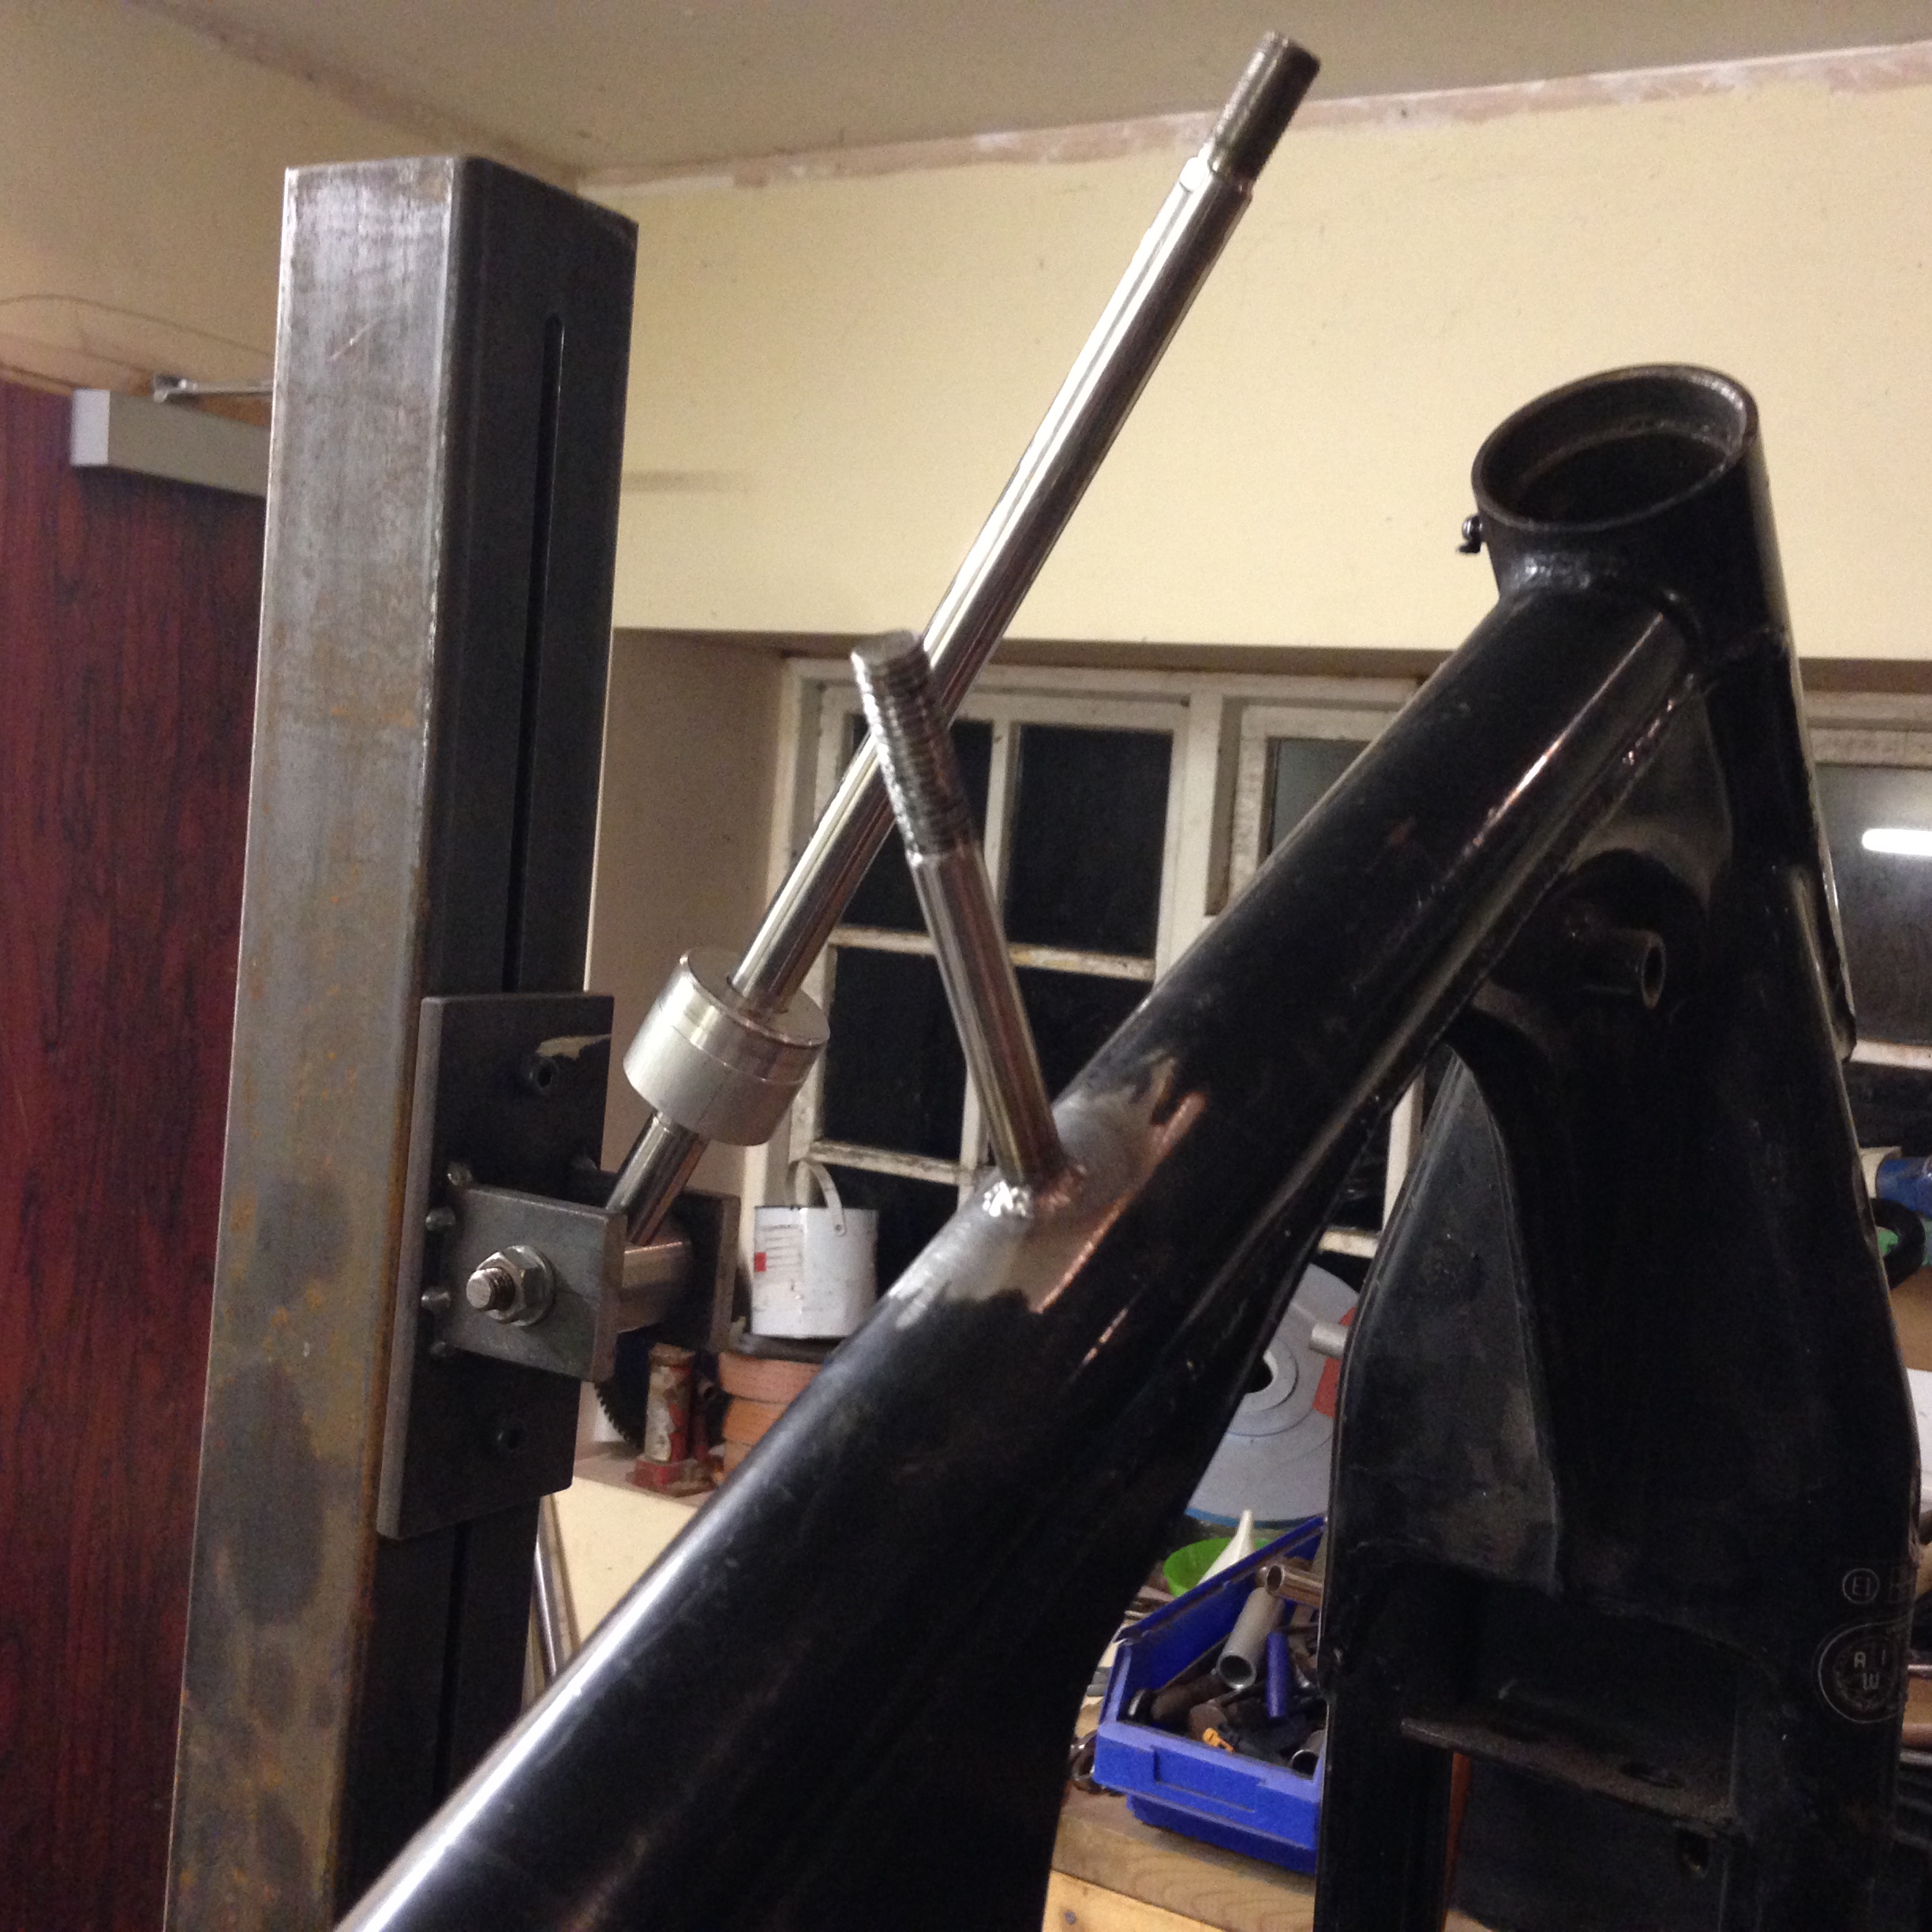
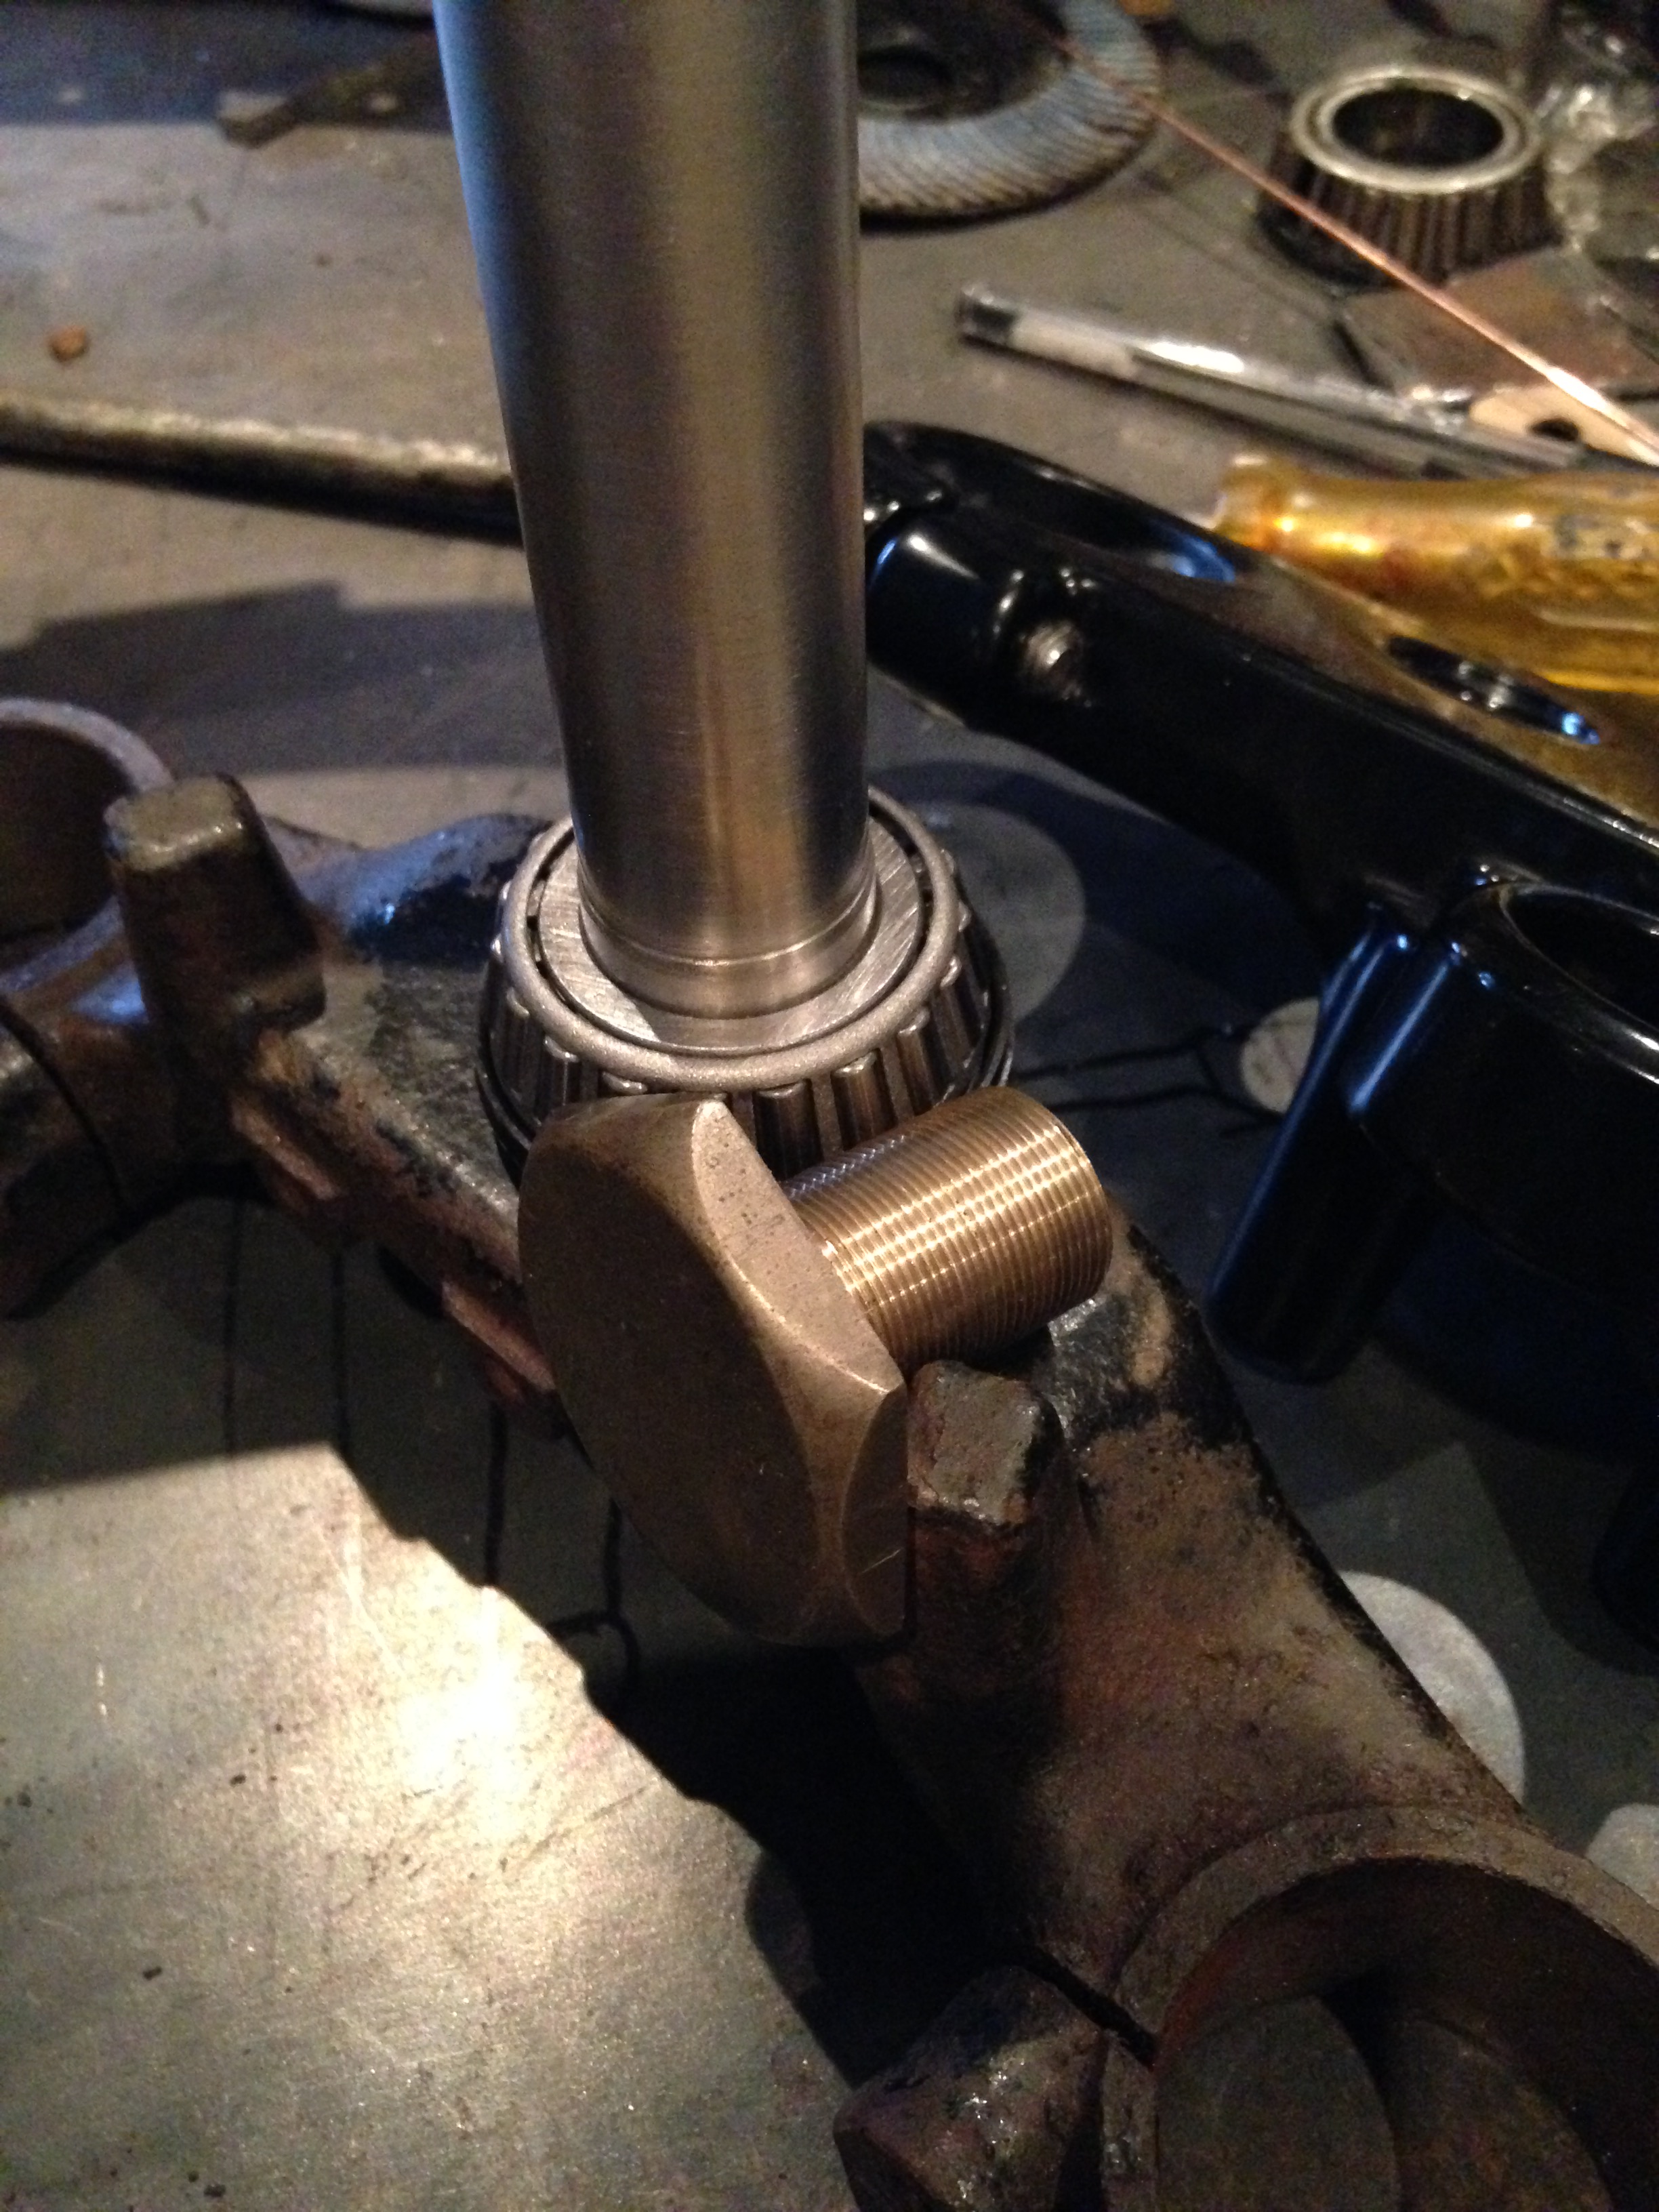
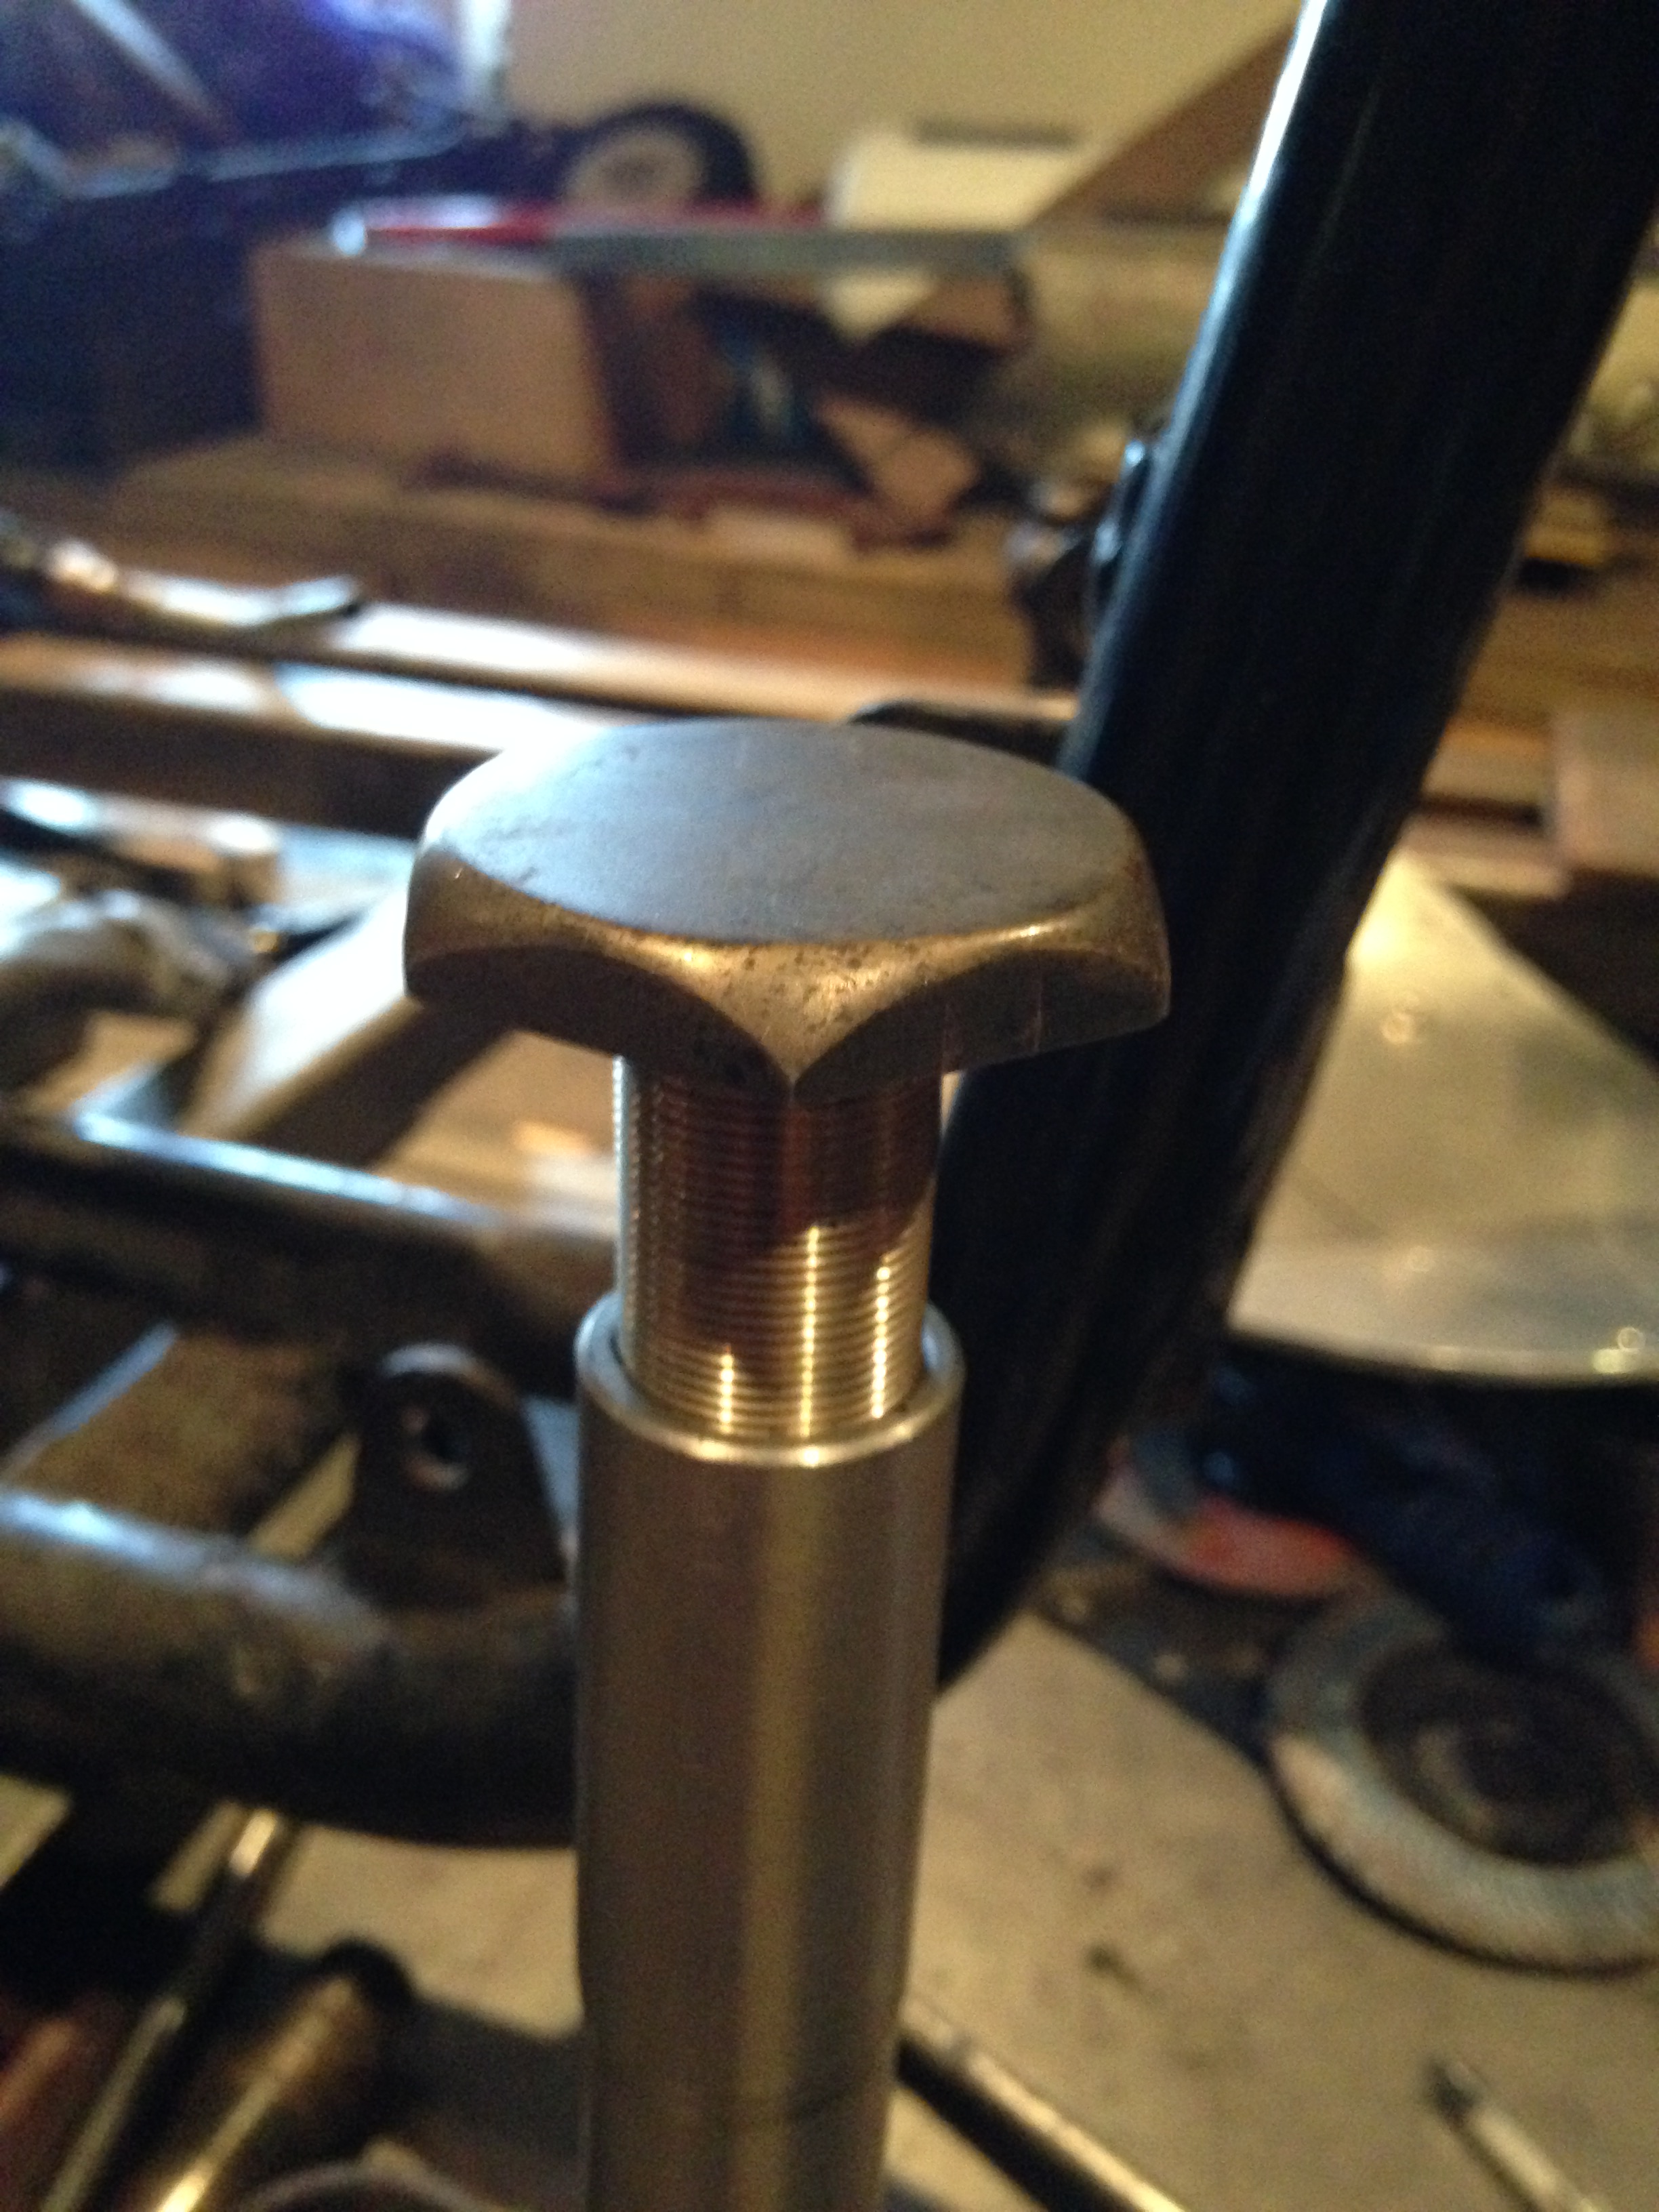
What we didn’t take any pictures of was the next few hours of Heisenburg shaving down some stainless bar for a Harley sized head stem to mate into the FZR yolks. The Yamaha stem was cut off, then a stem was made up and pressed into the bottom yolk. His talents never cease to amaze me….. after a few measurements it was made and the bearings just slid gracefully over the stem. He then went on to make a brass bolt which will top the yolks like it’s been there for years! Brilliant!
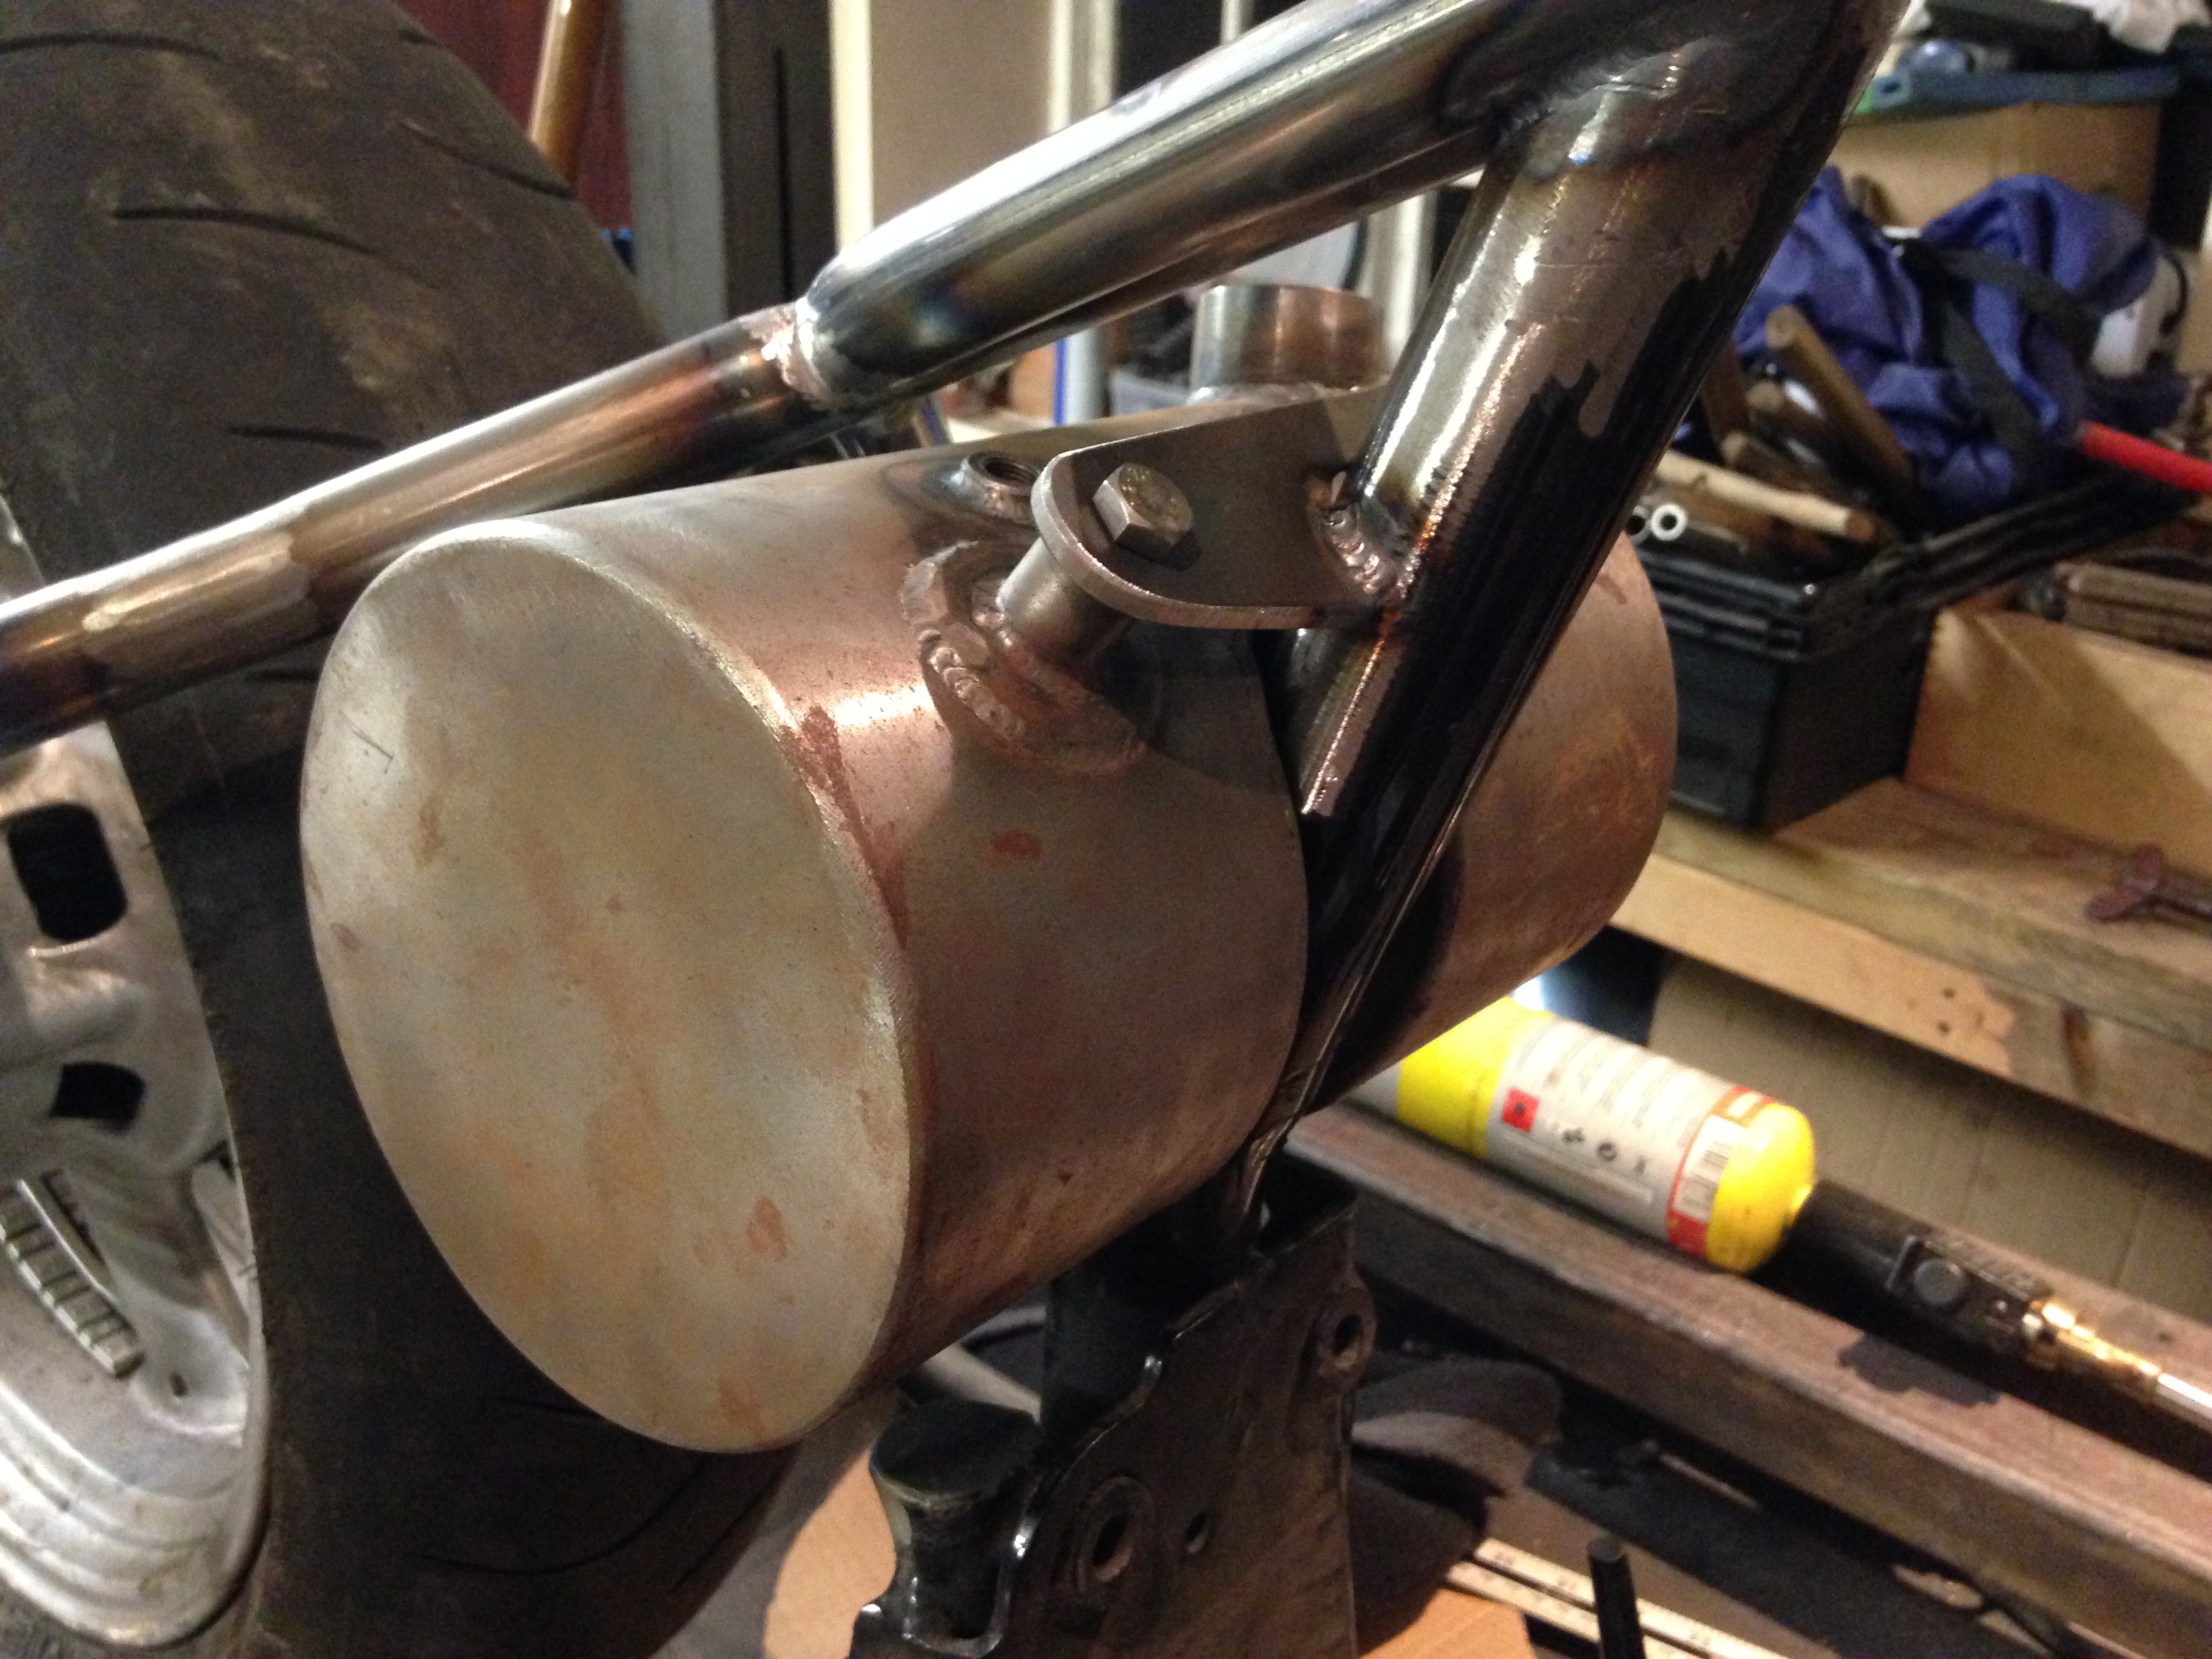

Mac cut out the shape for the seat out of his sheet of 4mm ally and then drilled the holes for the rivets and the retaining bolts for the seat springs and pivot bracket. He had a go at manually bending a ‘lip’ at the back but even 4mm ally is incredibly strong and resistant to bending …. so off to Heisenburg to beg/borrow/steal the use of his machinery to put a nice radiussed bend in it to hopefully prevent the rider sliding off the seat under acceleration. Plan is then to sit back and decide how hardcore we want to be………………….. polished ally with brass rivets or foam and leather……………. may require a few miles on the clock before we visit that question (and later the chiropractor).

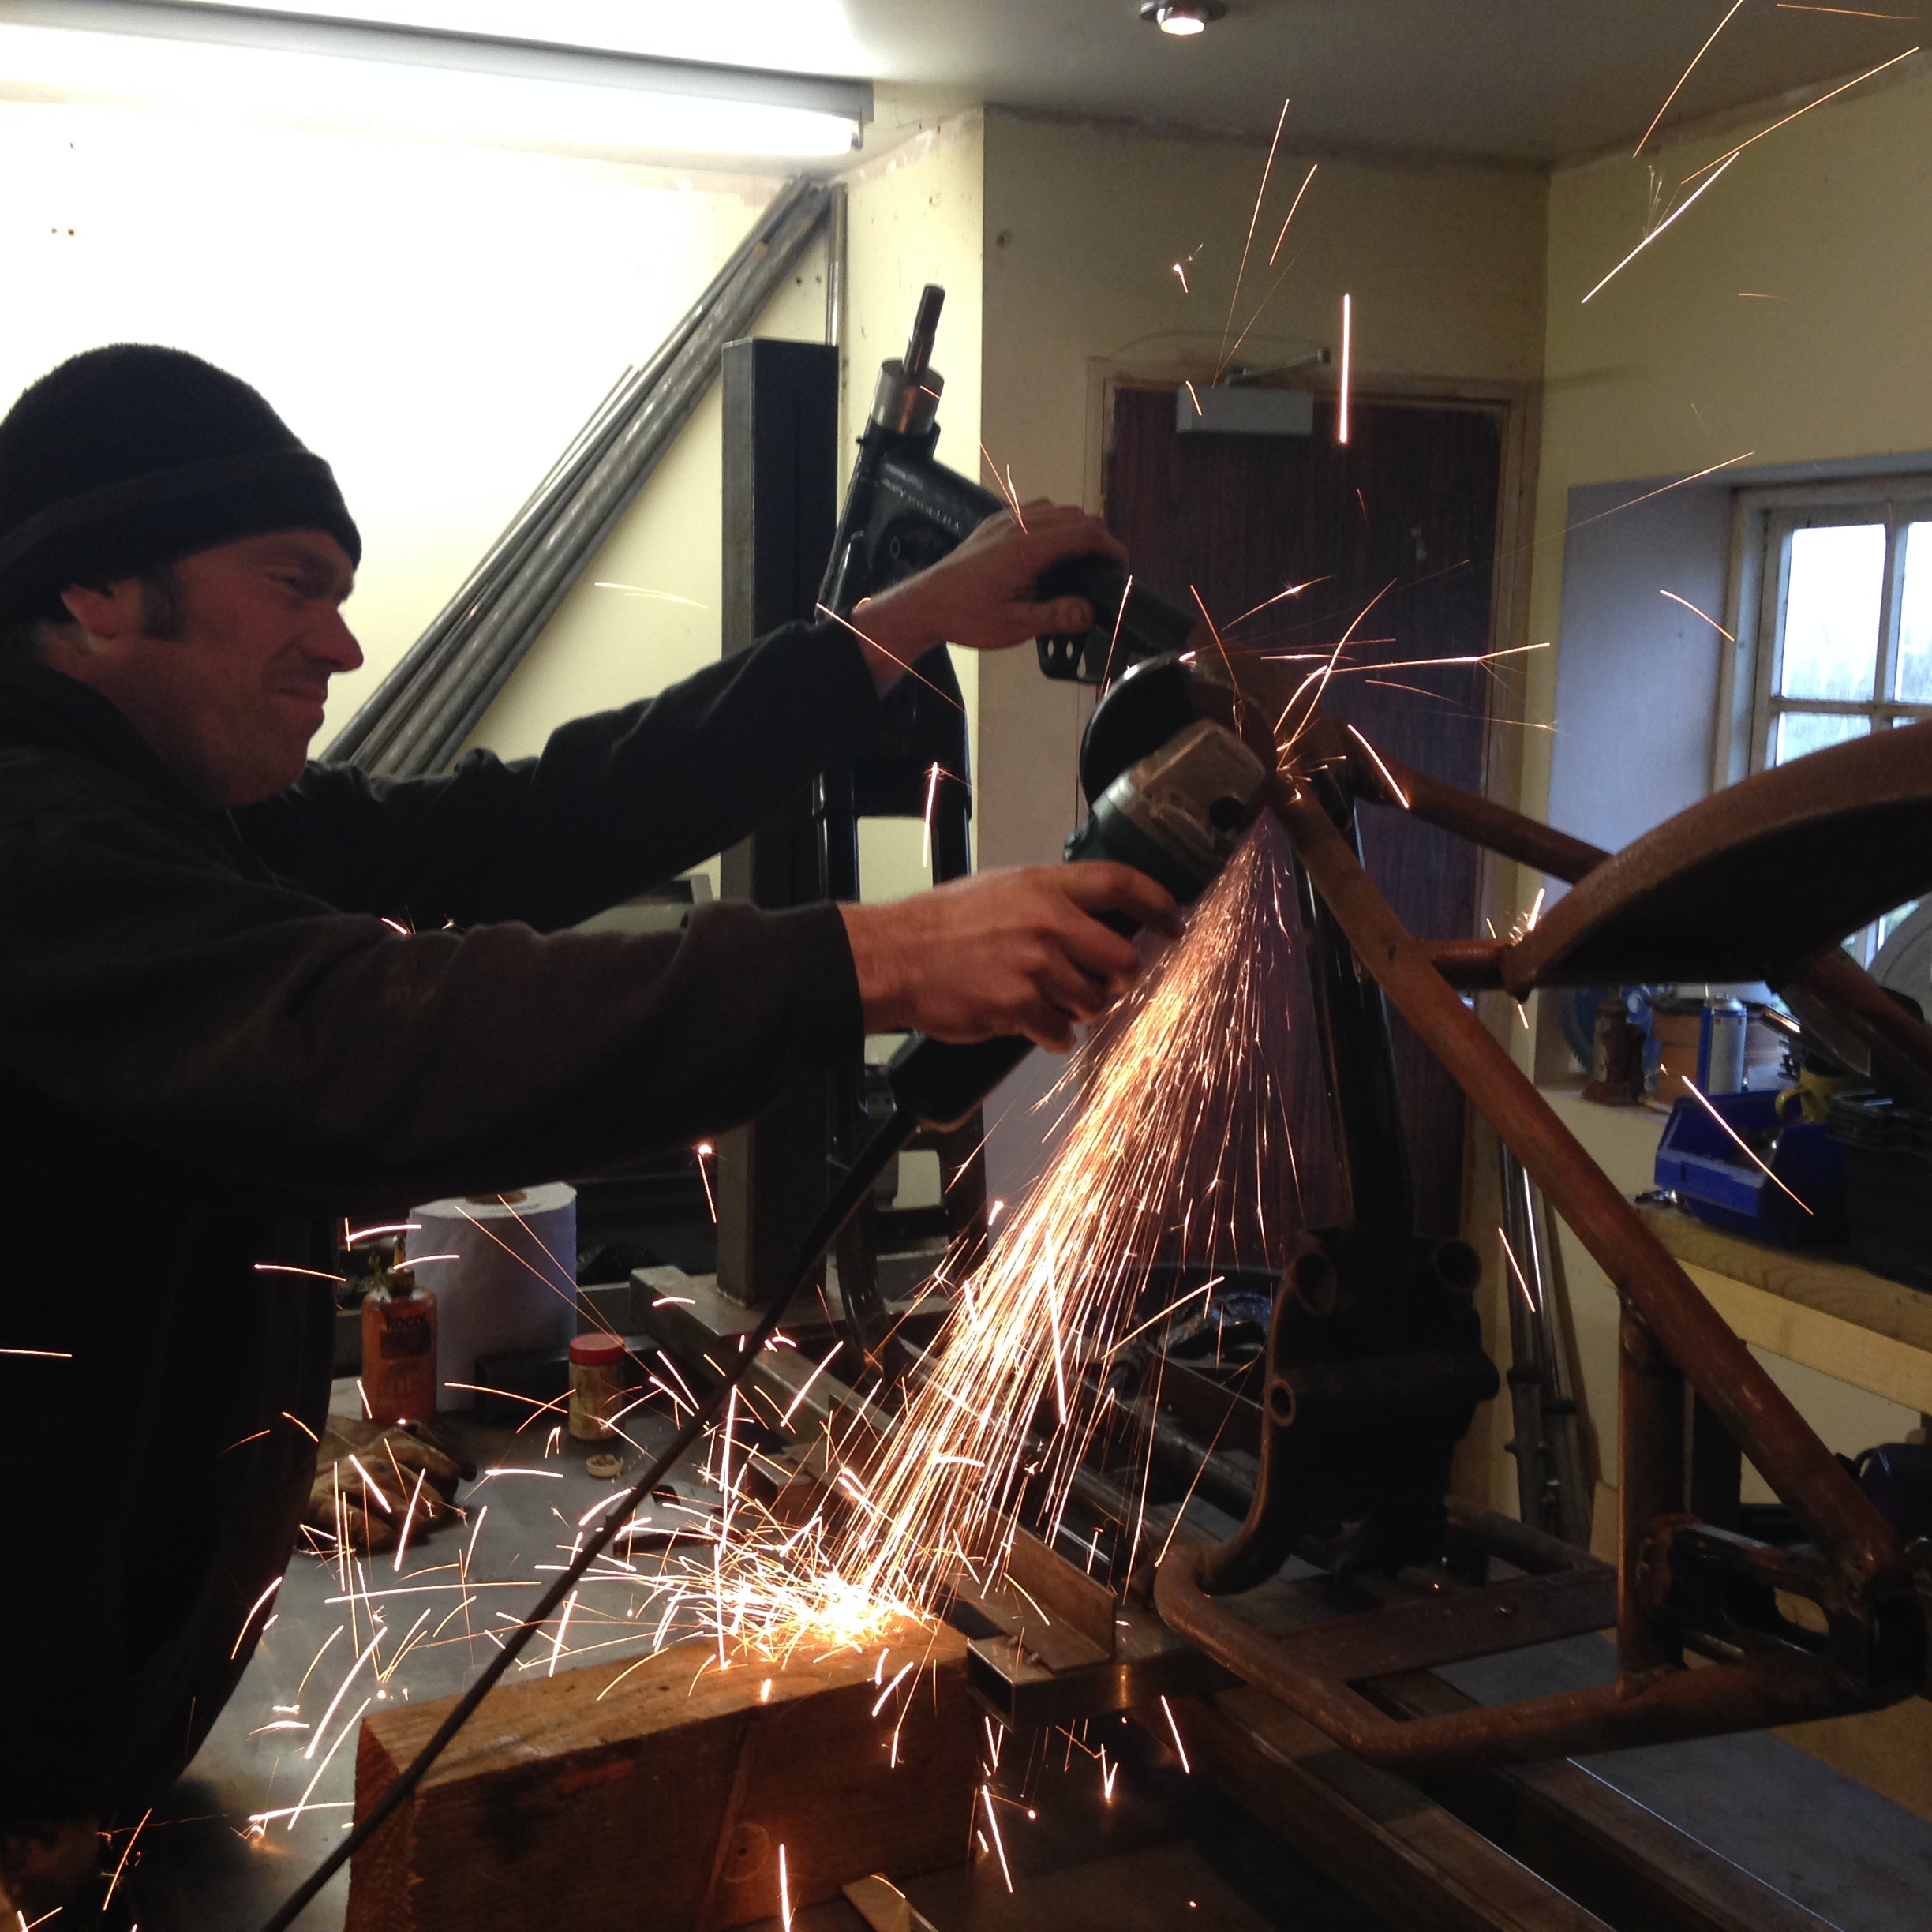
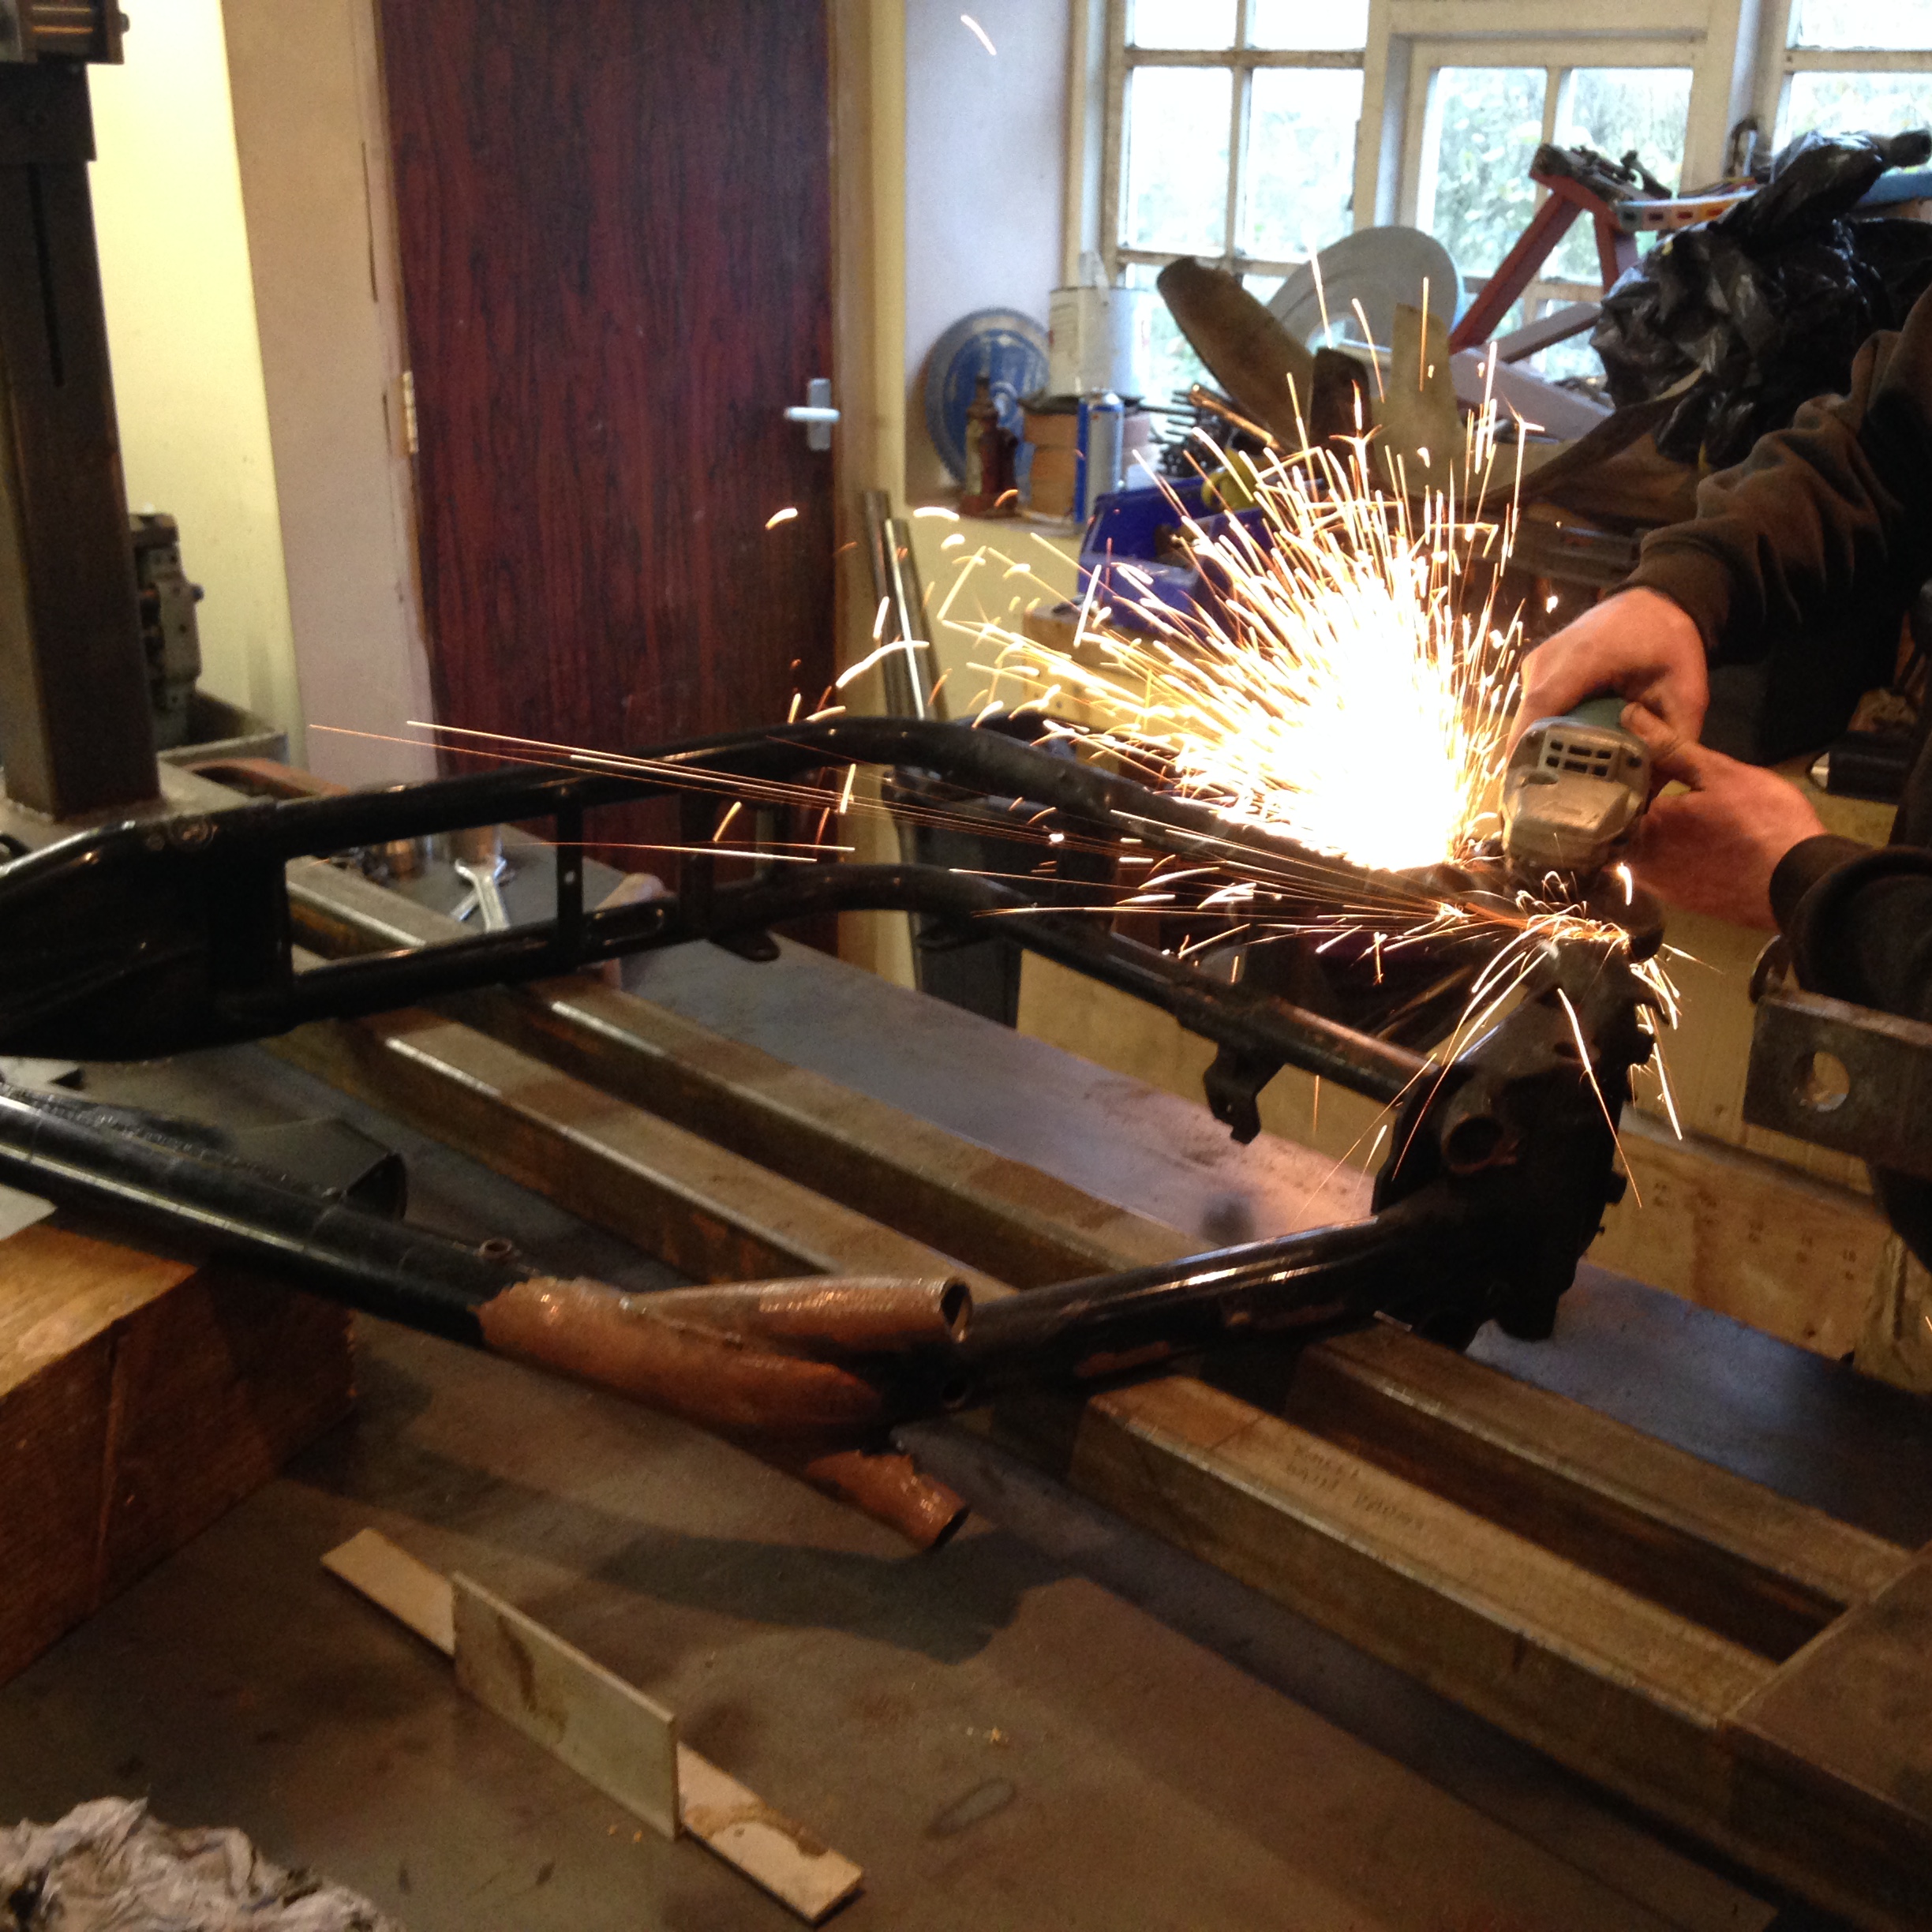
Heisenburg spent some time measuring, levelling and measuring again – then – we’d spent enough time staring at it so out came the grinder
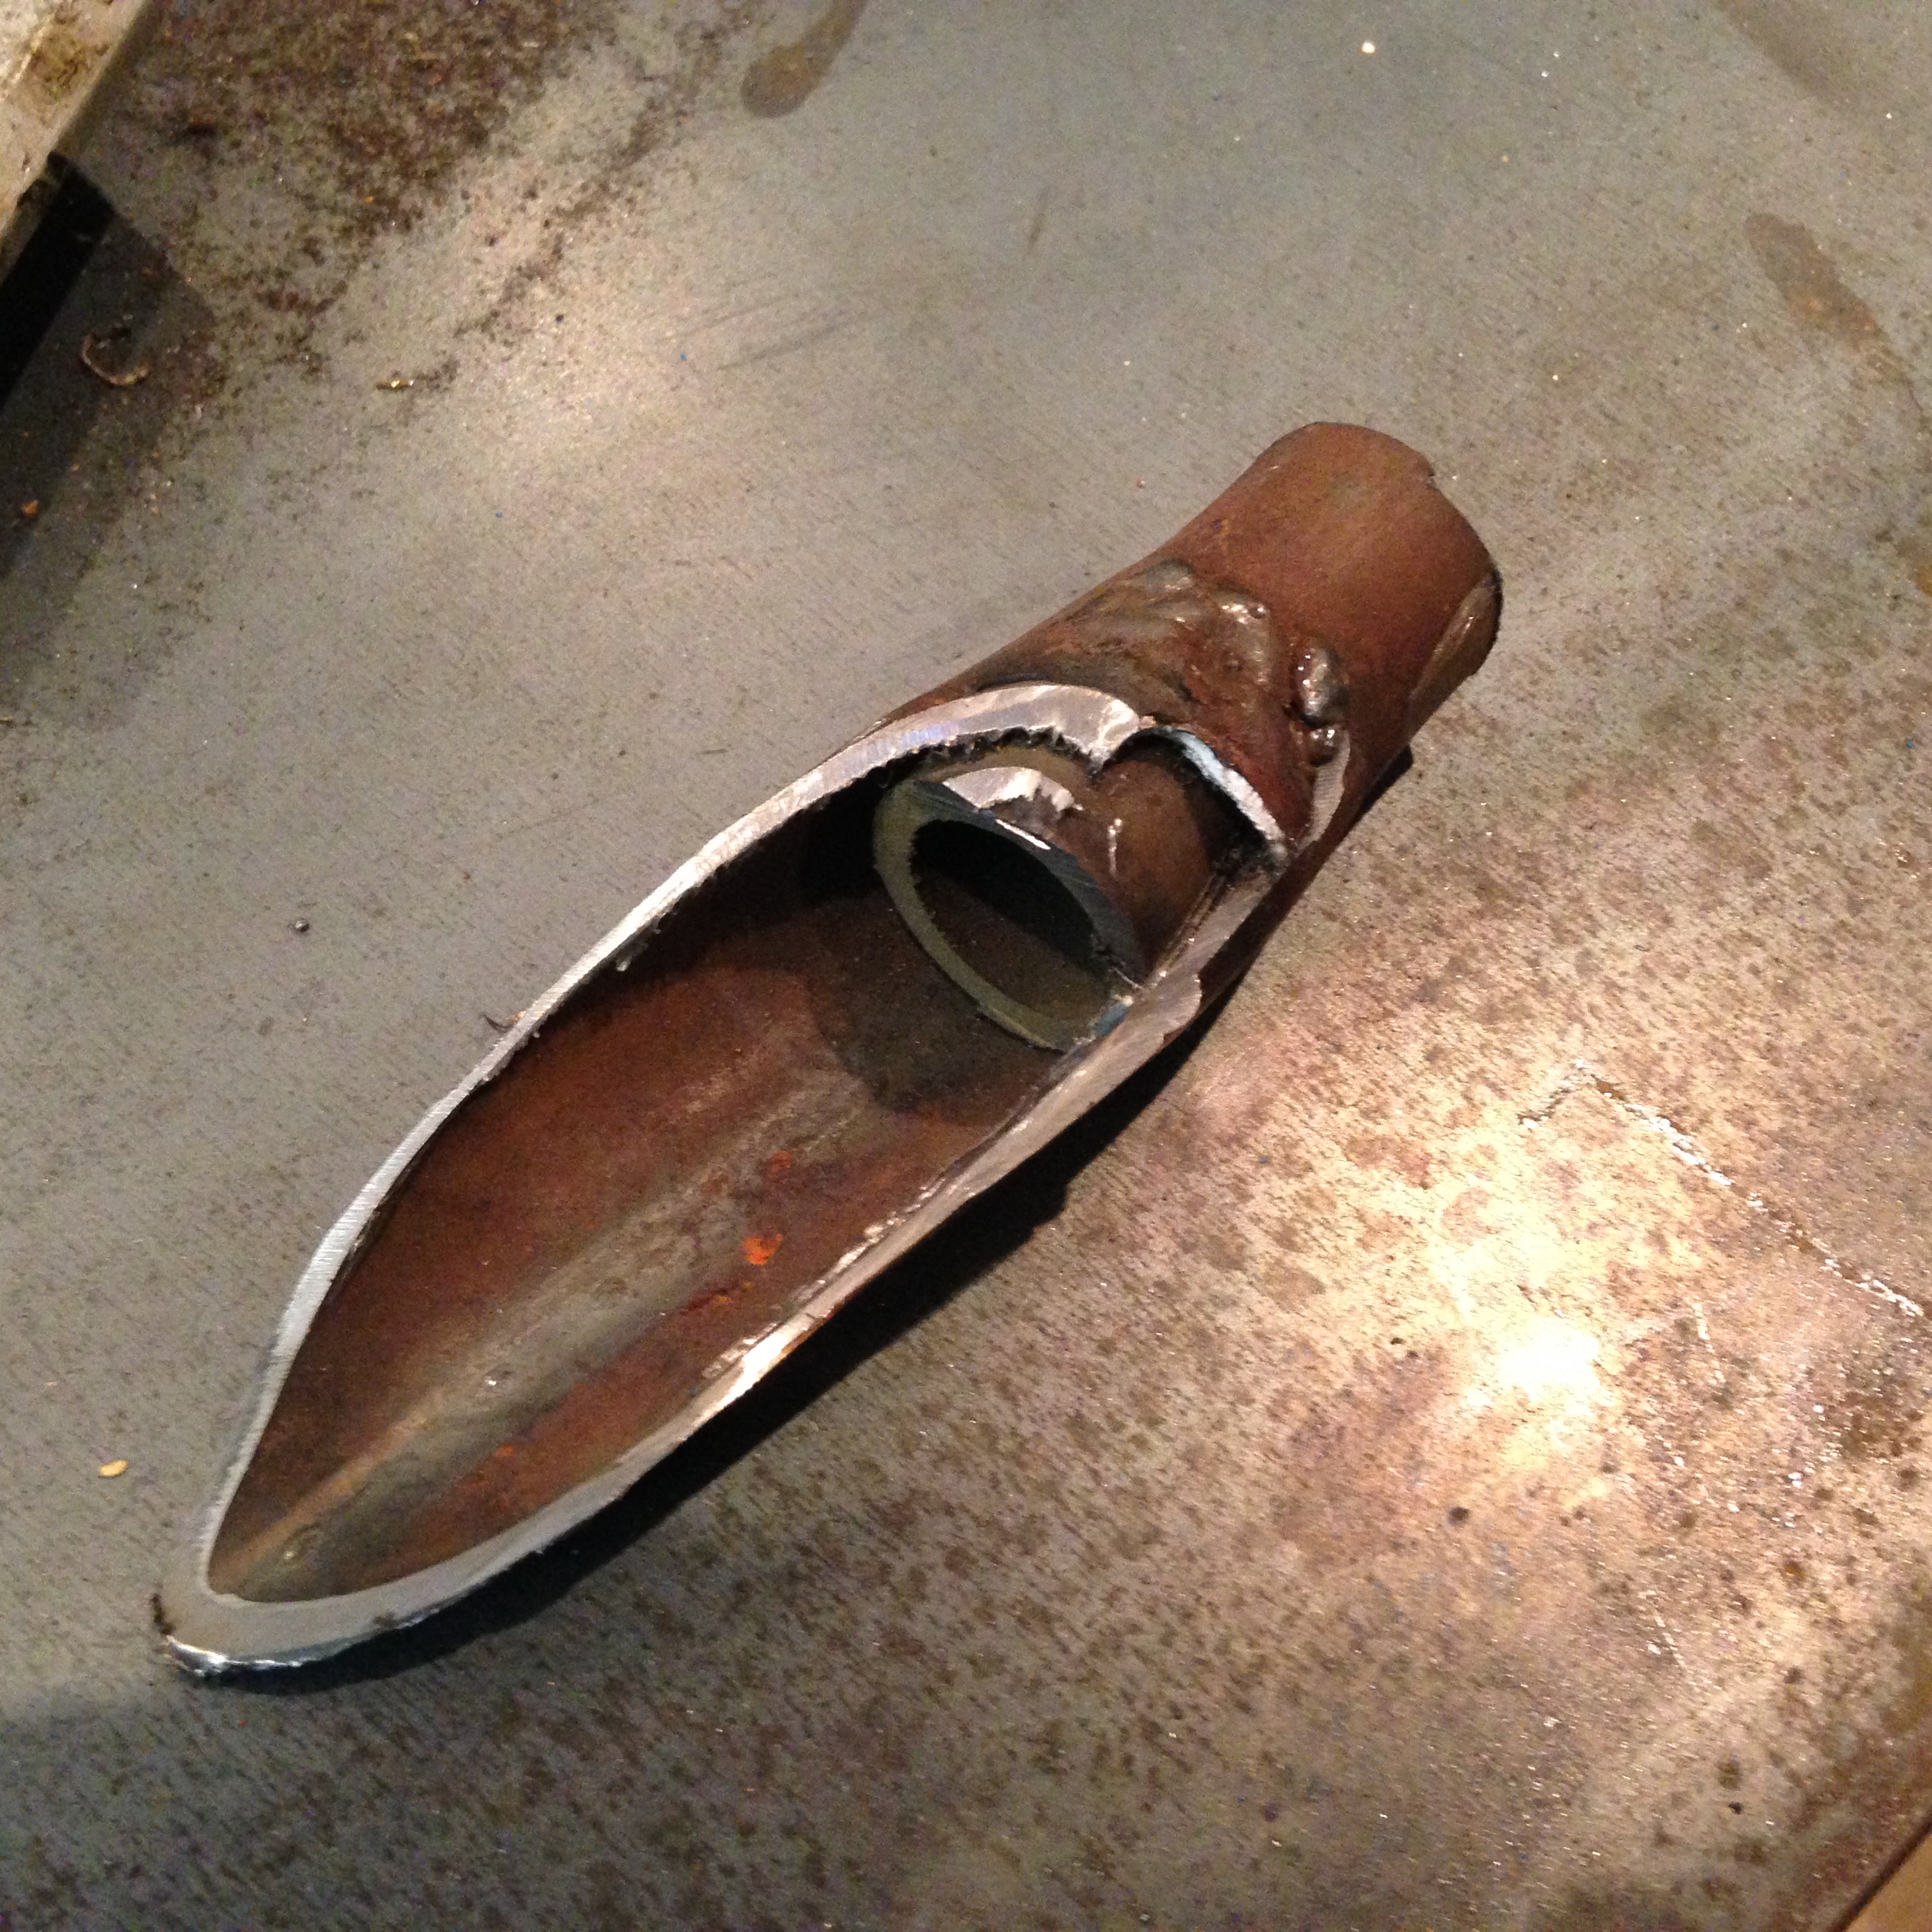
Cut all the sh1t off . The previous owner had put the hard tail on then realised that they couldn’t get a grinder in to clean it so had left a jagged bracket on – now sorted!
This is how the hard tail had been fixed on – one inch pipe wacked into the standard frame then some weld thrown at it from 50 feet
Tank bolt.
Trim up the jagged edges
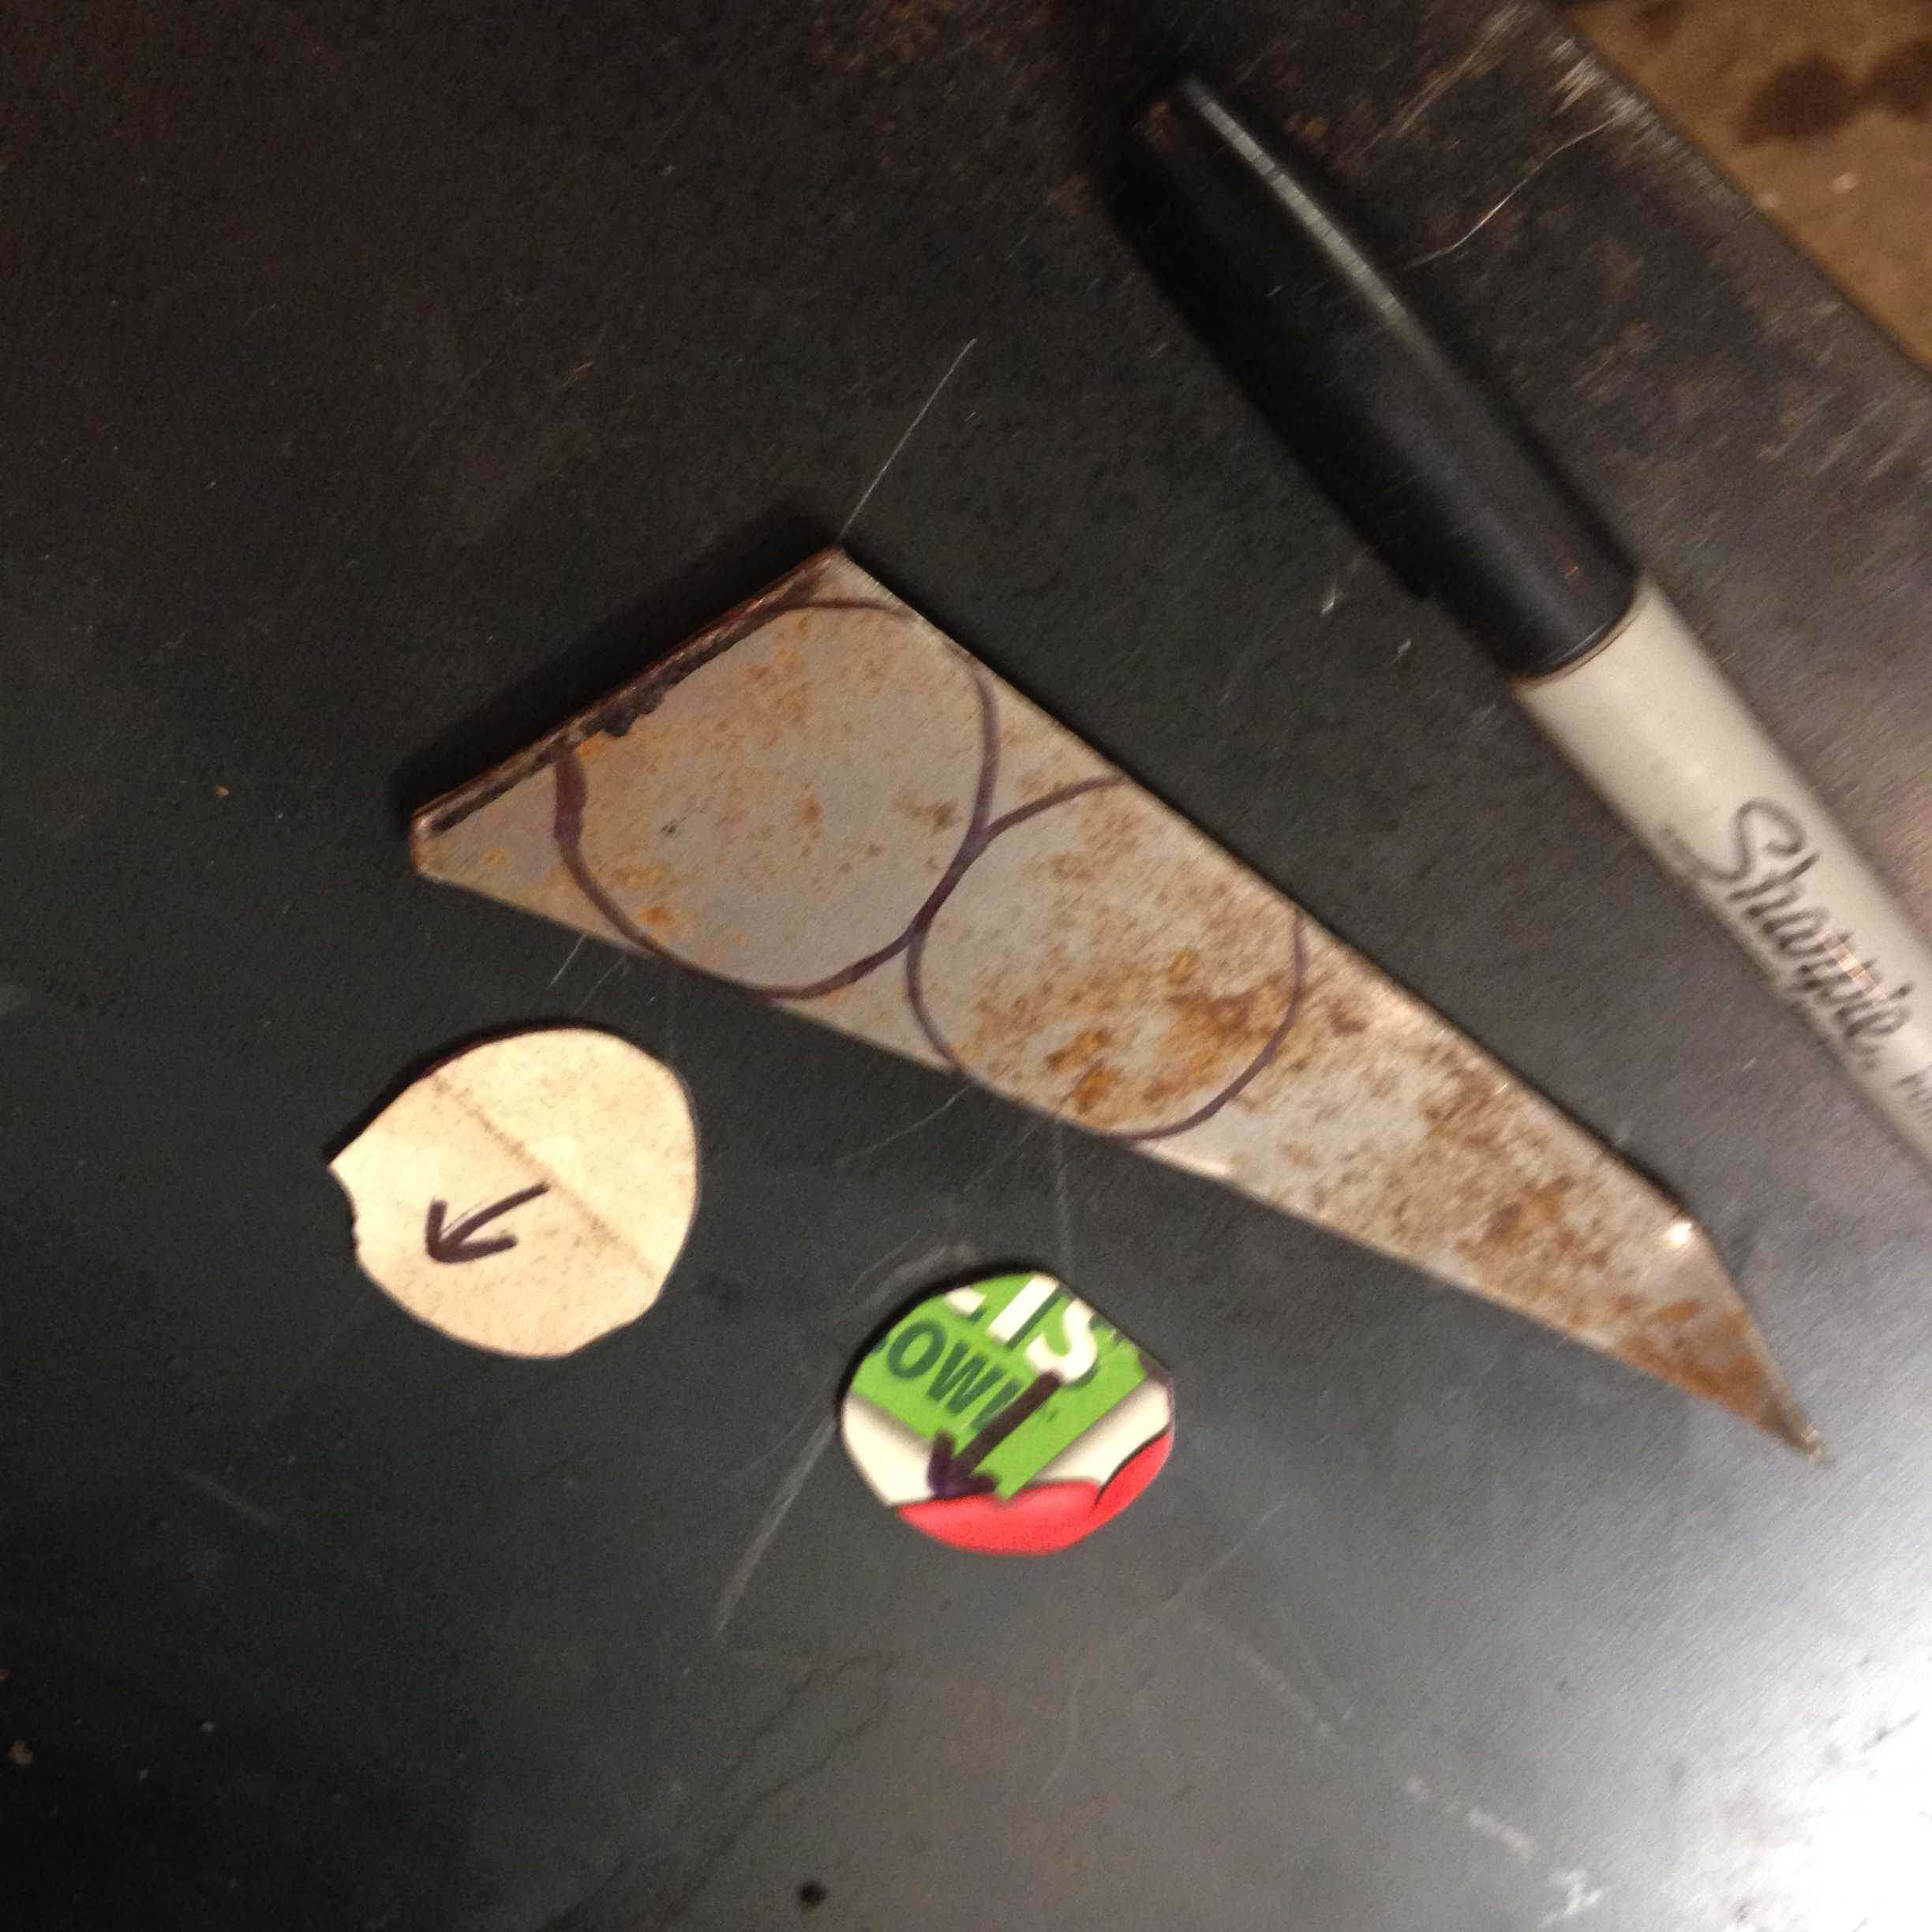
Cardboard templates drawn onto some offcut (waste not want not)
Then welded into place
Much tidier!
Tank mounted
Heisenburg thought this’d be a nice retaining nut………. nut!
Kept the frame supports until we know how the back end will look.
